A
B
C
A
B
C
D
14 – Get ting Ready to Sew
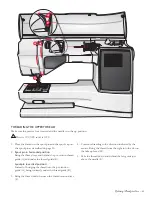
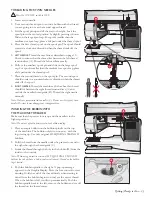
WINDING THE BOBBIN USING
THE VERTICAL SPOOL PIN
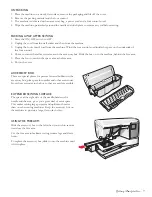
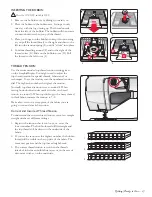
1. Place an empty bobbin on the bobbin spindle on the top
of the machine. The bobbin only
À
ts on one way, with
the logo facing up. Use only original HUSQVARNA
VIKING® bobbins.
2. Place the large spool holder and a felt pad under the
spool on the main spool pin set in the vertical position.
3. Bring the thread over and behind the pre-tension thread
guide (A) and down around the thread tension disc (B),
then through thread guide (C) as illustrated.
4. Guide the thread through the hole in the bobbin (D)
from the inside to the outside.
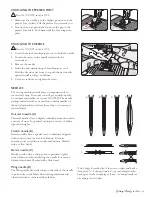
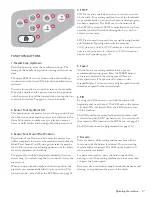
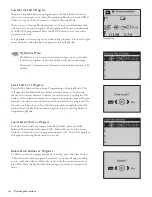
5. Push the bobbin spindle to the right. A pop-up message
appears on the GraphicDisplay. Press the foot control to
start winding. Hold the end of the thread
À
rmly when
starting to wind. Once the bobbin begins to wind, cut
the excess thread. When the bobbin is full, it will stop
automatically. Push the bobbin spindle back to the left,
remove the bobbin and cut off the thread on the thread
cutter.
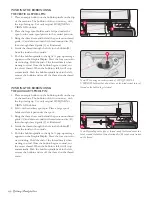
WINDING THE BOBBIN USING
THE AUXILIARY SPOOL PIN
1. Place an empty bobbin on the bobbin spindle on the top
of the machine. The bobbin only
À
ts on one way, with
the logo facing up. Use only original HUSQVARNA
VIKING® bobbins.
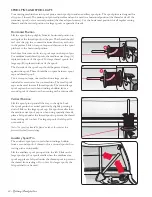
2. Fold out the auxiliary spool pin. Place a large spool
holder and a felt pad under the spool.
3. Bring the thread over and behind the pre-tension thread
guide (A) and down around the thread tension disc (B),
then through thread guide (C) as illustrated.
4. Guide the thread through the hole in the bobbin (D)
from the inside to the outside.
5. Push the bobbin spindle to the right. A pop-up message
appears on the GraphicDisplay. Press the foot control to
start winding. Hold the end of the thread
À
rmly when
starting to wind. Once the bobbin begins to wind, cut
the excess thread. When the bobbin is full, it will stop
automatically. Push the bobbin spindle back to the left,
remove the bobbin and cut off the thread on the thread
cutter.
Note: Depending on the type of thread, wrap the thread one or two
turns around the bobbin thread tension disc (B) to put more tension
on the thread.
Note: When using an earlier version of HUSQVARNA
VIKING® bobbins that do not have a hole, wind several turns of
thread on the bobbin to get started.


