GENERAL SAFETY PRECAUTIONS
General rules
Only use cutting attachments with the guards we
recommend. See the “TECHNICAL DATA”
section.
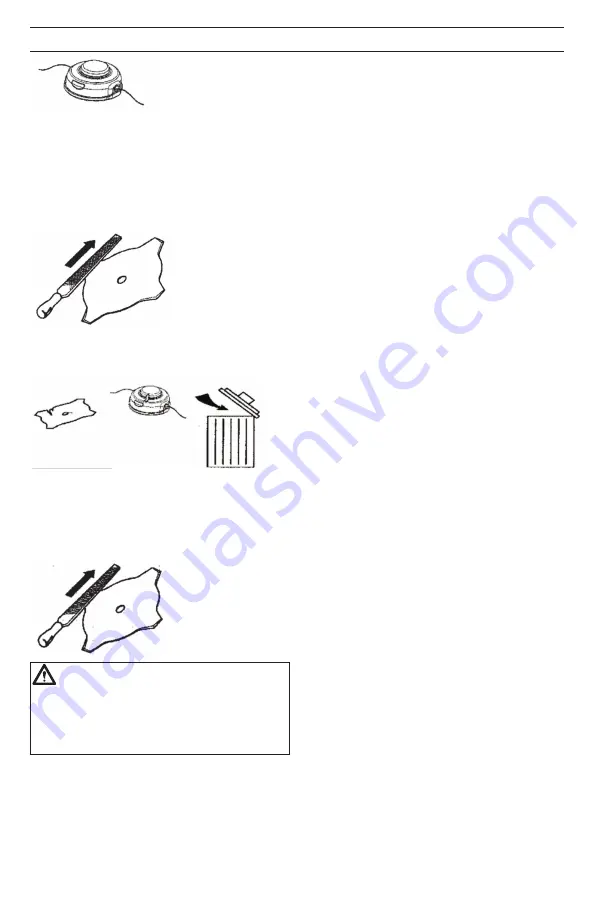
Keep the teeth of the blade correctly sharpened.
Follow our instructions and use the recommended
file gauge. An incorrectly sharpened or damaged
blade increases the risk of accidents.
Check the cutting attachment for damage or
cracks. A damaged cutting attachment should
always be replaced.
Sharpening grass cutters and grass blades
•
See the cutting attachment packaging for
correct sharpening instructions. Sharpen
blades and cutters using a single-cut flat file.
•
Sharpen all edges equally to maintain the
balance of the blade.
WARNING: Always discard a blade that
is bent, twisted, cracked, broken or
damaged in any other way. Never attempt
to straighten a twisted blade so that it can
be reused. Only use original blades of the
specified type.
Trimmer head
IMPORTANT: Always ensure the trimmer line is
wound tightly and evenly around the drum;
otherwise the machine may generate vibration
which could be harmful.
•
Only use the recommended cutting
attachments. See the “TECHNICAL DATA”
section.
•
Smaller machines generally require small
trimmer heads and vice versa. This is because
when clearing using trimmer line the engine
must throw out the trimmer line radially from
the trimmer head and overcome the
resistance of the grass being cleared.
•
The length of the trimmer line is also
important. A longer trimmer line requires
greater engine power than a shorter trimmer
line of the same diameter.
•
Make sure that the cutter on the trimmer guard
is intact. This is used to cut the trimmer line to
the correct length.
•
To increase the life of the trimmer line it can
be soaked in water for a couple of days. This
will make the line tougher so that it lasts
longer.
Summary of Contents for 129R
Page 189: ...ONDERHOUD Maak het vonkenopvangnet van de geluiddemper schoon of vervang het ...
Page 262: ...MANUTENZIONE Pulire o sostituire la retina parascintille della marmitta ...
Page 275: ...KOKKUPANEK 6 Demonteerimine toimub vastaspidises järjekorras ...
Page 665: ...Trimmer Head Line Loading Instructions 20i 10i 3 m 6 m 1 2 3 4 5 6 7 8 9 ...
Page 666: ......
Page 667: ......
Page 668: ...2014 08 28 1156885 38 Rev A ...


