5
37
503 97 64-01
503 80 17-01
Angle gear
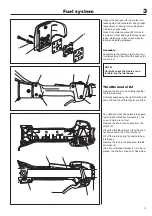
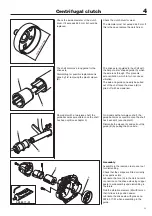
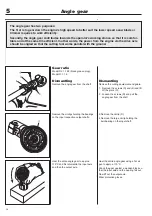
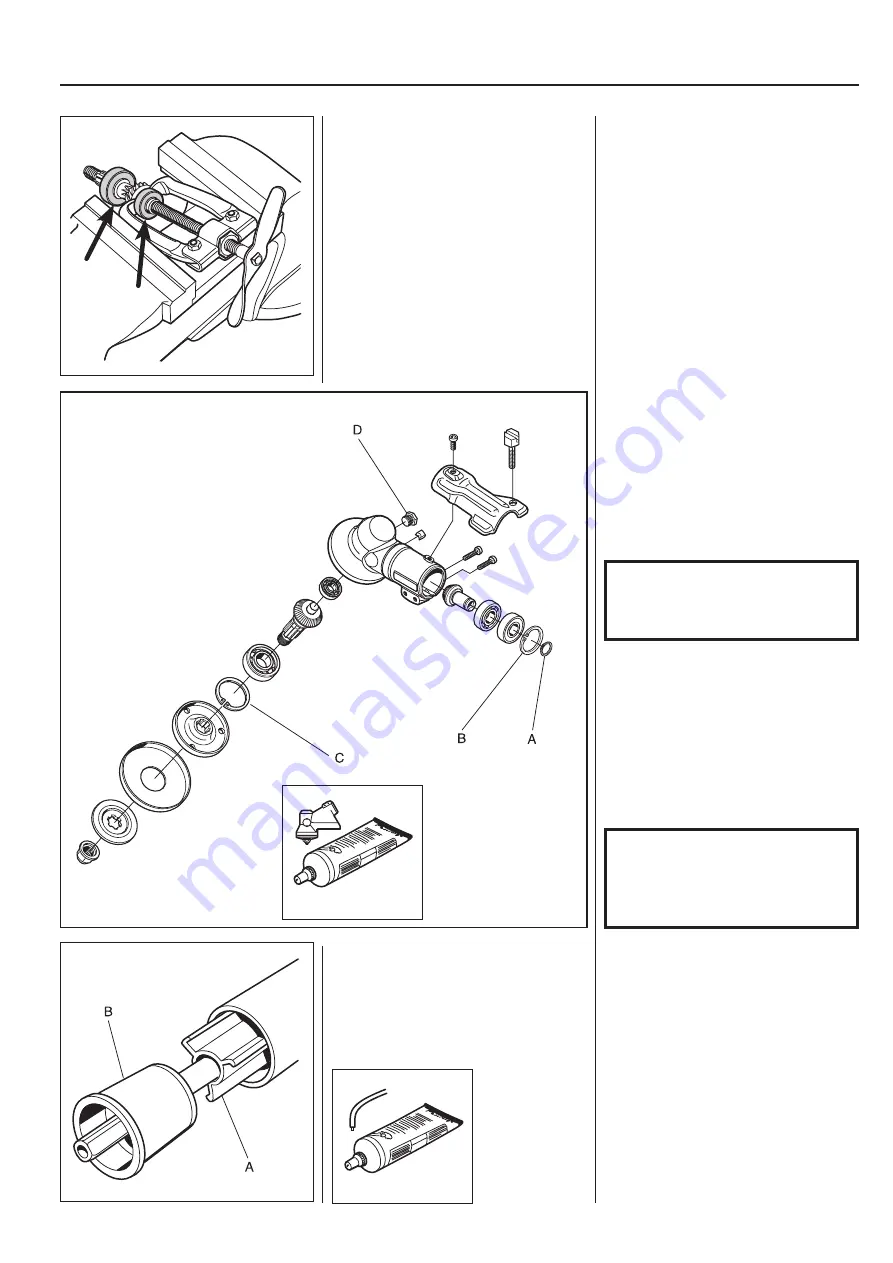
Dismantle the bearings from the output
and input axles.
Dismantle the bearings from the output
and input axles with the help of a small
bearing puller.
TIP!
Hold the bearing puller in a vice so that it
gains a better grip around the bearing.
NOTE!
Do not forget to fi ll the gear
housing to approx. 3/4 with gear
housing grease 503 97 64-01 once
the plug (D) has been removed.
Assembly
Clean all component parts and replace if
damaged or worn.
Fit the bearings on respective axles. This
is easier if the bearings are heated to ap-
prox. 110°C using a hot air gun.
The bearings on the input axle are sealed
on one side. Turn the bearings so this
side faces outwards.
Heat the gearbox to approx. 110°C and
fi
rst place the output axle in position and
then the input axle.
Make sure the bearing bottoms in its
seating.
Fit the circlips (B) and (C). Make sure they
lie correctly in their grooves.
Assemble remaining parts in the reverse
order as set out for dismantling.
NOTE!
Do not forget the circlip (A)
holding the bearing on the input
axle.
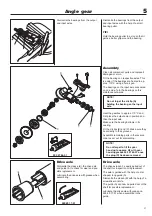
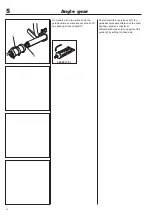
Drive axle
Dismantle the sleeve (B), the drive axle
and guide (A) to check for wear and pos-
sible replacement.
Lubricate the drive axle with grease when
assembling.
Drive axle
The drive axle can be easily pulled out of
the shaft for inspection or replacement.
The axle is guided with the help of a star
shaped, long guide (A).
Dismantle the sleeve (B) with the help of a
screwdriver or knife.
The guide (A) can now be pulled out of the
shaft for possible replacement.
Lubricate the drive axle with grease no.
503 80 17-01 when assembled in the
guide.
Summary of Contents for 241R
Page 1: ...Workshop manual 241R 241RJ English ...
Page 35: ...4 34 Centrifugal clutch ...
Page 49: ...6 48 Cylinder and piston ...
Page 59: ...58 8 List of tools ...
Page 62: ...2008W37 115 11 96 26 ...

