6
47
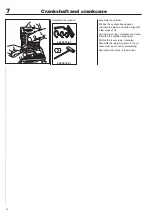
502 50 70-01
502 50 18-01
502 50 19-01
Cylinder and piston
NOTE!
Do not turn the cylinder, as
the piston rings can easily be
broken.
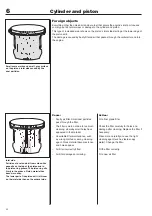
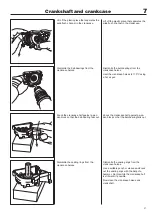
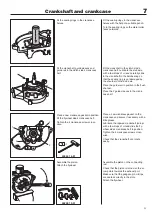
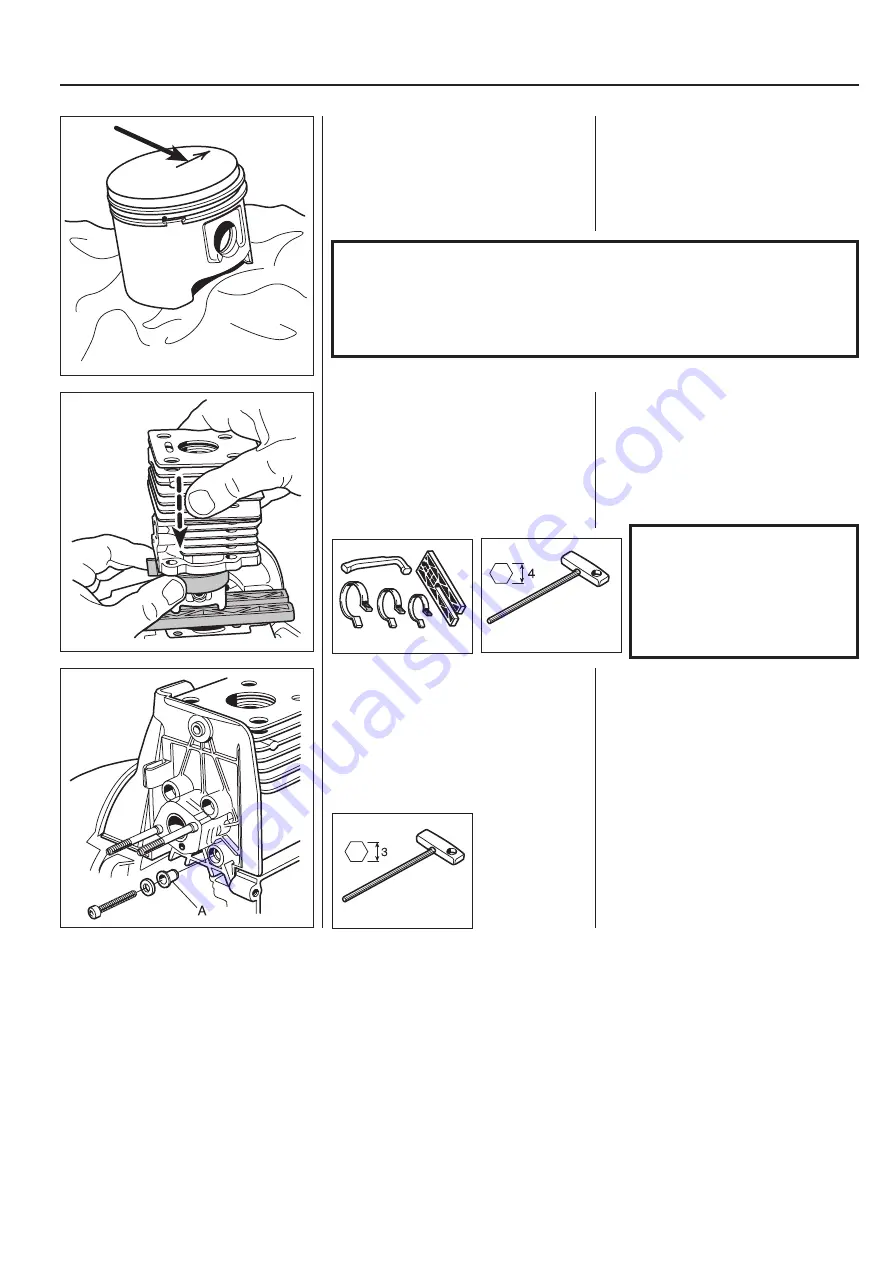
Tighten the 4 screws
diagonally crosswise.
Check that the pulse channel through the
heat guard/distance piece is completely
open. Fit the heat guard by pushing it into
place (the
fl
ange on the crankcase must
fi
t into the groove in the heat guard) and
check that the metal sleeves (A) are not
lost.
Assemble the remaining parts in the
reverse order as set out for dismantling.
See respective sections in the manual.
Fit the heat guard/distance piece.
Assembly
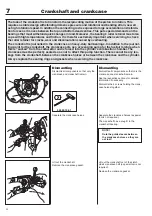
Lubricate the gudgeon pin’s needle
bearing with a few drops of engine oil.
Assembly
Lubricate the gudgeon pin’s needle
bearing with a few drops of engine oil.
Direct the arrow on the top of the piston
towards the exhaust port. Press in the
gudgeon pin and
fi
t the circlips.
NOTE!
Place a rag in the crankcase opening to prevent the circlip from falling
into the crankcase in case it should fl y out.
Check that the circlips are correctly fi tted into the grooves by turning
the clips with fl at nosed pliers.
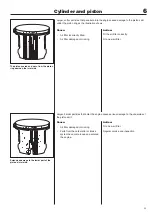
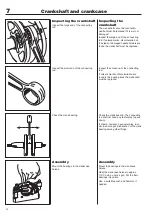
Check that the pulse channel in the
cylinder is open.
Assemble the cylinder with the help of
assembly set 502 50 70-01.
Check that the pulse channel in the
cylinder is open.
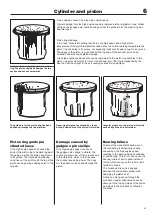
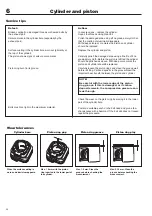
Place a new cylinder base gasket on
the crankcase. Lubricate the piston and
the big-end bearing with a few drops of
engine oil.
Assemble the cylinder with the help
of the piston ring compressor in the
assembly set 502 50 70-01.
Summary of Contents for 241R
Page 1: ...Workshop manual 241R 241RJ English ...
Page 35: ...4 34 Centrifugal clutch ...
Page 49: ...6 48 Cylinder and piston ...
Page 59: ...58 8 List of tools ...
Page 62: ...2008W37 115 11 96 26 ...

