Starter
1
5
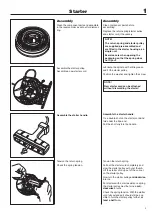
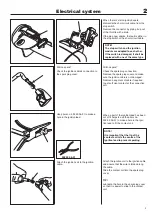
Assembly
Clean component parts before
assembling.
Replace the return spring/starter pulley
and starter cord, if necessary.
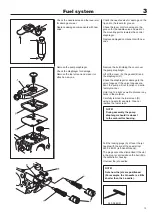
Assemble the starter pulley.
Assemble a new starter cord.
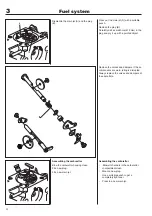
Lubricate the spindle with a little grease
and
fi
t the starter pulley.
Position the washer and tighten the screw.
NOTE!
The return spring and starter pulley
are supplied pre-assembled and
are fi tted in the starter housing as a
single unit.
Exercise care when opening the
packaging so that the spring does
not fl y out.
NOTE!
New starter cord can be attached
without dismantling the starter!
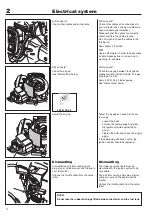
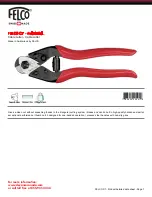
Assemble the starter handle.
Assemble the starter handle.
Tie a double knot on the starter cord and
fold under the free end.
Pull the knot fully into the handle.
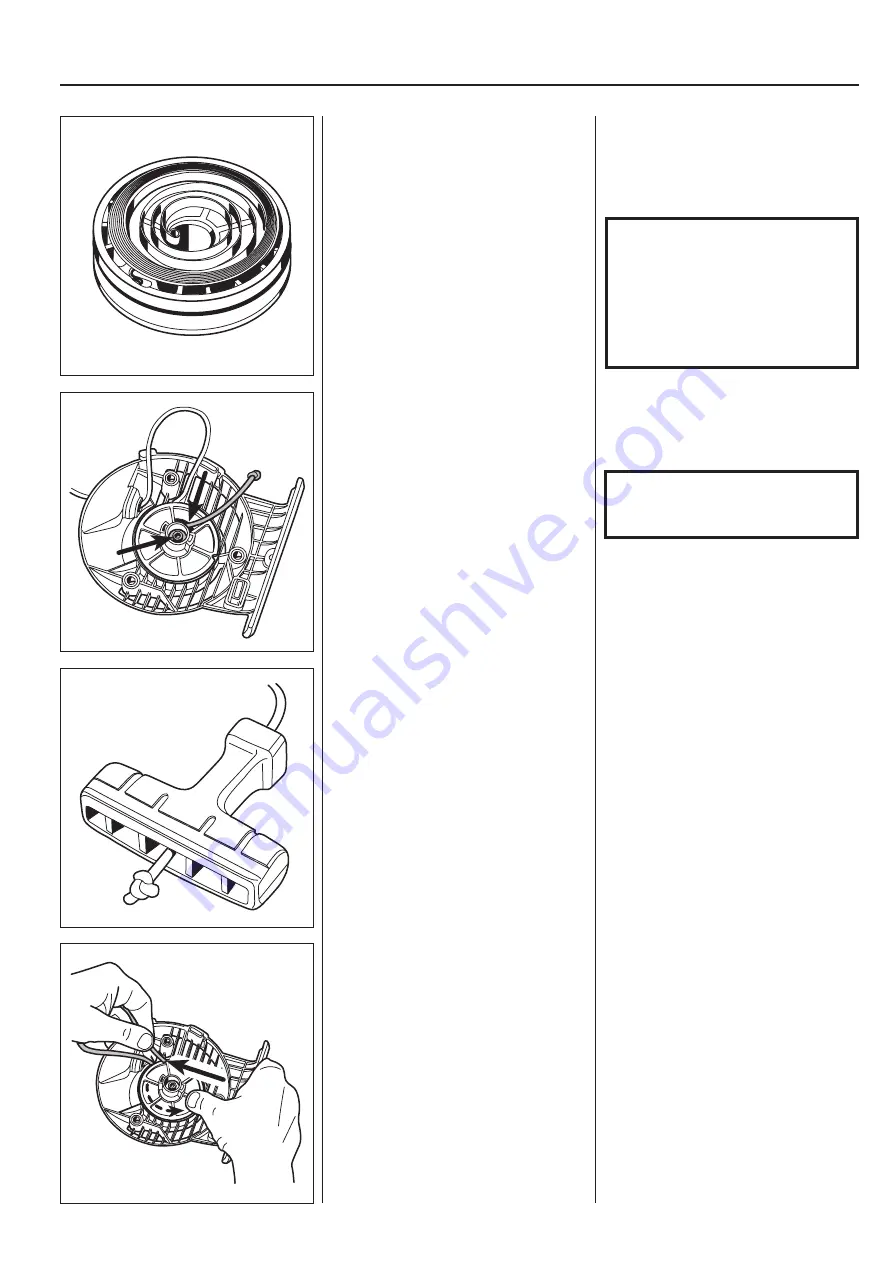
Tension the return spring.
Check the spring tension.
Tension the return spring.
Pull out the starter cord completely and
slow the starter pulley with your thumb.
Lift the starter cord up out of the cut-out
on the starter pulley.
Now turn the starter pulley
anticlockwise,
6 turns.
For starters with a start assistance spring,
the starter pulley must be turned
anti-
clockwise
5 turns.
Check the spring tension. With the starter
cord fully extended it should still be pos-
sible to turn the starter pulley further,
at
least a half turn.
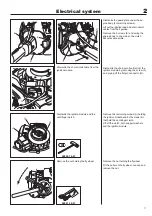
Assembly
Clean the component parts and assemble
in the reverse order as set out for dismant-
ling.
Summary of Contents for 241R
Page 1: ...Workshop manual 241R 241RJ English ...
Page 35: ...4 34 Centrifugal clutch ...
Page 49: ...6 48 Cylinder and piston ...
Page 59: ...58 8 List of tools ...
Page 62: ...2008W37 115 11 96 26 ...


