8.
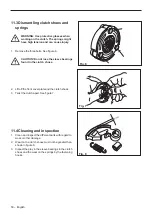
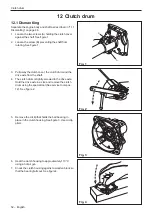
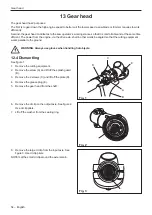
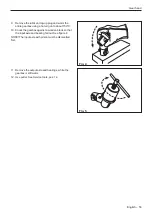
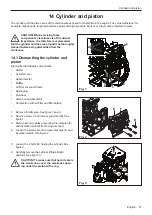
Remove the vibration dampers. See figure 4.
9. Remove the 4 screws holding the clutch cover on the
engine. See figure 4.
10. Lift the engine body to the side so that the clutch
becomes accessible.
11.2 Dismantling clutch assembly
S/N: -191300901
Note! If the clutch hub is undamaged, this step is
not necessary
1. Remove cylinder according to “14.1 Dismantling the
cylinder and piston” on page 57
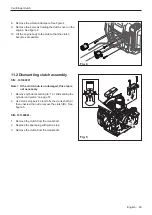
2.
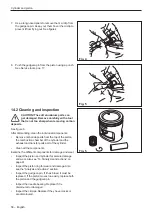
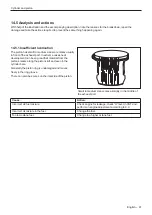
Use crank stop service tool to fix the crank shaft (A)
then unscrew the nut to remove the clutch (B). See
figure 5.
S/N: 191300901-
1. Remove the clutch from the crankshaft.
2. Replace the spark plug with piston stop.
3. Remove the clutch from the crankshaft.
Centrifugal clutch
A
B
Fig. 4
Fig. 5
English – 49
Summary of Contents for 545FX AT
Page 1: ...Workshop manual English 545RXT AT 545FX AT 545FXT AT 545FX 545FXT 545RX 545RXT ...
Page 2: ......
Page 79: ...English 79 ...
Page 80: ...2018 10 04 115 88 11 26 ...


