12.2 Inspection
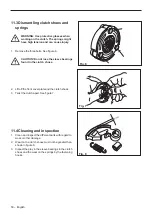
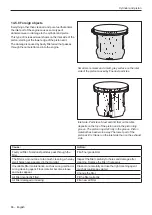
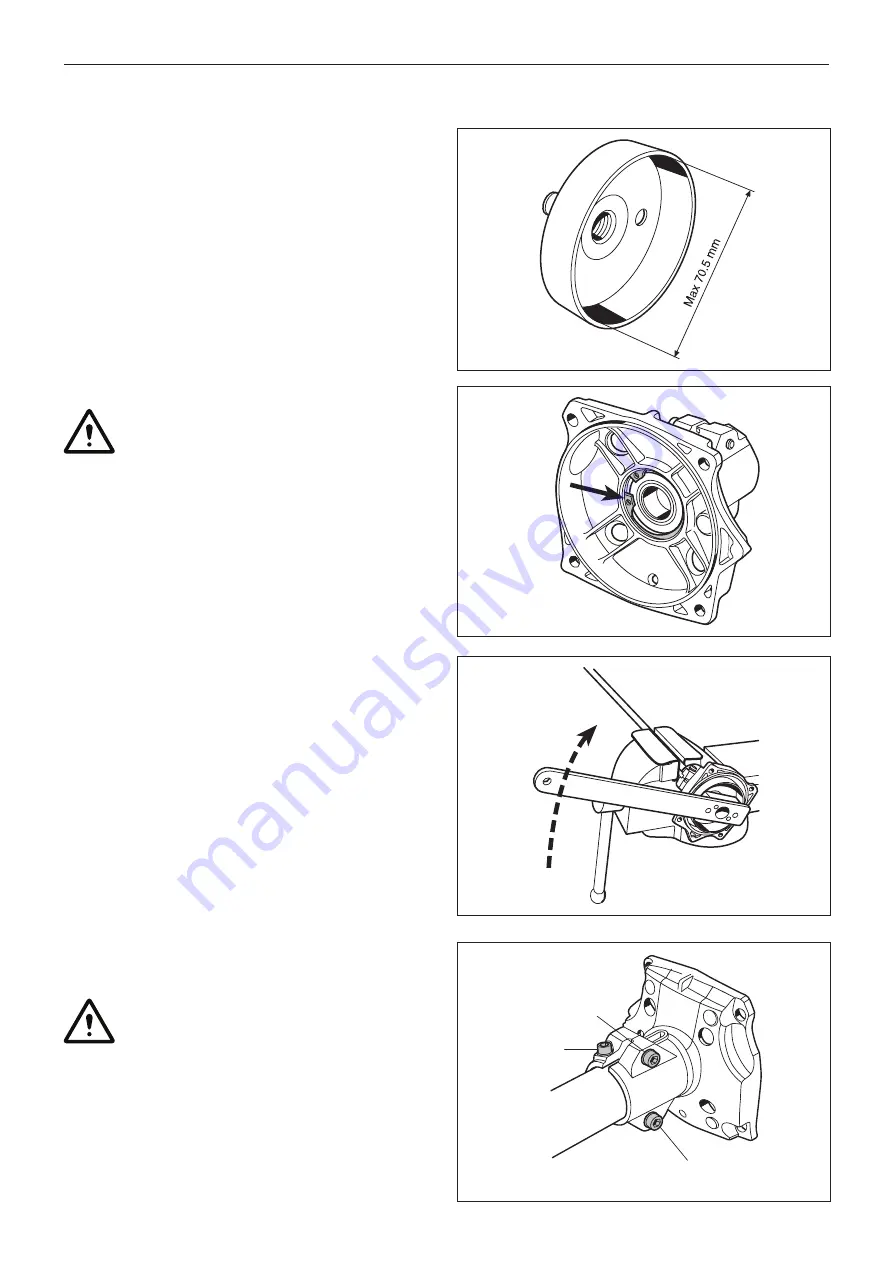
1. Inspect the clutch drum for wear and damage.
2. Replace the clutch drum if the diameter exceeds
70.5 mm. See figure 5.
12.3 Assembling
WARNING: Always use gloves when
handling hot objects.
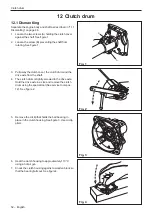
1. Heat the clutch housing to approximately 110 °C
using a hot air gun.
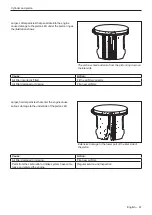
2. Put the bearing in position in the clutch housing and
fit the circlip. See figure 6.
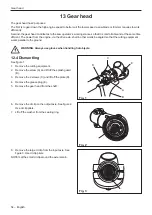
3. Slide the clutch drum into the ball bearing.
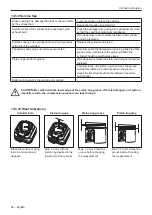
4. Attach the drive axle tightly to the clutch drum. See
figure 7.
5. Lubricate the drive axle with grease and slide it on
the shaft.
6. Clean the surfaces using a degreasing agent. See
Service tools, pos. 13.
CAUTION! There should be no signs of
grease in the clamping joint for the shaft
and clutch cover.
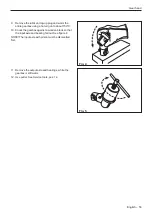
7. Attach the clutch cover on the shaft and tighten the
screws (A) with correct torque. See Service Data.
See figure 8.
A
A
B
Clutch drum
Fig. 5
Fig. 6
Fig. 7
Fig. 8
English – 53
Summary of Contents for 545FX AT
Page 1: ...Workshop manual English 545RXT AT 545FX AT 545FXT AT 545FX 545FXT 545RX 545RXT ...
Page 2: ......
Page 79: ...English 79 ...
Page 80: ...2018 10 04 115 88 11 26 ...


