English - 64
the main circuit board. The operating data
is then saved automatically.
2. Disassemble the body. See
5.2.1
Disassembling the body on page 57
.
3. Disassemble the chassis. See
5.2.2
Disassembling the chassis on page 57
.
4. Disconnect all cables from the main circuit
board. Always pull the connector and NOT
the cable. Note the connector to which
the cables are fitted so that the right cable
is in the right position when reassembling.
The main circuit board is also labelled to
show which function each connector has.
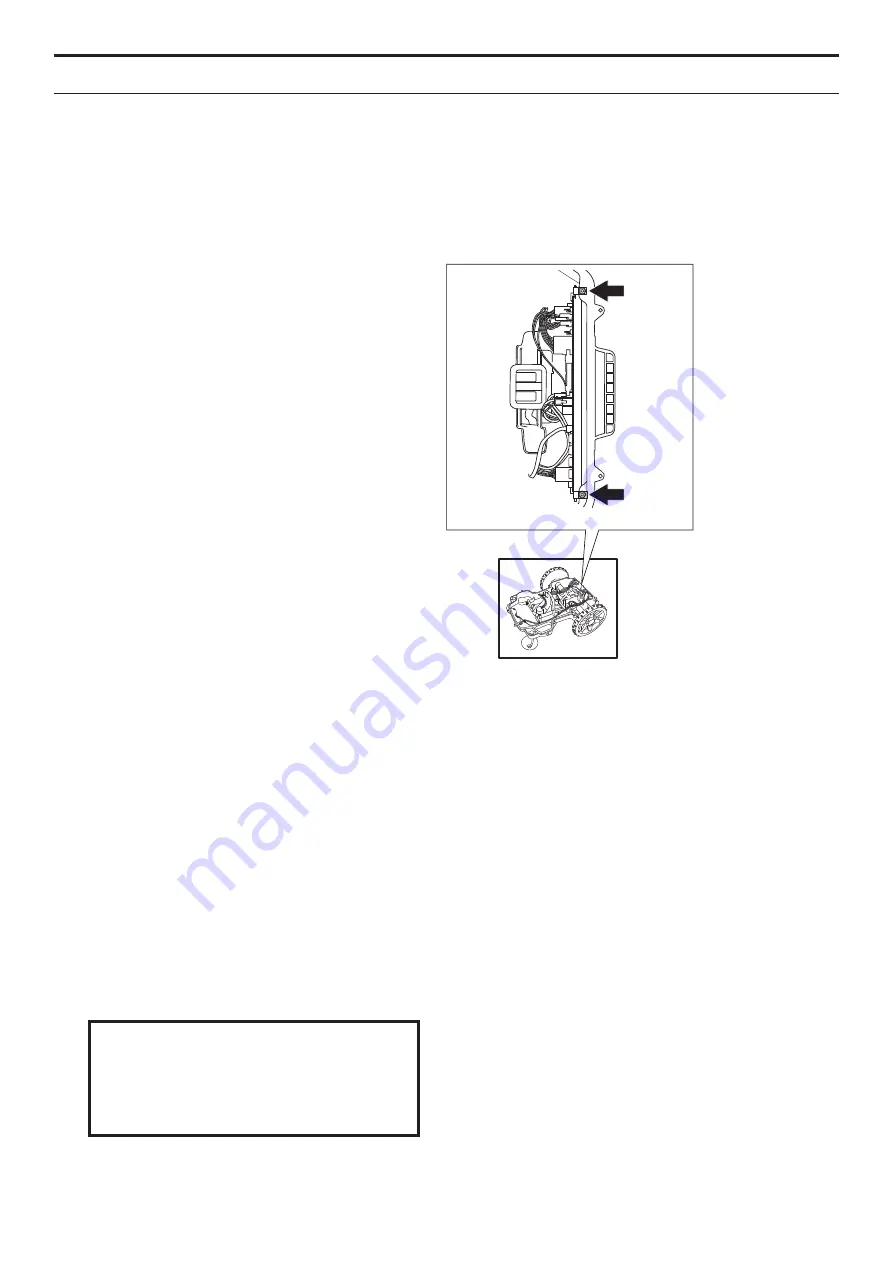
5. Unscrew the two screws (Torx 20) that
secure the main circuit board bracket to the
chassis’ lower section.
6. Remove the old main circuit board. If the
board is to be checked in order to evaluate
the guarantee it should be stored in a bag
with protection against ESD (electrostatic
discharge).
7. Fit the new main circuit board and holders.
8. Connect all connectors to the main circuit
board. Check that the cables are connected
to the correct place.
9. Fit the chassis and body.
Connect the mower to Autocheck EXP and select
Programming
. The service programme will then ask
for the mower’s serial number. Select the correct
serial number in the log book. Autocheck EXP now
automatically transfers the operating information
saved in step 1.
If the current robotic lawnmower for any reason is not
in the log book in Autocheck EXP, the serial number
must be entered manually. For security reasons, the
serial number can only be entered once, and it is
therefore very important to enter the correct serial
number. The serial number is printed on the rating
plate on the inside of the display cover.
If the main circuit board is replaced when troubleshooting
and you are not sure if the new main circuit board
will be kept in the relevant robotic lawnmower, it is
possible to temporarily program the main circuit board
in a so-called Service Mode. See
4.3.4 Programming
on page 47
.
For security reasons the serial number
can only be entered once. You should
therefore ensure that the correct serial
number is entered.
IMPORTANT INFORMATION
10. Test that the mower works.
5. REPAIR INSTRUCTIONS
Summary of Contents for Automower 320
Page 1: ...HUSQVARNA AUTOMOWER 320 330X TECHNICAL MANUAL ...
Page 2: ......


