47
12. Place agitators in the seed box with screw
holes toward the center.
15. Center agitators in seed box and tighten bear-
ing locking collars. Use punch to tighten the
collar then tighten the set screw. Repeat for
the other side.
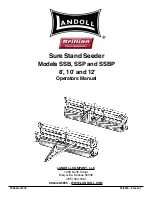
FIGURE 5
16. Slide wheel on and apply two (2) retaining
rings. (Some units use cotter pins instead of
retaining rings.)
NOTE:
The teeth on the retaining rings should point
away from the wheel.
17. Tighten the bearing bolts.
18. Attach the control cable to the inside of the
upper handle in the holes provided.
19. Apply ON/OFF decal to the handle. See Figure 6.
FIGURE 6
SEED DIAL
OPEN
CLOSED
CONTROL LEVER
11.
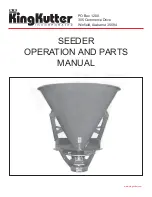
Using two (2) wire ties attach cable to the frame.
See Figure 4.
FIGURE 4
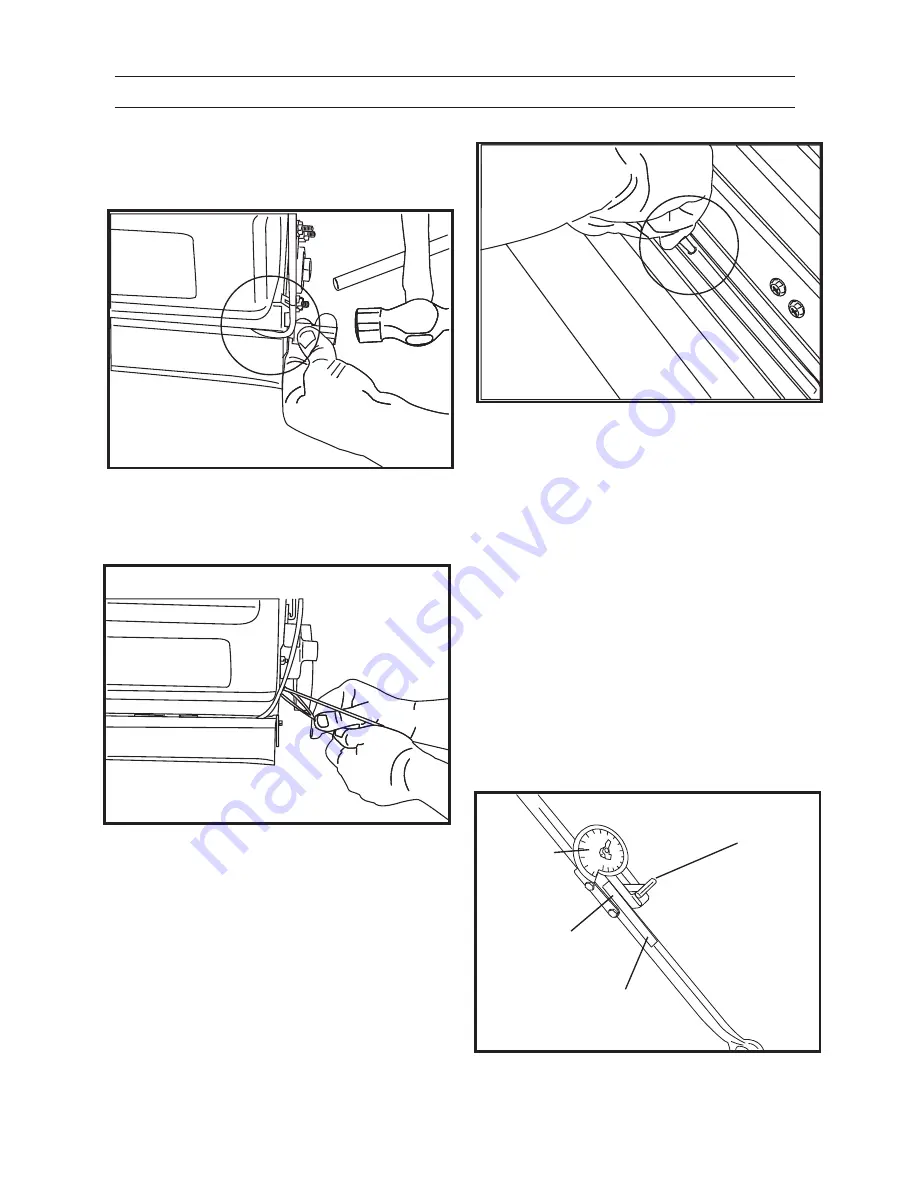
FIGURE 3
10. Re-attach rubber flap rod with push nut to
the frame being sure cable is routed above flap
rod. See Figure 3. (Some units us cotter pins).
13. Make sure locking collar is on the axle then
thread the axle though the side of the box and
through the agitators in seed box.
14.
Rotate axle to line up the holes with the agita-
tors holes. Using the self-tapping screws at-
tach the agitators to the rear axle. See Figure 5.
SEEDER ASSEMBLY
DT21
DT22
DT23
DT24


