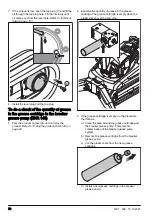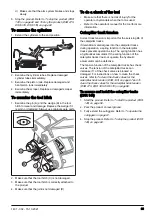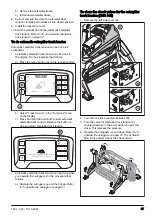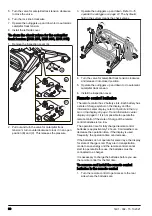
A
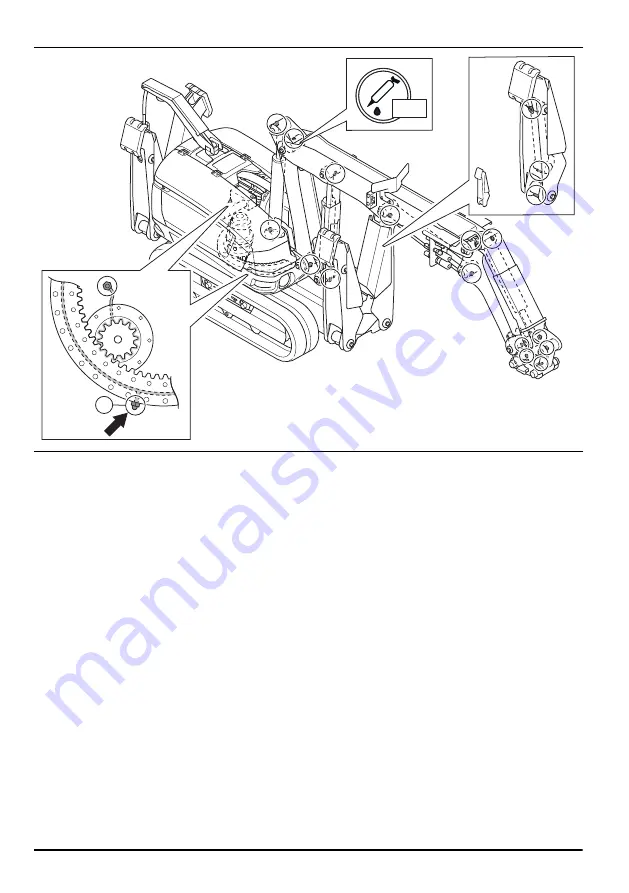
x4
x4 (90°)
30x
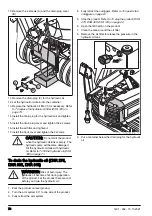
1. Move the product until you have access to all grease
nipples. The grease nipples are shown in the
illustration.
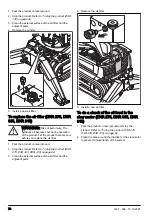
2. Stop the product and disconnect the power cord.
To stop the product (DXR 275, DXR 305,
.
3. Clean the grease nipples.
4. Replace broken or blocked grease nipples.
5. Lubricate the grease nipples with a grease gun.
Push the grease gun 2–3 times or until grease can
be seen at the edges. Refer to
110
.
6. Lubricate all joints and cylinder mountings in the
outriggers.
7. Lubricate all joints and cylinder mountings in the arm
system.
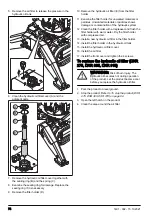
8. Lubricate the grease nipples (A) on the ball bearing
of the gear ring.
a) Lubricate the grease nipples with a grease gun.
Push the grease gun 2–3 times.
b) Start the product. Make sure that you are at a
275, DXR 305, DXR 315) on page 53
.
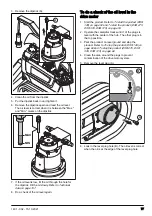
c) Turn the tower 90˚.
d) Stop the product and disconnect the power cord.
To stop the product (DXR 275, DXR
.
e) Do this procedure 3 times. The ball bearings of
the gear rings and the gears of the gear ring are
then lubricated at 4 points.
To do a check of the screw joints
• Make sure that all components are correctly
attached and that there is no wear damage.
• Use a torque wrench to do a check of the torque of
the expanding shafts. Torque the expanding shafts
to the correct torque. Refer to
(DXR 275, DXR 305, DXR 315) on page 84
.
a) Tighten the expanding shafts regularly. After
initial torque, operate the product through a full
range of movements 2–3 times. Do a check of
the torque after 8 hours and 40 hours.
b) If an expanding shaft has moved out of position,
move it to the center. Then tighten the expanding
shaft again.
82
1401 - 002 - 15.10.2021


