STARTING AND STOPPING
26 – English
Before starting
The following points should be checked when working at
a new site and every morning before starting:
•
Carrying out daily inspections.
•
Examine the machine for transport damage.
•
Check that the machine’s safety features are intact.
Refer to 'The machine’s safety features” in the
'General working instructions” chapter.
•
Check that the power cable and operating cables are
intact and correctly dimensioned.
•
Check that the mains voltage is compatible with the
machine and that the correct fuses are used.
•
Always connect the machine through an ground fault
circuit interrupter with personal protection, i.e. an
ground fault circuit interrupter that trips at an ground
fault of 30 mA.
•
Make sure the emergency or machine stop button is
reset.
•
Check that no tools or other objects have been left
lying on the machine.
Starting
Connect the machine
•
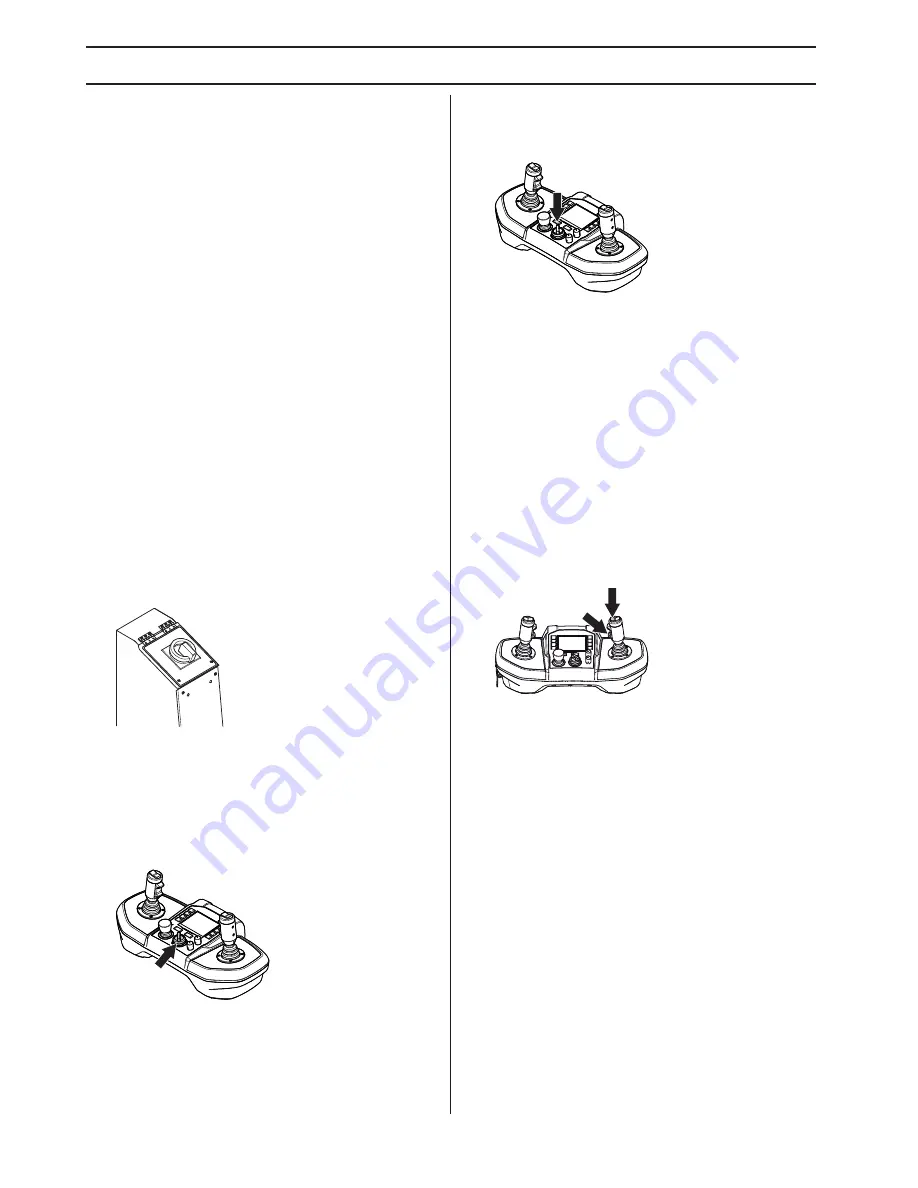
Connect the machine to a 3 phase power supply.
•
Turn on the main switch on the machine.
Starting the remote control
•
Turn the switch to the ON position (I). In this position
the remote control is supplied with current. The light
emitting diode on the remote control flashes rapidly
with a blue light when it is searching for contact. When
it flashes with a longer interval the machine is in
standby mode.
•
If a function is not working or needs attention, an error
message appears on the display in conjunction with
start-up. Refer to 'Error messages” in the 'Trouble
shooting” section.
Starting the electric motor
•
The electric motor is started by pressing the start
button.
•
If several machines are used at the same workplace
there is a risk of mixing up the remote controls.
Press the horn to see which machine is connected to
the remote control. The machine will beep and flash
three times. Do not activate the remote control before
you have ensured that the correct machine is being
operated.
•
Select the desired operating mode (Work or
Transport)
Activating controls
To activate the remote control´s operating functions,
press the left button or the thumb switch downwards on
the right joystick. The remote control is now work mode.
The light emitting diode on the remote control has a
permanent blue light.
•
If no command is given within three seconds the
operating functions are locked. To return to work
mode, press the left button on the right joystick.
•
The control lever must be in neutral position.
Stopping
•
Maneuver the arm system down and allow it to rest
against the ground.
•
Set all controls into neutral position.
•
Press the stop button.
•
Put the main switch into the OFF position (O).
Inspection after work
It can be beneficial to carry out the daily inspection after
finishing work. Detecting damage in time can prevent a
shutdown on the following day.
Summary of Contents for DXR-310
Page 75: ...English 75 TECHNICAL DATA Range and transport diagram DXR250 4483 176 5 2020 79 5 4815 189 5 ...
Page 77: ...English 77 TECHNICAL DATA DXR270 4483 176 1986 78 4849 191 1435 56 ...
Page 79: ...English 79 TECHNICAL DATA DXR300 4868 192 2368 93 5231 206 1818 72 ...
Page 81: ...English 81 TECHNICAL DATA DXR310 5182 204 2129 84 2678 105 5549 218 ...
Page 84: ...1158619 27 z Z 78 z Z 78 2016 12 19 US Original instructions ...


