Assembling
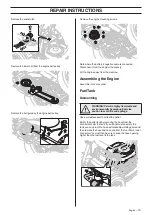
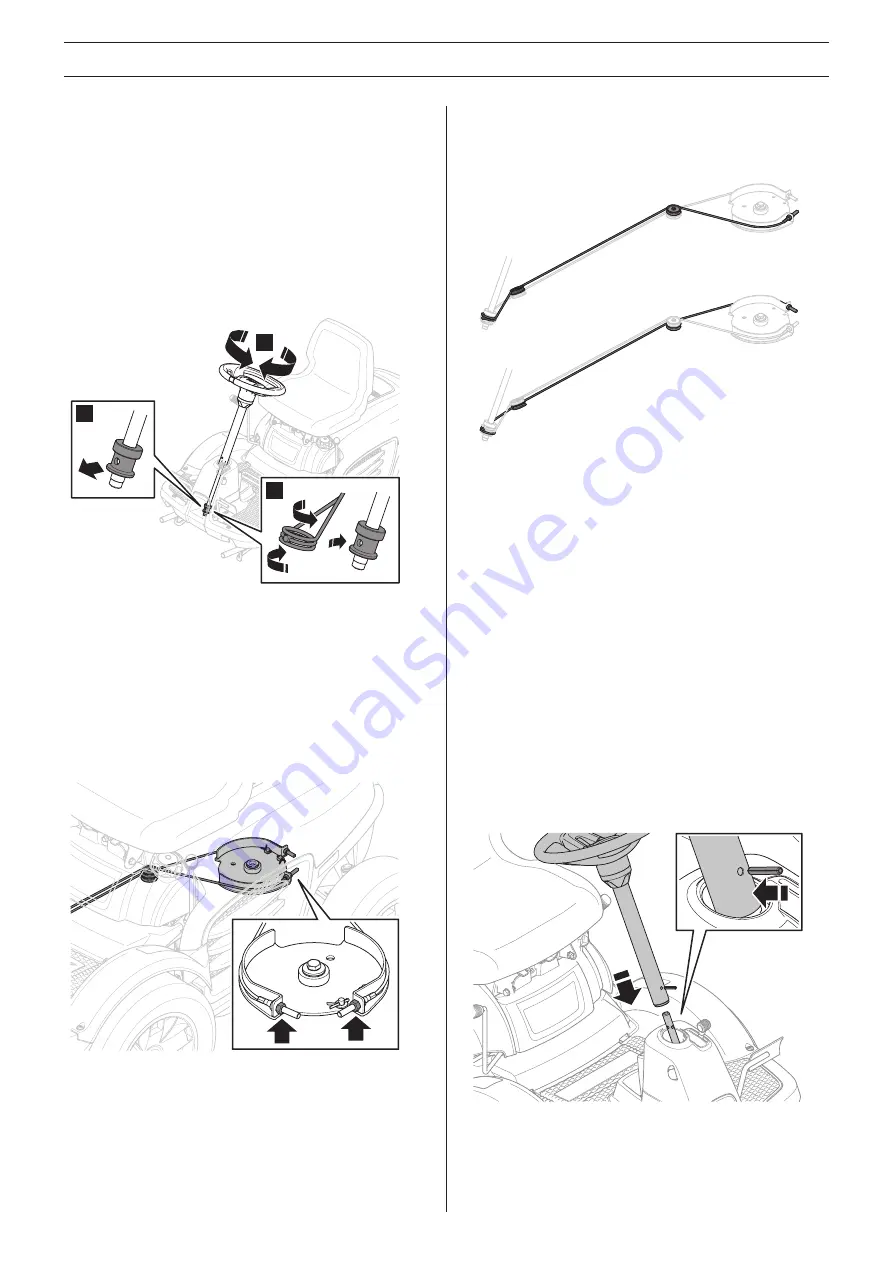
Attach the cable by first turning the steering wheel so that the
hole in the steering column guide roller points forward on the
machine.
Place the center nipple of the cable in the hole with the
marked part of the cable to the right in the direction of travel.
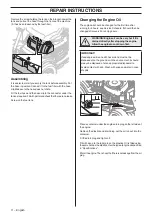
Wind the right end of the cable one turn clockwise under the
nipple and turn the left end counterclockwise above the
nipple so that both ends point towards the rear.
The cable is correctly fitted if it exits at the top on the left side and
the bottom on the right side.
At this stage, the cable can be fixed in position with a cable tie
or tape, for example.
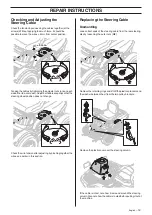
Pull back the ends of the cable and place in the correct
tensioner. Do not forget to screw a nut (M8) onto each
tensioner that is used to secure the cable.
The marked (right) side of the cable is placed at the bottom of
both pulley brackets and connected to the rear steering disc
on the right side of the machine.
Note that the wire must be placed in the groove in the plastic
sprocket before it is all run back to the top of the shaft. If the
machine has hydrostatic transmission (M125-97FH), the right
cable must be routed under the parking brake arm on the
hydrostatic box and the left cable must be routed over the
parking brake arm.
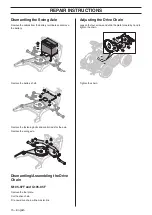
Place the washers between the pulleys and lay the left end of
the wire at the top and connect it to the left attachment of the
steering disc.
Stretch the ends of both cables equally so that the steering
wheel position does not change. Hold the cable with pliers or
a wrench so that it does not twist. Secure the wire with the
inner nuts (M8).
Assembling the Steering Shaft
Fit the steering wheel/control rod on the control rod shaft and
knock the tension pin in all the way through the steering rod.
Dismantling/Assembling the Cable
Pulley
See "Replacing the Steering Cable".
1
2
1
REPAIR INSTRUCTIONS
2
1
13 – English

