17
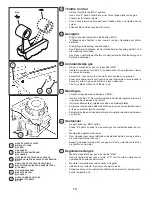
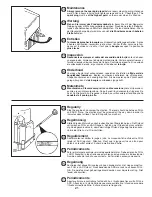
Filling with Oil
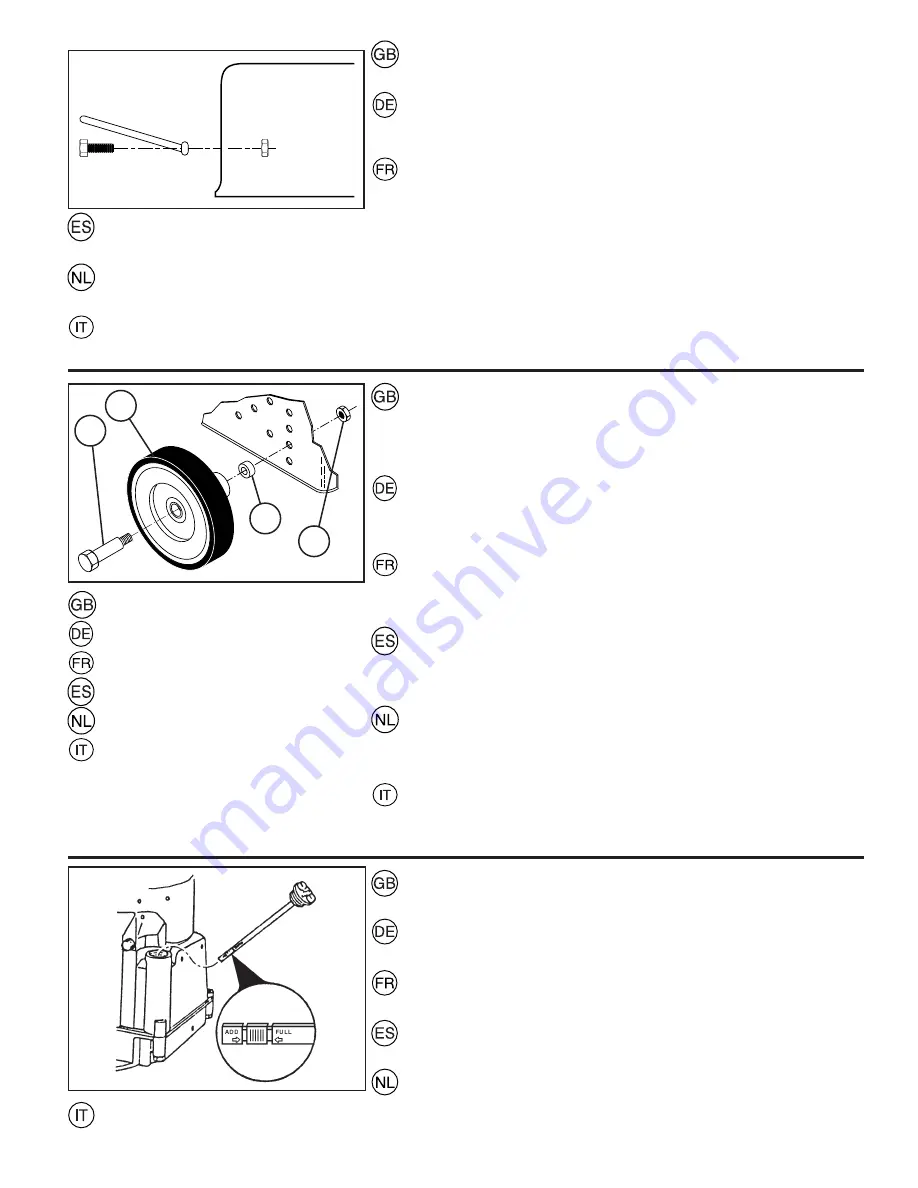
Fill the engine with engine oil. SAE30 can be used. (Read the enclosed motor
operating in struc tions as well.)
Ölaffülling
Füllen Sie Öl in den Motor. Es kann SAE30 verwendet werden. (Lesen Sie
auch die beiliegende Gebrauchsanweisung für den Motor.)
Remplissage d’huile
Remplissez le moteur avec de l'huile pour moteur, SAE30 peuvent être utilisées.
(Lisez aussi les in struc tions ci-lointes concernant le moteur.)
Relleno de aceite
Rellenar el motor de aceite. Se pueden usar SAE30. (Léase también las in-
strucciones anexas para el uso del motor.)
Bijvullen van olie
Vul het carter met de bijgeleverde motorolie. Multi-grade zoals bijv SAE30.
(Lees tevens de bijgevoegde instructie voor de motor.)
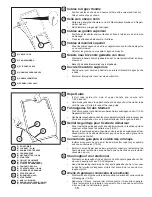
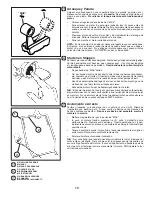
Install Rear Foot Guard
• Position angle upward and secure with fasteners supplied.
NOTE:
The
foot guard must be installed for the safe operation of this machine.
Hinteren fuss-schutz montieren
• Den Winkel nach oben zeigend anbringen und mit den mitgelieferten Bef-
estigungsteilen sichern.
HINWEIS:
Die Montage des Fußschutzes ist für
den sicheren Betrieb dieser Maschine erforderlich.
Installez le protecteur de pieds arrière
• Placez l’angle vers en haut et assurez-le avec les attaches fournit.
REMARQUE:
Vous devez installer le protecteur de pieds arrière pour
que l’usage de la machine soit sûr.
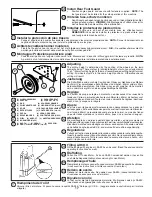
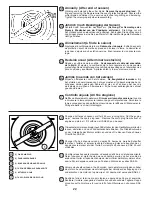
Adjusting
The cutting height is determined by the position of the wheels on the lawn
mower housing. There are four (4) available heights of cut on your lawn mower.
The 2" (50mm) cut ting height is the most recommended cutting height for most
cutting. All wheels must be in the same height positions. Otherwise uneven
cutting will result.
Justierung
Die Schnitthöhe wird durch die Position der Räder am Gehäuse des Mähers
bestimmt. Vier verschiedene Schnitthöhen sind möglich; 50mm wird als Stan-
dardschnitthöhe empfohlen. Alle Räder müssen auf gleicher Höhe montiert
sein; andernfalls ergibt sich eine ungleichmäßige Schnitthöhe.
Reglage
La hauteur de coupe se règle en montant ou en descendant les roues de la
tondeuse. Celle-ci permet quatre hauteurs différentes. 50mm de hau teur sont
recommandés-en standard. Toutes les roues doivent être réglées identique-
ment, sinon la coupe sera inégale.
Ajuste
La altura de corte puede ajustarse levantando o descendiendo las ruedas del
cortacéspedes. Este cortacéspedes permite cuatro alturas de corte diferentes.
La altura de 50mm se recomienda como el ajuste normal. Las ruedas tienen
que estar todas ajustadas a la misma altura, pues si no el corte es desigual.
Afstellen
De maaihoogte kan worden ingesteld door de wielen van de grasmaaier te
verhogen of te verlagen. Deze grasmaaier heeft vier verschillende maaihoogtes.
Standaard wordt een maaihoogte van 50mm aanbevolen. Alle wielen moeten
op dezelfde hoogte ingesteld zijn, anders maait de machine ongelijkmatig.
Regolazione
L'altezza di taglio viene regolata sollevando o abbassando le ruote del tosaerba.
Questo tosaerba consente quattro altezze possibili. Noi raccomandiamo 50mm
come altezza normale. Tutte le ruote devono essere alla stessa altezza, altri-
menti il taglio non è uniforme.
(1) WHEEL ASSEMBLY
(2) SHOULDER BOLT
(3) SPACER
(4) LOCKNUT 3/8-16
(1) RAD
(2) ACHSENSCHRAUBE
(3) ZWISCHENSTÜCKE (4) GEGENMUTTER (3/8-16)
(1) ROUE
(2) BOULON À ÉPAULEMENT
(3) ENTRETOISES
(4) CONTRE-ÉCROU (3/8-16)
(1) RUEDA
(2) PERNO DE RUEDA
(3) ESPACIADORES
(4) CONTRATUERCA (3/8-16)
(1) WIEL (2) ASBOUT (3) AAFSTANDSBUSSEN
(4) BORGMOER (3/8-16)
(1) RUOTA (2) PERNO (3) SPESSORI
(4) DADO DI BLOCCAGGIO (3/8-16)
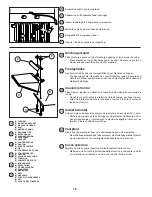
Instalar la protección de pies trasera
• Ponga el ángulo en la posición ascendente y asegúrelo con las amarras proporcionadas.
NOTA:
Para el funcionamiento en
seguridad de esta máquina hay que instalar la protección para los pies.
Achterste voetbeschermer monteren
• Plaats het hoekstuk naar boven en zet het met bijgeleverd bevestigingsmateriaal vast.
N.B.:
De voetbeschermer dient te
worden geïnstalleerd voordat deze machine veilig kan worden gebruikt.
Montaggio: Protezione posteriore piedi
• Posizionare il pezzo con l’angolo rivolto verso l’alto. Bloccare con i dispositivi di fi ssaggio forniti insieme al prodotto.
NOTA:
A garanzia di un funzionamento sicuro della macchina, è basilare installare la protezione posteriore piedi.
Riempimento dell ‘olio*
Versare l'olio nel motore. Si possono usare le qualità SAE30. *Solo per gli U.S.A. (Leggere anche le unstruzioni per il motore
allegate.)
4
2
1
3
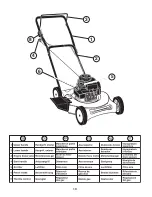
Summary of Contents for HUSKY JET50
Page 10: ...10 2 3 1 6 4 8 5 ...

