MAINTENANCE
English
–
117
Cleaning
External cleaning
•
Clean the machine daily by rinsing it with clean water
after the work is finished.
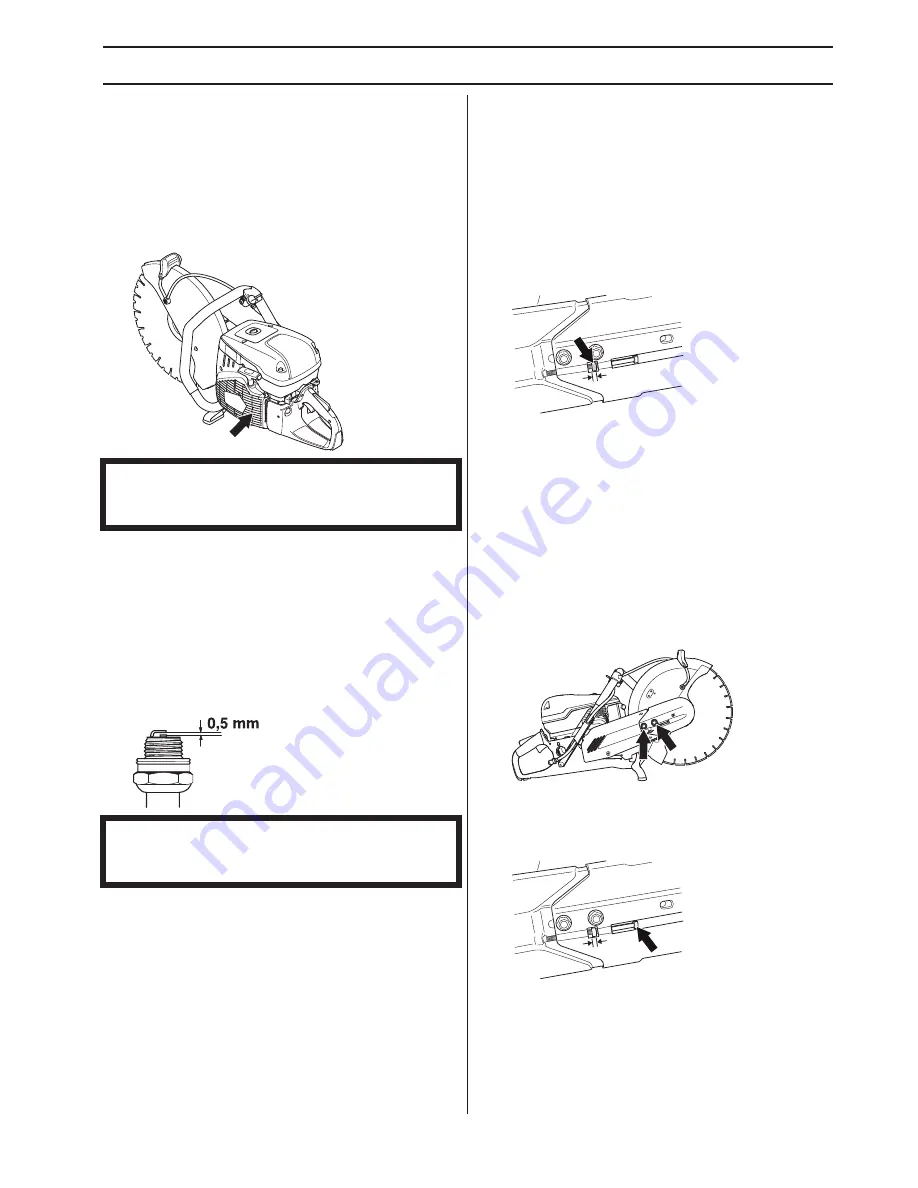
Cooling air intake
•
Clean the cooling air intake when needed.
Spark plug
•
If the machine is low on power, difficult to start or runs
poorly at idle speed: always check the spark plug first
before taking other steps.
•
Ensure that the spark plug cap and ignition lead are
undamaged to avoid the risk of electric shock.
•
If the spark plug is dirty, clean it and at the same time
check that the electrode gap is 0.5 mm. Replace if
necessary.
These factors cause deposits on the spark plug
electrodes, which may result in operating problems and
starting difficulties.
•
An incorrect fuel mixture (too much or incorrect type
of oil).
•
A dirty air filter.
Functional inspection
General inspection
•
Check that nuts and screws are tight.
Drive belt
Check the tension of the drive belt
•
For correct tensioning of the drive belt, the square nut
should be positioned opposite the marking on the belt
cover.
Tensioning the drive belt
•
The tension of a new drive belt must be readjusted
after one or two tanks of fuel have been used.
•
When the machine is equipped with a friction retarder,
a scraping sound can be heard from the bearing
housing when the blade is turned by hand. This is
quite normal. Please contact an accredited
Husqvarna workshop if you have any questions.
•
The drive belt is enclosed and well protected from
dust and dirt.
•
When the drive belt is to be tensioned, release the
bolts holding the cutting arm.
•
Screw the adjuster screw so that the square headed
nut comes opposite the marking on the cover. This
automatically ensures that the belt has the correct
tension.
•
Tighten both of the screws holding the cutting head
using a combination spanner.
NOTICE! A dirty or blocked air intake results in the
machine overheating which causes damage to the
piston and cylinder.
NOTICE! Always use the recommended spark plug
type! Use of the wrong spark plug can damage the
piston/cylinder.
Summary of Contents for K970 II Rescue
Page 123: ......


