


13
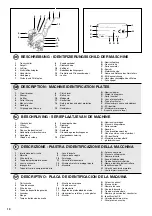
DE
GB
NL
IT
SP
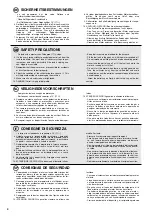
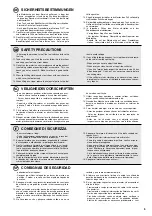
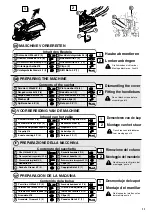
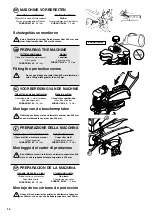
MASCHINE VORBEREITEN
PREPARING THE MACHINE
VOORBEREIDING VAN DE MACHINE
PREPARAZIONE DELLA MACCHINA
PREPARACION DE LA MAQUINA
6
7
9
8
6
9
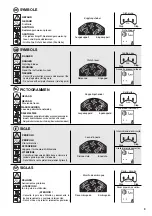
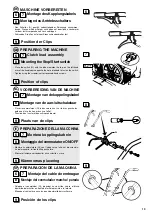
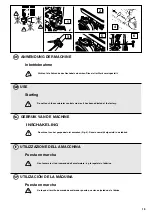
Montage des Kupplungskabels
7
8
Position der Clips
6
9
Clutch lead assembly
7
8
Position of clips
6
9
Montage van de koppelingskabel
7
8
Plaats van de clips
6
9
Montera kopplingskabeln
7
8
Klämmornas placering
6
9
Montaje del cable de embrague
7
8
Posición de los clips
3 to 10 mm
3 a 10 mm
8 mm
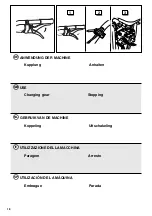
ON
OFF
G
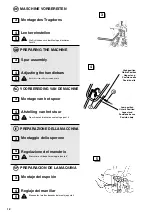
Montage des Antriebsschalters
- Den Schalter (G) gemäß nebenstehender Zeichnung zusammen-
bauen. Diesen mit dem Zeiger nach oben auf dem linken Lenkerarm
vor dem dafür vorgesehenen Loch anbringen.
- Schrauben Sie alles mit einem Kreuzschraubendreher fest.
Mounting the Stop/Start switch
- Place the switch (G), with the index towards the top, on the left-hand
arm of the handlebars opposite the hole intended to fasten the switch.
- Tighten using the screwdriver for recessed-head screws.
Montage van de aan-/uitschakelaar
- Placer le commutateur (G), index vers le haut, sur le bras gauche du
guidon en face du trou prévu à cet effet.
- Draai de bout vast met een schroevendraaier.
Montaggio del commutatore ON/OFF
- Montare il commutatore (G), con l’indice verso l’alto, sul braccio sinis-
tro del manubrio, di fronte all’apposito foro.
- Bloccare l’insieme servendosi di un cacciavite a croce.
Montaje del conmutador marcha / parada
- Coloque el conmutador (G), indicador hacia arriba, sobre el brazo
izquierdo del manillar en frente del orificio previsto a tal efecto.
- Bloquee el conjunto con ayuda de un destornillador cruciforme.


