BEXDWG
P/N 3093114_A 1-5
HUSSMANN CORPORATION • BRIDGETON, MO 63044-2483 U.S.A.
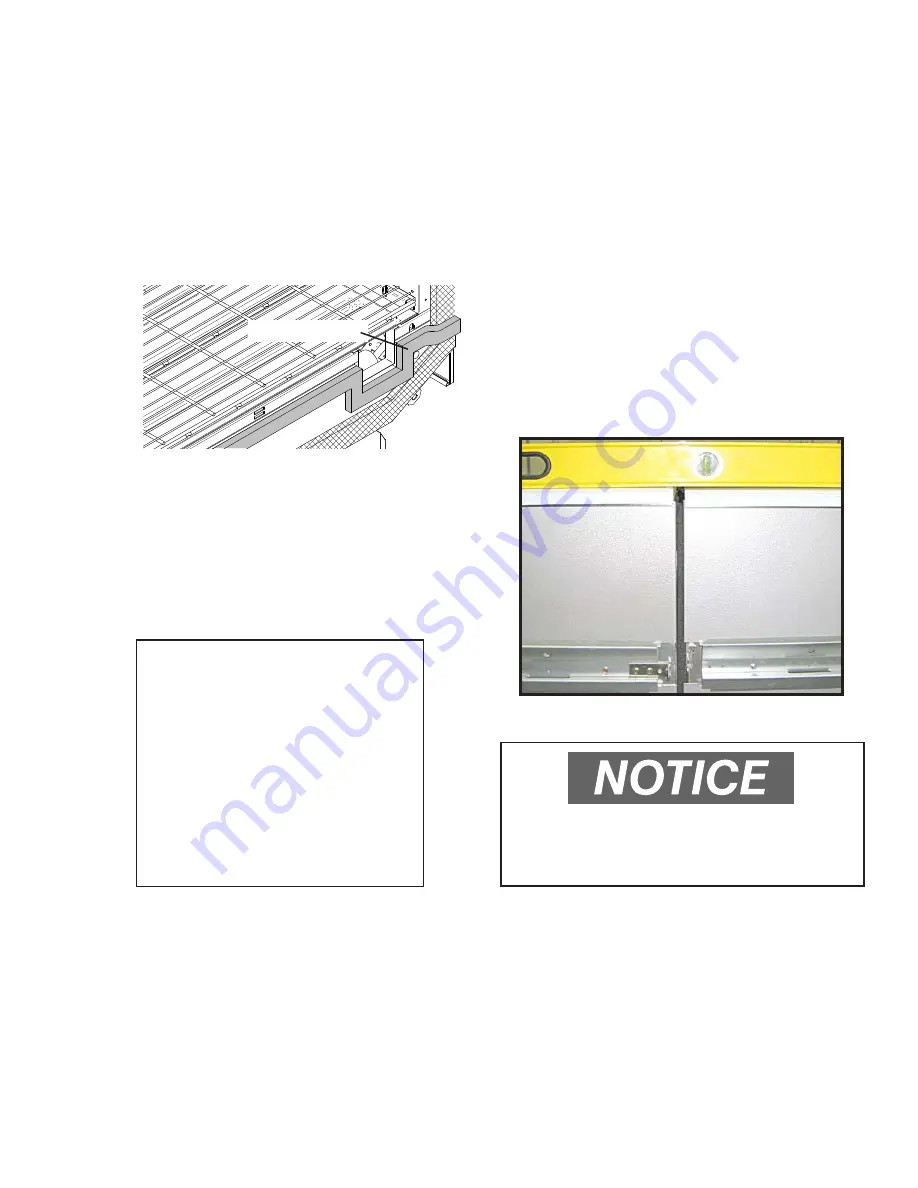
2. Apply the 1 in. (25 mm) gasket across the
end shoe as shown. Each end of the gasket
should extend onto the 1
5
/
8
inch gasket but
not over. Check to be sure that there are no
gaps between merchandiser and gaskets.
3. Apply the 1 in. (25 mm) gasket at the top
of the discharge and return air flues as shown.
NOTE:
When adding an end merchandiser,
apply gaskets to the island, not the end
merchandiser.
JOINING MERCHANDISERS IN LINE
1. Remove and retain any factory-installed
fasteners.
2. Move merchandisers in lineup as close as
possible by pushing or using lever bar (mule).
3. Verify upper front panel, front panel,
bumper retainer, and top rail alignment before
joining merchandisers, and shim as necessary.
Panels and top rail must have equal overhang
at each end of merchandiser.
A 3-inch space is required from walls
at rear and ends of merchandiser(s)
to prevent condensation.
IMPORTANT
• Do not stretch gasket,
especially around corners.
• Do not butt gaskets;
always overlap them as shown.
• Remove paper backing
after gasket has been applied.
•
Perimeter gasket is
required
by NSF.
Lap Gasket(s)


