1-8
I
nstallatIon
P/N 0467434_P
U.S. & Canada 1-800-922-1919 • Mexico 1-800-890-2900 • WWW.HUSSMANN.COM
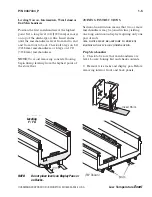
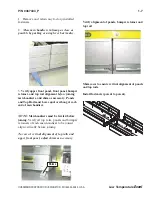
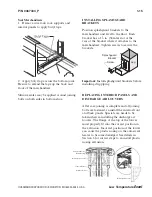
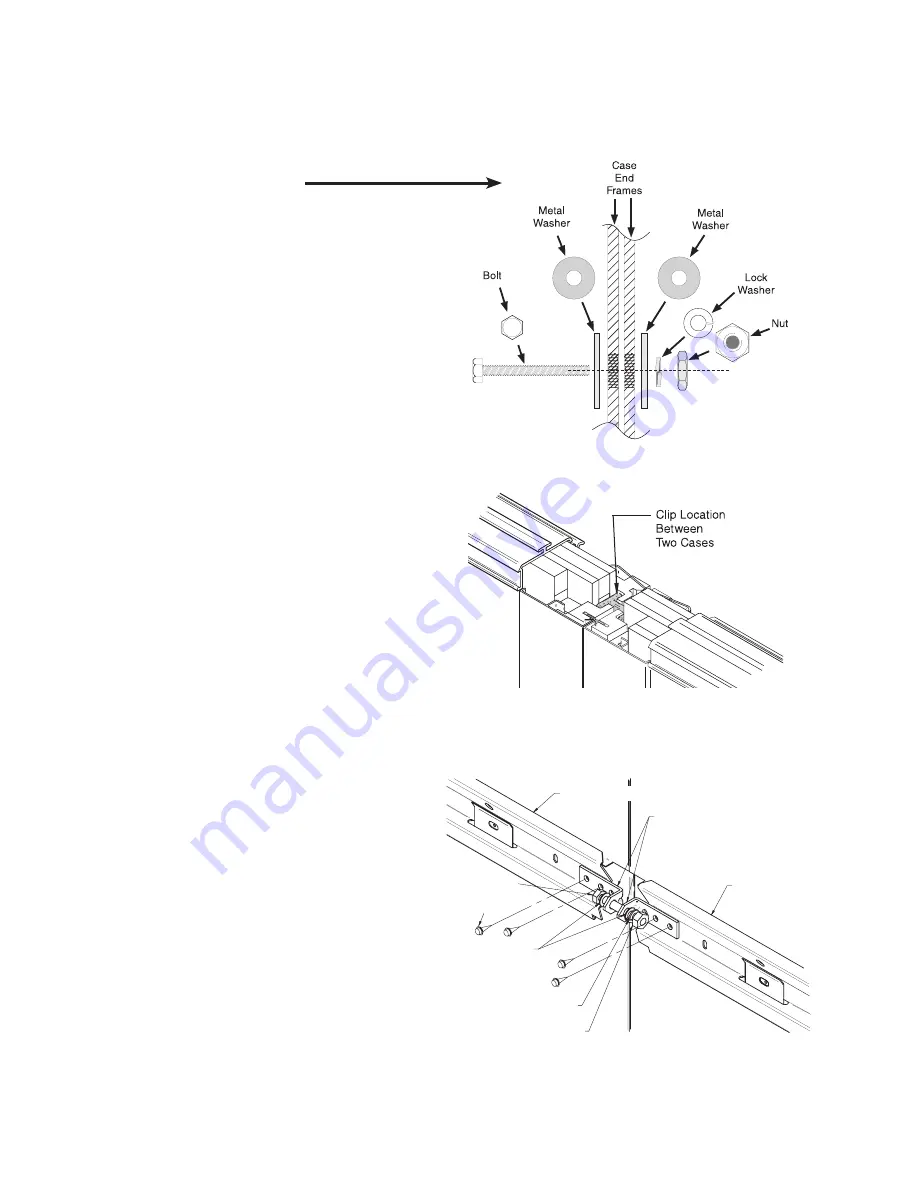
4. Align frame fasteners.
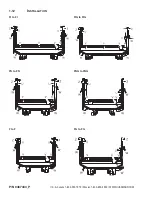
Fastener size and
location are detailed on Pages 1-10 and 1-11.
Loosely assemble bolt, washers, lockwasher
and nut as shown here.
For glass cases, remove nut retainer clips in
one of the case’s end frame for each pair of
cases joined in the lineup.
N
ote
that
aligNmeNt
order
is
differeNt
from
tighteNiNg
order
!
Do not attempt to draw merchandisers together
using nut and bolt.
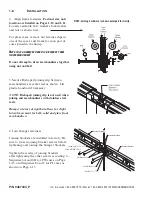
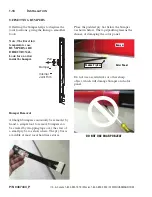
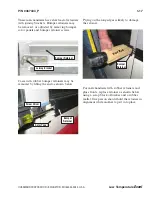
5. Secure H-shaped joining clip between
merchandisers at center rail as shown. Lift
plastic handrail if necessary.
NOTE:
H-shaped joining clip is not used when
joining end merchandisers with stainless steel
rails.
Bumper retainer design that allows for slight
lateral movement for both solid and glass front
merchandisers.
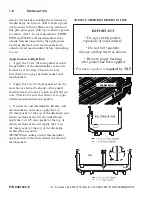
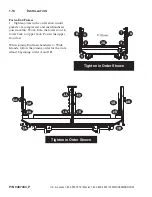
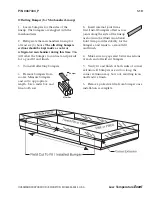
6. Join bumper retainers.
Joining brackets are installed in factory. Be
sure to loosen joining bracket screws before
tightening and joining the bumper brackets.
Tighten the screws of joining brackets
after tightening the other screws according to
Sequence 6A and 6B for FW cases on Page
1-13, and Sequence 8 and 9 for FI cases as
shown on Page 1-13.
Joining Brackets
Bumper Retainer
Hex Nut
5
/
16
- 18
Lock Washer
5
/
16
Flat Washer
5
/
16
Screw SM #10-12 x
1
/
2
Screw-Cap
5
/
16
-18 x 1
3
/
4
Bumper Retainer
NOTE: Joining hardware is shown enlarged for clarity.


