1-18
I
nstallatIon
P/N 0515388_L
U.S. & Canada 1-800-922-1919 • Mexico 01-800-890-2900 • www.hussmann.com
INSTALLING PARTITIONS
To join same temperature merchandisers on
different defrost cycles, an acrylic partition kit
is required.
To join like or unlike merchandisers operating
at different temperatures, a 1
1
/
2
in. (38 mm)
partition kit is required. It must be installed
when setting the lineup.
Instructions for installing these partitions are
included with the kits.
INSTALLING END ASSEMBLIES
The following information is provided for field
or retrofit installation:
1. Prepare Merchandiser
a. Remove shelves (if installed), display
racks, pans, front shelf supports and front
air grilles from the section of merchan diser
where end is to be installed.
b. Remove the interior rear panel(s). On
multi-deck merchandisers, remove the
lower back panel, lift it up from its
bottom edge and out. No tools required.
c.
Right End Only
Install nut retainers into right end frame
at locations shown.
d.
Left End Only
Check that factory-installed nut retainers
are in place.
e. Remove bumper by pulling bumper
away from bumper retainers. Be careful
not to lose the internal joint trims.
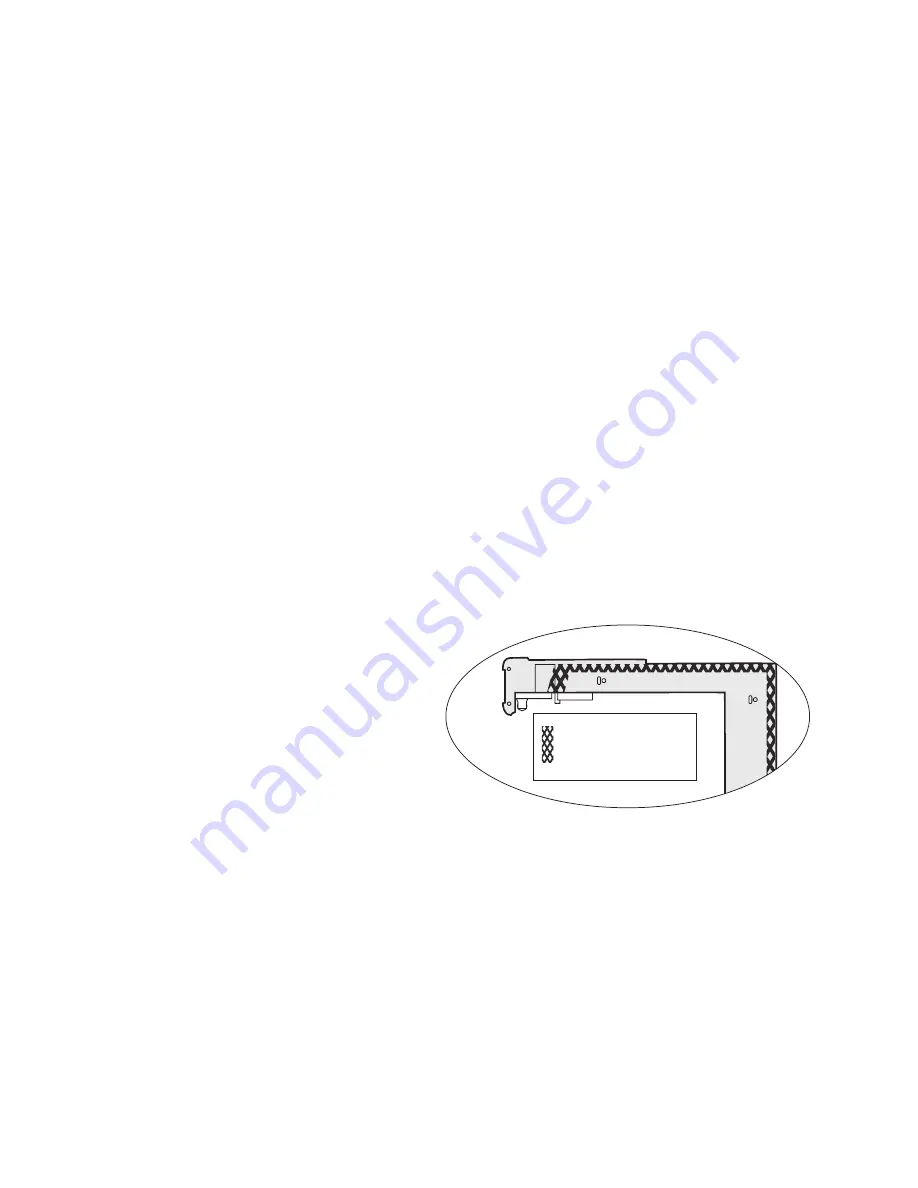
2. Apply Gaskets to End Frame as Follows:
a. Apply the 1
5
/
8
in. (41 mm) gasket to
canopy and rear of the merchandiser as
shown on Page 1-15. It must be at the
edge. Check to be sure that there are no
gaps between merchandiser and gasket.
b. Apply the 1 inch (25 mm) gasket from
front to back. It should lap the 1
5
/
8
in.
gasket at the rear. Check to be sure that
there are no gaps between merchandiser
and gaskets.
Refer to details below, and on
the next page.
Gasket
1
5
/
8
in. (41 mm)


