10
Installation (Cont’d)
Setting and Joining
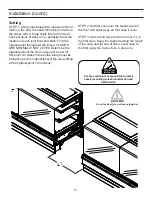
The sectional construction of these models enable
them to be joined in line to give the effect of one con-
tinuous display.
An alignment pin kit is supplied with every case and
must be used in alignment.
Leveling
IMPORTANT! IT IS IMPERATIVE THAT CASES
BE LEVELED FROM FRONT TO BACK AND
SIDE TO SIDE PRIOR TO JOINING. A LEVEL
CASE IS NECESSARY TO INSURE PROPER
OPERATION, WATER DRAINAGE, GLASS
ALIGNMENT AND OPERATION OF THE HING-
ES SUPPORTING THE GLASS. LEVELING
THE CASE CORRECTLY WILL SOLVE MOST
HINGE OPERATION PROBLEMS.
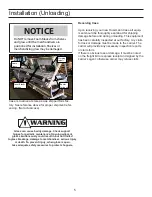
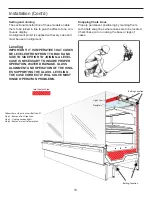
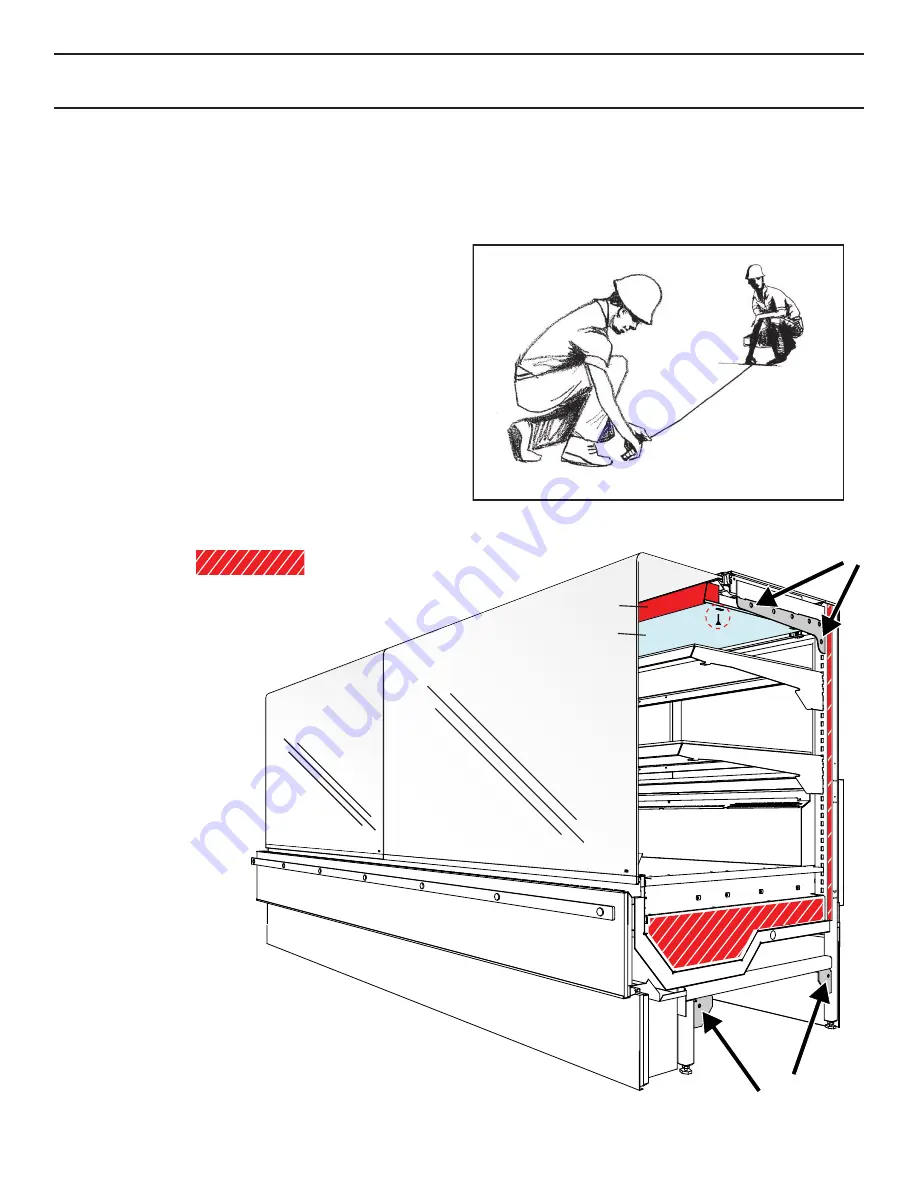
Bolting Location
Joint Sealant Area
Bolting Location
Follow these steps to access Bolt Loc #1
Step 1 - Remove front light can.
Step 2 - Unplug canopy lights.
Step 3 - Remove screw to lower plex.
1
2
3
4
Light Can
Plexiglass
Snapping Chalk Lines
Prepare permanent positioning by marking fl oors
with Chalk snap lines where cases are to be located.
Chalk lines are to run along the base or legs of
cases.
Summary of Contents for SHVSV Series
Page 9: ...9 Joint Trim Pack list ...
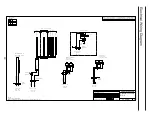
Page 20: ...20 Electrical Wiring Diagram 0 0 0 1 0 0 0 0 2 0 0 3 0 0 1 1 1 1 1 ...
Page 21: ...21 Electrical Wiring Diagram Cont d 0 1 1 1 2 0 1 1 0 1 1 3 0 1 1 4 0 1 1 2 2 2 2 ...
Page 24: ...24 0 1 1 1 2 0 1 1 0 1 1 2 3 0 1 1 4 0 1 1 2 2 2 2 2 2 2 2 Electrical Wiring Diagram Cont d ...


