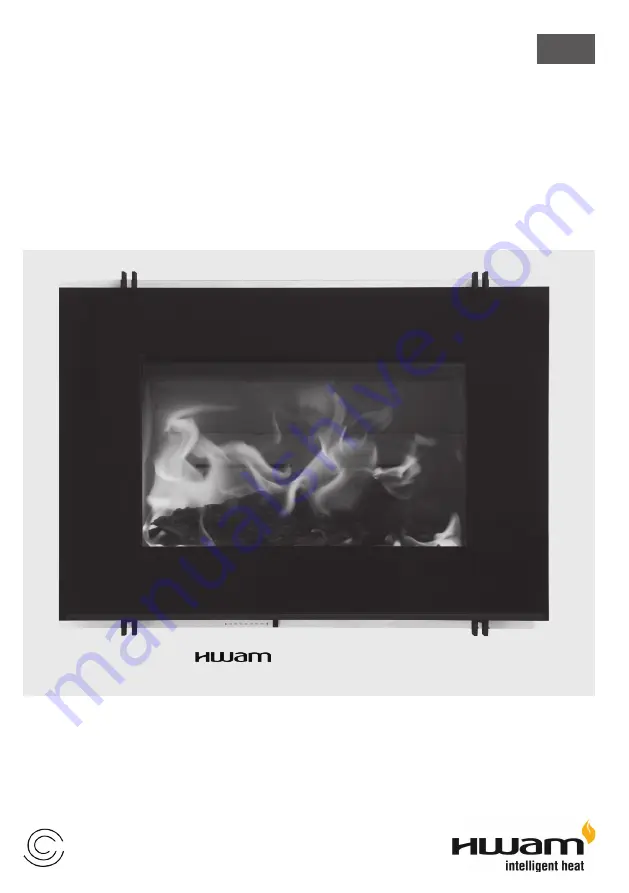
background image

I 30/55

01.11.2020 / 97-9637

www.hwam.com

AUTOPILOT

User's Manual

EN

Summary of Contents for I30/55

Page 1: ...I30 55 01 11 2020 97 9637 www hwam com AUTOPILOT User s Manual EN ...

Page 2: ... Drawings 4 6 Installation manual 8 Mounting and connection 10 Firing manual wood 12 Firing in general 14 Cleaning 15 Maintenance 16 Operational problems 18 Declaration of Performance 18 Product information EcoDesign 19 ...

Page 3: ...Page 3 of 20 pages 1 1 1 A1 A2 A3 7 8 5 6 5 4 3 2 a 39 1 cm b 40 4 cm 1 2 ...

Page 4: ...Page 4 of 20 pages D C 3 2 1 B 1 1 1 6 5 4 ...

Page 5: ...Page 5 of 20 pages E F G 1 1 1 2 2 H ...

Page 6: ...Page 6 of 20 pages ...

Page 7: ...ir control lever A window that can be opened or an adjustable air valve will be sufficient It must not be possible to block the adjustable air valve grate In newly built airtight dwellings we recommend that a fresh air system should be installed for the direct supply of external air to the combustion This fresh air system may be bought separately Before installing the insert make sure that the flo...

Page 8: ... the location of the chimneys The woodburning stove requires a minimum draught of 12 Pa measured at EN 13240 measurement point If measured just above the smoke flue socket the chimney draught must be 18 20 Pa The chimney must have a minimum clearing of Ø 150 mm The chimney must be provided with an eas ily accessible cleaning door The chimney and flue duct must be of flue class T400 and be CE marke...

Page 9: ...chimney fires the chimney must be cleaned every year The flue duct and the smoke chamber above the baffle plate must be cleaned together with the chimney If the chimney is too tall to be cleaned from above it must be equipped with a soot door In case of a chimney fire close all dampers and call the firefighters Before any further use have the chimney checked by the chimney sweeper ...

Page 10: ...tely 3 fireproof batts of 50 mm each 4 so that they fit tightly into the chimney space and cut a hole in the centre to fit tightly around the tube Place the fire tube in the chimney so that the joining flange corresponds to the given measurements a Distance from front edge of the brick hole if the insert must be flush with the brickwork b Height over the bottom of the insert Now push the three bat...

Page 11: ...n progresses there should be a gap of min 5 mm between the brickwork and the outer casing The frame of the outer casing has a width of 25 mm though only 20 mm at the top Any brick work stretching across the outer casing must be self supporting Remember the screws between the outer casing and the wall Fire tubes and any convection ducts to other rooms should be fitted to the outer casing during the...

Page 12: ...uce and pine are more easy to light up They burn faster and give off fewer ambers You may therefore take advantage of the light types of wood for lighting and use the heavier types of wood to ensure a longer burning time Banned fuel types It is not allowed to stoke a fire with the following printed matter plywood plastic rubber fluid fuels and rubbish such as milk cartons lacquered wood or impregn...

Page 13: ...ion forms on the glass for a maximum of 5 min Close the door When the kindling is burning well push the output regulating rod into middle position If the fire goes out this has been done too early Push the regulating rod to the right again until the fire is burning properly Allow the kindling to burn out until flames are no longer visible Important The door may only be opened when lighting the ins...

Page 14: ...tion plenty of smoke and soot Furthermore the heat will dry the wood not heat up the room The fire should only be stoked with a little wood at a time You achieve the best combustion by starting up a fire often and using only a little wood If you use too much firewood it will take some time before the temperature reaches a level where you achieve a good combustion Make sure there is the right amoun...

Page 15: ...nce the glass is clean lift the door again halfway up pull out the top guide latches on the sides ease the glass pane into place and lead the guide latches back into place over the screws The inside of the glass pane is best cleaned with damp paper towel dipped in ash Afterwards dry with a clean paper towel The outside of the glass can be cleaned with ordinary cleaning solvent used to polish surfa...

Page 16: ...ng C Remove the smoke shelf 1 Push the plate forward and lift it up a bit to the side Tilt one side downward The plate is now free and can be removed from the combustion chamber Lift the steel smoke deflector plate 2 off of the hooks so that it can be removed Insulation The efficient but porous insulation of the combustion chamber may in time be worn and damaged Cracks in the insulation are irrele...

Page 17: ...ing the tightening tool 4 clockwise IMPORTANT Keep a firm grip on the handle of the tightening tool 4 when lifting the locking pawl as considerable weight and force are transferred when it is lifted After each adjustment check to see whether the desired effect has been achieved If not repeat the process If you have loosened the spring we recommend holding the door handle when checking the effect f...

Page 18: ... open the door when there are still flames on the wood Uncontrollable combustion Faulty seal in door or ash pan Fit new seal If there is an excessive chimney draft it may be necessary to set the air control knob to its minimum position Also do this all when the stove is not in use If the steel plates in the combustion chamber develop scales or become deformed this is due to excessive heat Stop usi...

Page 19: ... of items in a way that is as sustainable as possible and that is in line with the current environmental protection reprocessing recycling and disposal technology Useful efficiency at nominal heat output 80 7 Energy efficiency index 107 Energy efficiency class A Electric power consumption nominal heat output kW Electric power consumption minimum heat output kW Electric power consumption standby mo...

Page 20: ...www hwam com ...

Reviews: