3.2
RESTORING MACHINE TO USE
After completion of all repairs or maintenance to the locked-out machine, it shall be restored to use as follows:
The person(s) who performed the work shall verify that all areas around the machine are safe, before the machine is
re-energized. No-one shall be permitted in un-safe areas around the machine. All guards and covers shall be properly
installed.
Each lock-out padlock shall be removed by the person who applied it.
After the lock-out padlocks are removed, and before the machine is started, the supervisor and all other employees who
use the machine, shall be informed that the lock-out has been removed. After notification is made, the machine may be
re-started.
BLADE CHANGE MODE PROCEDURE
Wear safety glasses, gloves, and a long sleeve shirt for protection when handling band saw blades during blade change.
NOTE THAT GLOVES SHOULD NEVER BE WORN NEAR A RUNNING BANDSAW BLADE. When handling new blades,
or ones that will be re-used, it is important to keep the teeth out of contact with concrete floors.
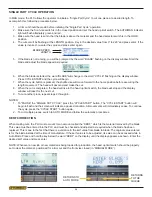
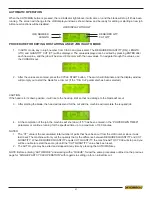
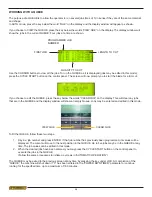
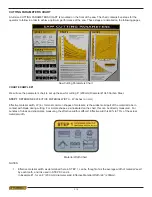
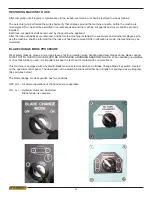
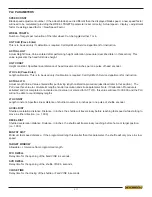
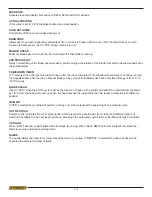
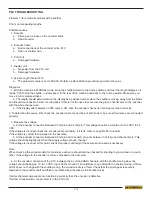
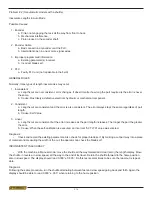
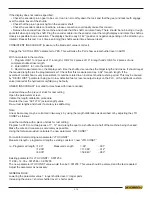
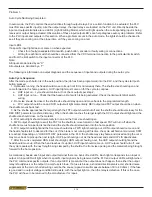
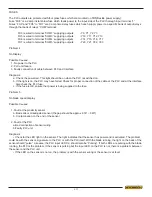
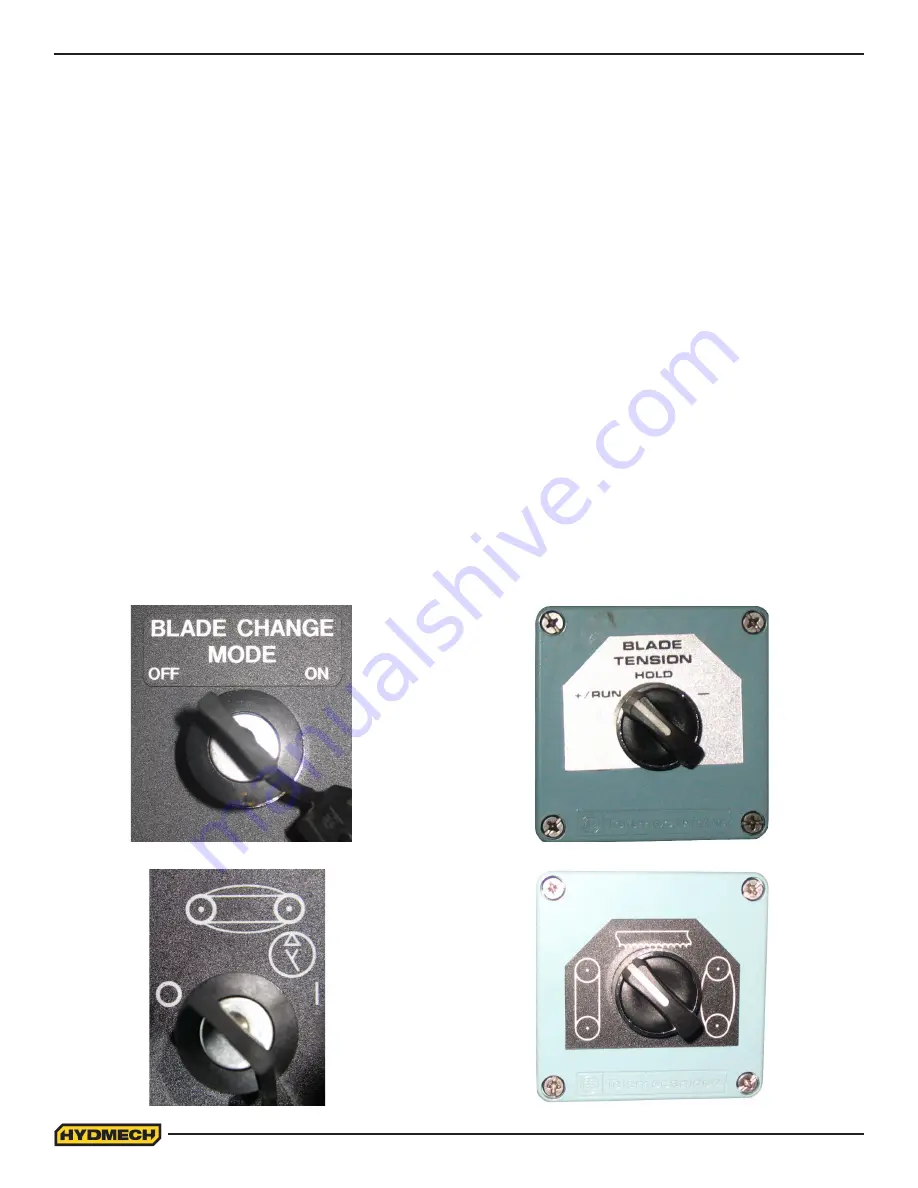
This machine is equipped with a hydraulic blade tension selector switch and a ‘Blade Change Mode’ key switch, located
on the operator control panel. The description of the switch functions will either be in English or portrayed as a pictogram.
(See pictures below)
The blade change mode keyswitch has two positions:
OFF or O – All normal operations of the band saw are operative.
ON or I – Hydraulic motor can be started.
Blade tension is operative.
Summary of Contents for H18 A
Page 2: ......
Page 12: ...0 8 Item 391938 Chip Augar Item 391335 Item 391340 ...
Page 13: ...0 9 Item 391397 Item 392801 Fixed Vise Shuttle Vise Item 392801 ...
Page 14: ......
Page 16: ...1 2 LIFTING INSTRUCTIONS ...
Page 59: ...4 1 ELECTRICAL SCHEMATICS SEE PDF ON ATTACHED CD SECTION 4 ELECTRICAL ...
Page 60: ...4 2 ...
Page 64: ...6 2 ...
Page 65: ...7 1 SECTION 7 OPTIONS OPTIONAL ASSEMBLY DRAWINGS SEE PDF ON ATTACHED CD ...
Page 66: ...7 2 ...
Page 69: ...8 3 H18SV H22SV LIFTING INSTRUCTIONS ...
Page 70: ...8 4 H18SV LAYOUT ...
Page 71: ...8 5 H22SV LAYOUT ...
Page 72: ...8 6 ...
Page 74: ...9 2 ...

