background image

1

Safety and Care Advice

Important


– Please read these instructions fully before starting assembly

• Check you have all the 

components and tools listed on 

the following pages. 

• Remove all fi

 ttings from the 

plastic bags and separate them 

into their groups.

• Keep children and animals 

away from the work area, small 

parts could choke if swallowed.
• Make sure you have enough 

space to layout the parts before 

starting. 

• During assembly

 do not stand 

or put weight on the product, 

this could cause damage.

• 

Assemble the item as close 

to its 

 nal position (in the same 

room) as possible.

• 

Assemble on a soft level 

surface to avoid damaging the 

unit or your 

 oor.

• Parts of the assembly will be 

easier with 2 people.

 • 

To reduce 

the likelihood of 

damaging your 

product please 

ensure that your 

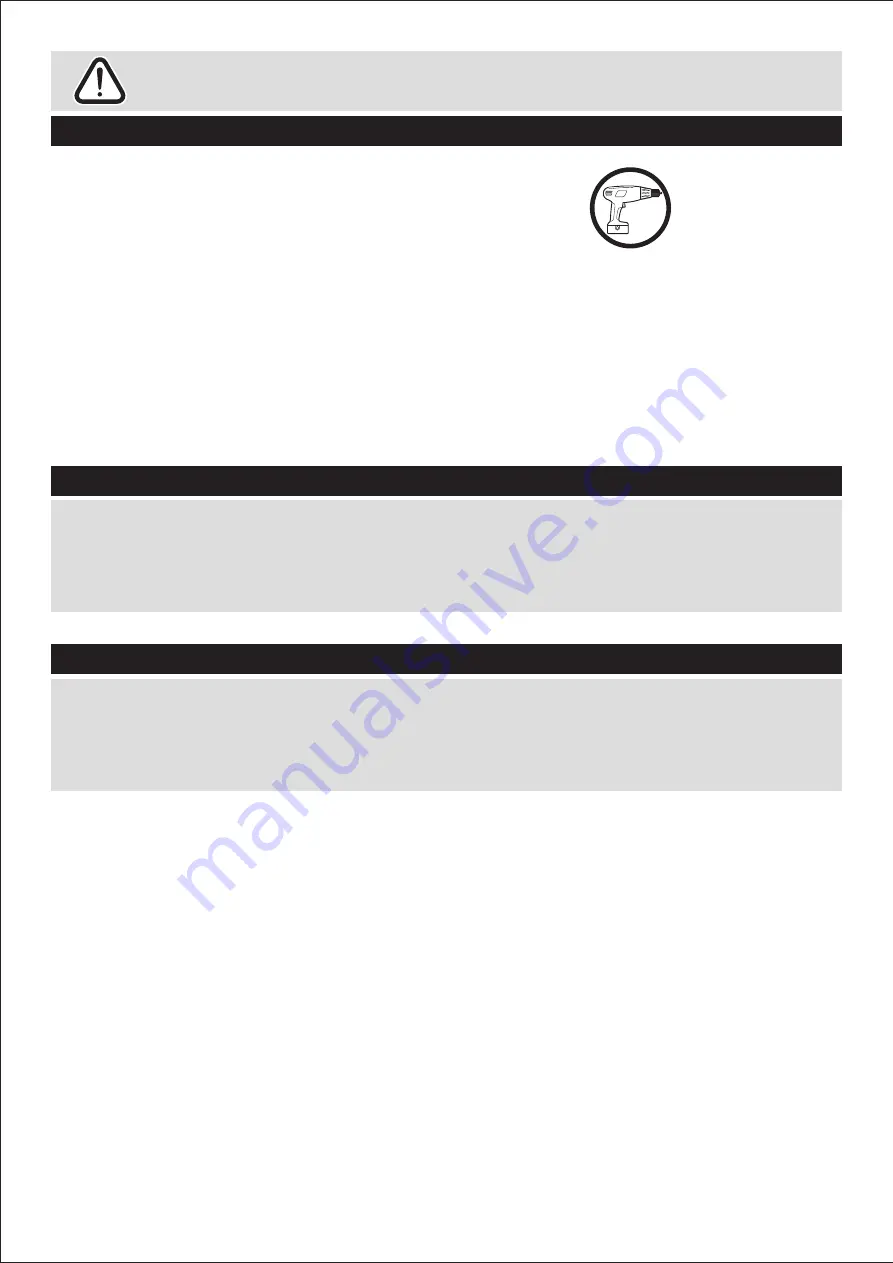
power drill is set on a low torque 

setting.

• Only clean using a damp cloth 

and mild detergent, do no use 

bleach or abrasive cleaners. 

• From time to ti

m

e check that 

there are no loose screws on 

this unit.

• 

This product should not be 

discarded with household waste. 

Ta

ke to your local authority 

waste disposal centre.

Care and maintenance

• 

Assemble all parts and bolts 

loosely during assembly

, only 

once the product is complete 

should you fully tighten the bolts

• Regularly che

c

k and ensure 

that all bolts and 

 ttings are 

tightend properly.

Handy Hints

• Do not stand on the chair.
• Do not use this chair as a step

ladder.

• Maximun safe weight of user: 

110kgs.


Summary of Contents for 314/9195

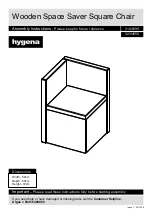
Page 1: ...h 50cm Height 72cm Important Please read these instructions fully before starting assembly Assembly Instructions Please keep for future reference 314 9195 Issue 1 25 10 14 If you need help or have dam...

Page 2: ...void damaging the unit or your oor Parts of the assembly will be easier with 2 people To reduce the likelihood of damaging your product please ensure that your power drill is set on a low torque setti...

Page 3: ...air back x 4 72 x 50 cm 2 72 x 45 cm 4 Side panel x 4 44 x 39 cm 3 43 x 39 cm 5 Chair seat x 4 44x 44 cm 6 Bottom panel x 4 40 x 40 cm 7 Upper frame x 4 43 x 43 cm Side panel x 4 Chair back x 4 If you...

Page 4: ...you have all the ttings listed below 58mm Bolt x 32 28mm Bolt x 32 B 16mm Bolt x 12 C Note The quantities below are the correct amount to complete the assembly of 4 chairs In some cases more ttings m...

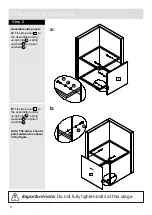
Page 5: ...k by using bolts spring washers and plain washers 4 A 2 E D 7 8 E D A 1 2 7 8 A a b E D b Fix chair back to the assembled unit by using bolts spring washers and plain washers A E D 1 Note The arrow sh...

Page 6: ...the assembled unit by a b Note The arrow should point outward as shown in the figure 3 using bolts spring washers and plain washers B E D b Fix side panel to the assembled unit by 4 using bolts spring...

Page 7: ...l 6 Fix bottom panel to bottom frame by using bolts and plain washers D 6 F 6 C F C D Screw foot into bottom frame Note Only fix 3 holes as shown in the figure Important note After all the parts are p...

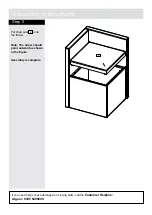
Page 8: ...ns Step 5 Put chair seat onto the frame Assembly is complete If you need help or have damaged or missing parts call the Customer Helpline Argos 0345 6400800 5 Note The arrow should point outward as sh...

Reviews: