background image

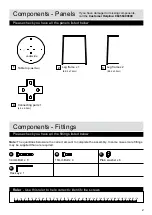
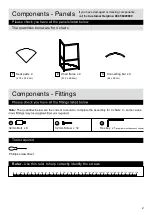
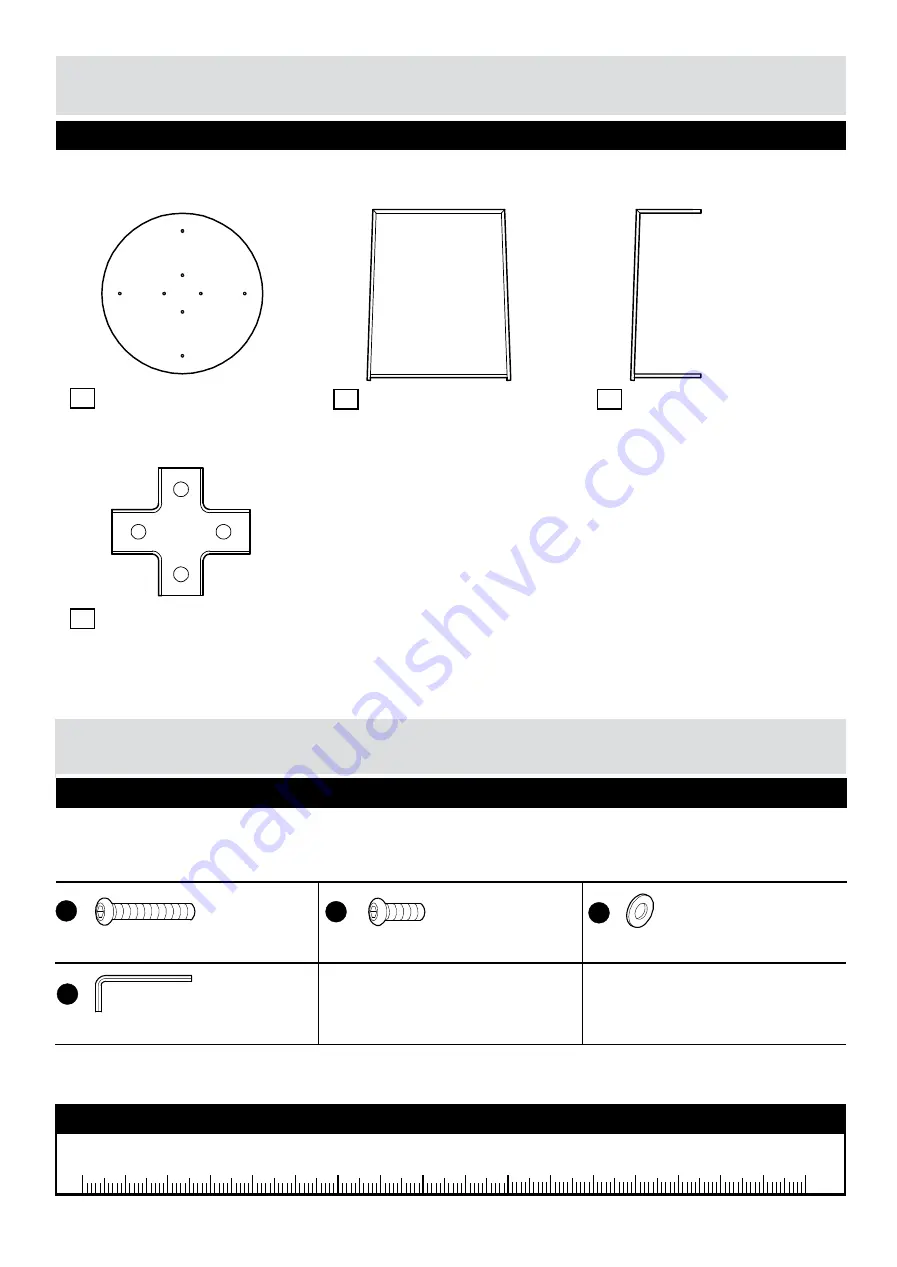
Components - Panels

Please check you have all the panels listed below

2

If you have damaged or missing components, 

call the

 Customer Helpline: 0845 6400800

Leg frame x 1 


(88.2 x 72cm)

2

Components - Fittings

Please check you have all the 

ttings listed below

34mm Bolt  x 8

A

16mm Bolt x 4

B

Note:

 The quantities below are the correct amount to complete the assembly. In some cases more 

ttings 

may be supplied than are required. 

1

Leg frame x 2

(88.2 x 35cm)

3

C

 Plain  washer 


  x 8

Hex key x 1 

D

Connecting part x 1

(6.5 x 6.5cm)

4

Table top 

(dia70cm)

Ruler

 - Use this ruler to help correctly identify the screws

0

5

10 15 20 25 30 35 40 45 50 55 60

65 70 75 80 85 90

95 100

110 115 120 125 130 135 140 145 150 155 160 165 170

105

underside

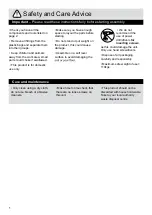
Summary of Contents for 600/6194

Page 1: ...cm Issue 1 02 04 11 Important Please read these instructions fully before starting assembly Assembly Instructions Please keep for future reference 600 6194 If you need help or have damaged or missing...

Page 2: ...ing Do not stand or put weight on the product this could cause damage Assemble on a soft level surface to avoid damaging the unit or your oor Only clean using a dry cloth do not use bleach or abrasive...

Page 3: ...x 8 A 16mm Bolt x 4 B Note The quantities below are the correct amount to complete the assembly In some cases more ttings may be supplied than are required 1 Leg frame x 2 88 2 x 35cm 3 C Plain washe...

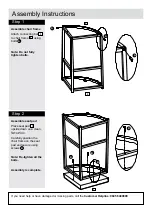
Page 4: ...mble leg frame Place table top 1 upside down on a clean Assemble connecting part Connect leg frame and with connecting part using bolts Note Re tighten all the bolts Assembly is complete B 1 2 3 3 Ass...

Page 5: ...ons fully before starting assembly If you need help or have damaged or missing parts call the Customer Helpline 0845 6400800 Assembly Instructions Please keep for future reference Dimensions Width 49...

Page 6: ...ht on the product this could cause damage Assemble on a soft level surface to avoid damaging the Only clean using a dry cloth do not use bleach or abrasive cleaners Make time to time check that there...

Page 7: ...85 90 95 100 110 115 120 125 130 135 140 145 150 155 160 165 170 105 Components Fittings 1 Chair frame x 4 61 5 x 49 6cm 2 Seat pad x 4 47 5 x 33 2cm 3 Components Panels Please check you have all the...

Page 8: ...tep 1 Step 2 Assemble seat pad Place seat pad 1 upside down on a clean Carefully position the chair frame on the seat pad and secure using screws Note Re tighten all the bolts Assembly is complete If...

Reviews: