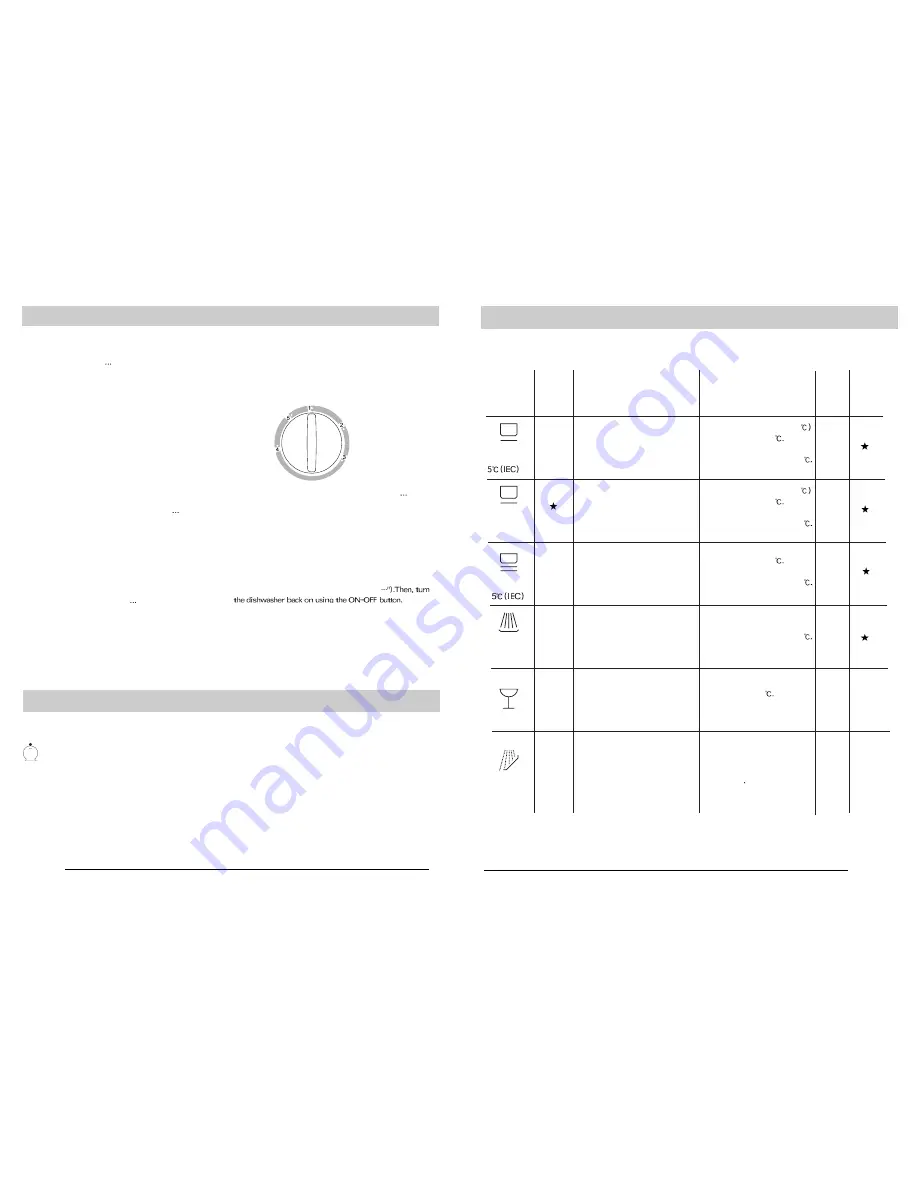
Wash Cycle Table
.7.
Wash Cycle Adjustment Buttons
"ECO" Button
This button (see "close-up View - Control Panel",letter"F") is used
for normally dirty dishes, pots and pans. It is standard daily cycle.
.6.
Turning on the Appliance
Starting a wash cycle
- Make sure that the plug for the appliance is inserted into the wall
socket.
- Make sure that the water supply is turned on to full pressure.
- Load the dishwasher (see the section entitled, "Loading the
Dishwasher").
- Pour in the detergent (see the section entitled, "Salt, Detergent
and
Rinse Aid").
- Turn the knob located on the right of the control panel in the
clockwise direction until the number or symbol for the cycle set
ting is aligned with the reference mark (see the section entitled,
"Wash Cycle Table").
- Press the ON-OFF button, and the ON-OFF light will turn on. At
this point, the wash cycle will begin.
Cancelling or modifying a wash cycle setting
Premise: A cycle that is underway can only be modified if it has
only been running for a short time. Otherwise, the detergent may
have already been used, and the appliance may have already
drained the wash water If this is the case, the detergent dis-
penser must be refilled (see the paragraph entitled, "Loading
the Detergent").
Press the ON-OFF button, and the ON light will turn off. Rotate
the knob in the clockwise direction to the desired cycle setting
(see the section entitled. Starting a wash cycle
If you forget to load some of the dishes
The wash cycle can be interrupted by pressing the ON-OFF button.
You can then load additional dishes and turn the appliance back
on. The cycle will start where it left off.
Wait a few minutes before unloading the dishwasher to avoid
handling the dishes and utensils while they are still hot and more
susceptible to breakage. They will also dry better.
At the end of the wash cycle
When the knob stops turning (see figure), the cycle has finished.
When the washing program has finished ,it is recommended that
the dishwasher is unplugged and the water is turned off.
Important: In general, it is not advisable to open the door
while the machine is working. Care must be taken if the
door is opened during the hot phase or immediately after a
program has finished as steam may escape.
Cycle
Eco
Button
Cycle Selection Information
Description of Cycle
Deter-
gent
Rinse
Aid
Normal Wash
6
Normal Wash
Light Wash
6
Rinse
Soak
Glassware
Very dirty dishes, pots and
pans (not to be used with
delicate items).
Normally dirty dishes, pots
and pans .Standard daily
cycle.
Very dirty dishes, pots and
pans (not to be used with
delicate items).
Normally dirty dishes, pots
and pans .Standard daily
cycle.
Economic, fast cycle to be
used on not very dirty dishes
right after they are used. No
drying cycle.
Pre-wash of dishes, pots and
pans while waiting for the load
to be complete after the sub-
sequent meal
.
Pre-wash with hot water. (45
Extended wash at 65
Rinse with cold water.
Rinse with hot water at 70
Drying.
Pre-wash with hot water. (45
Extended wash at 55
Rinse with cold water.
Rinse with hot water at 70
Drying.
Extended wash at 65
Rinse with cold water.
Rinse with hot water at 70
Drying.
Rinse with cold water.
Rinse with hot water at 70
Drying.
Short cold wash to prevent
food residue from drying on
the dishes
Short wash at 55
Cold rinse.
30g
30g
30g
30g
15g


