background image

7

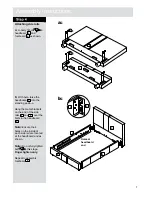
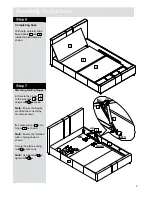
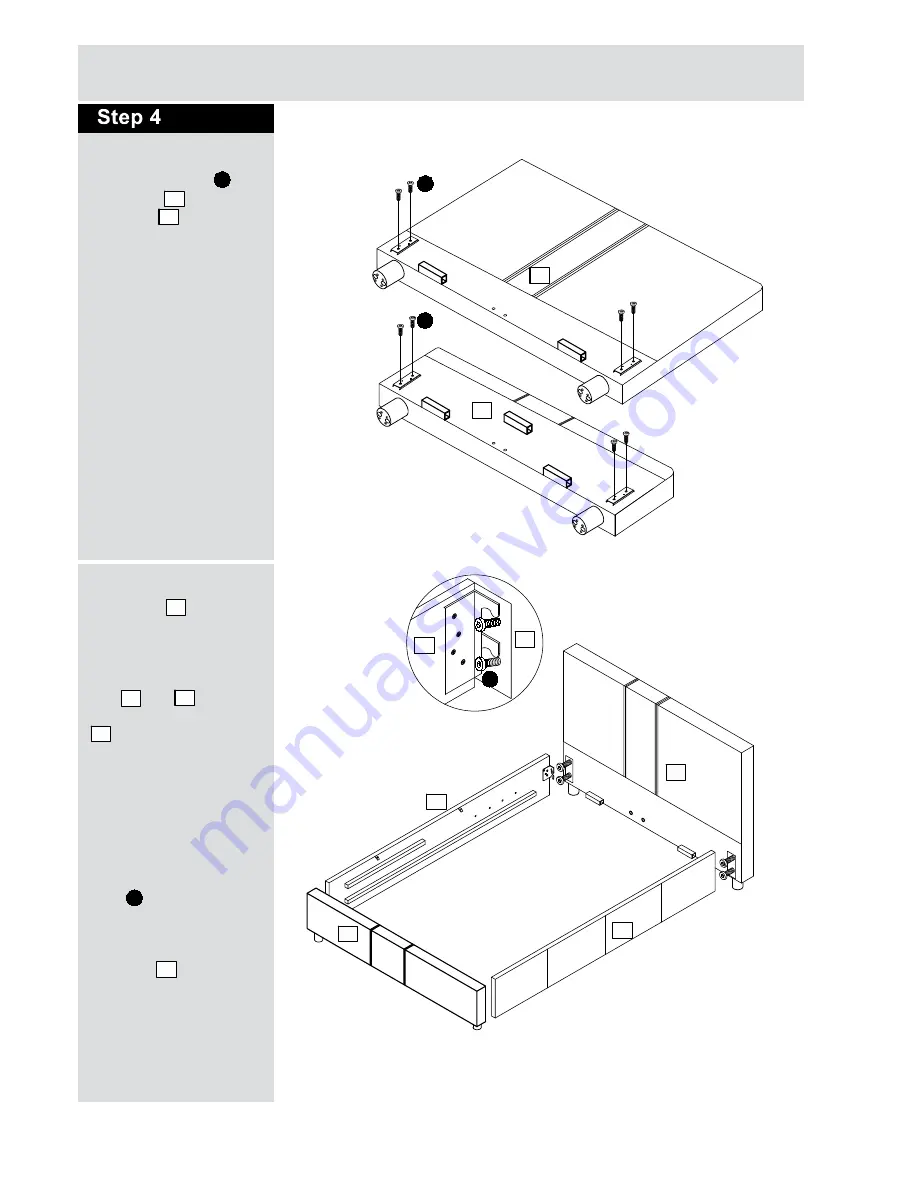
Attaching side rails

a:

 Loosely fit bolts      into

headboard       and

footboard       as shown.

b:

 With help, raise the

headboard       into the

standing position.

Hang the metal brackets

on the end of the side

rails       and      , over the
bolts in the headboard

      .

Note: 

Ensure the 4

holes on the inside of
each side rail are located
at the headboard end as

shown.

Note:

 Do not fully tighten

bolts      at this stage.

Finger tighten only.

Repeat to assemble

footboard      .

B

3

4

3

1

2

3

4

B

Assembly Instructions

a:

B

b:

2

3

1

3

2

4

3

B

B

Holes at
headboard

end

4

Summary of Contents for Chapton 531/790

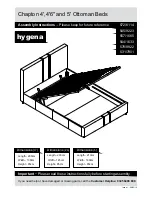
Page 1: ...nsions 4 Length 203cm Width 130cm Height 85cm If you need help or have damaged or missing parts call the Customer Helpline 0345 6400 800 Issue 1 09 05 16 Chapton 4 4 6 and 5 Ottoman Beds 545 9223 Dime...

Page 2: ...do no use bleach or abrasive cleaners From time to time check that there are no loose screws on this unit This product should not be discarded with household waste Take to your local authority waste...

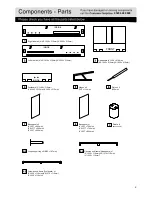
Page 3: ...2 0345 6400 800 FRONT INSIDE INSIDE INSIDE Hinges x 2 750 x 115mm Piston x 2 420mm Base panel x2 Ottoman end frame Headboard x 1 Ottoman end frame Footboard x 1 Base panel x1 9 Feet x 4...

Page 4: ...2 30mm 5 1925 30mm Base support x 4 120 x 20mm Central support x 1 4 4 6 1930 80mm 5 2030 80mm Short support leg x 2 Wooden support rail x 2 4 1229 60mm 4 6 1379 60mm 5 1529 60mm Double slat caps x 14...

Page 5: ...105 110 115 120 125 130 135 140 145 150 155 160 165 170 Tools required Components Fittings G 45mm M8 Bolt x 2 25mm M8 Bolt x 20 15mm M6 Bolt x 32 H 5mm Allen key x 1 F J L 14mm Flat washer x 4 Plastic...

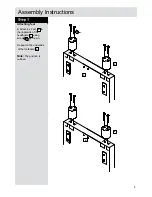
Page 6: ...ssembly Instructions 5 Attaching feet a Attach 2 x Feet to the underside of the headboard using screws as shown Repeat on the underside of the footboard Note The position is outlined 9 3 D 4 4 9 D 3 9...

Page 7: ...oman frame support to the footboard using fixings and as shown 23 4 A F Attach base supports to the footboard and headboard as shown using screws Note The positions should be outlined D 17 4 3 Assembl...

Page 8: ...brackets on the end of the side rails and over the bolts in the headboard Note Ensure the 4 holes on the inside of each side rail are located at the headboard end as shown Note Do not fully tighten bo...

Page 9: ...ds c Assemble wooden support rails in between side rails and using screws Finally fully tighten all other fixing points from previous step 4 d Assemble corner brackets in each corner using screws Note...

Page 10: ...are fitted the correct way around as shown b Locate pistons onto hinges as shown Note Ensure the smaller tube is facing down as shown Secure the pistons using nuts at both ends Note Use Spanner to tig...

Page 11: ...Note Secure the assembly using fixings and as shown Important Do not fully tighten screws at this stage Finger tighten only c With help carefully turn the frame over Note The frame is heavy lift with...

Page 12: ...elp lift the ottoman frame into position onto hinges Note The frame is heavy lift with care Secure on both sides using screws Once assembly is complete fully tighten all screws around the ottoman fram...

Page 13: ...Instructions Attaching single slat caps Assemble single slat caps onto one end of bentwood slats 21 15 Attaching slats a Fit bentwood slats into the ottoman frame sides by locating single slat caps in...

Reviews: