background image

Components -

Panels

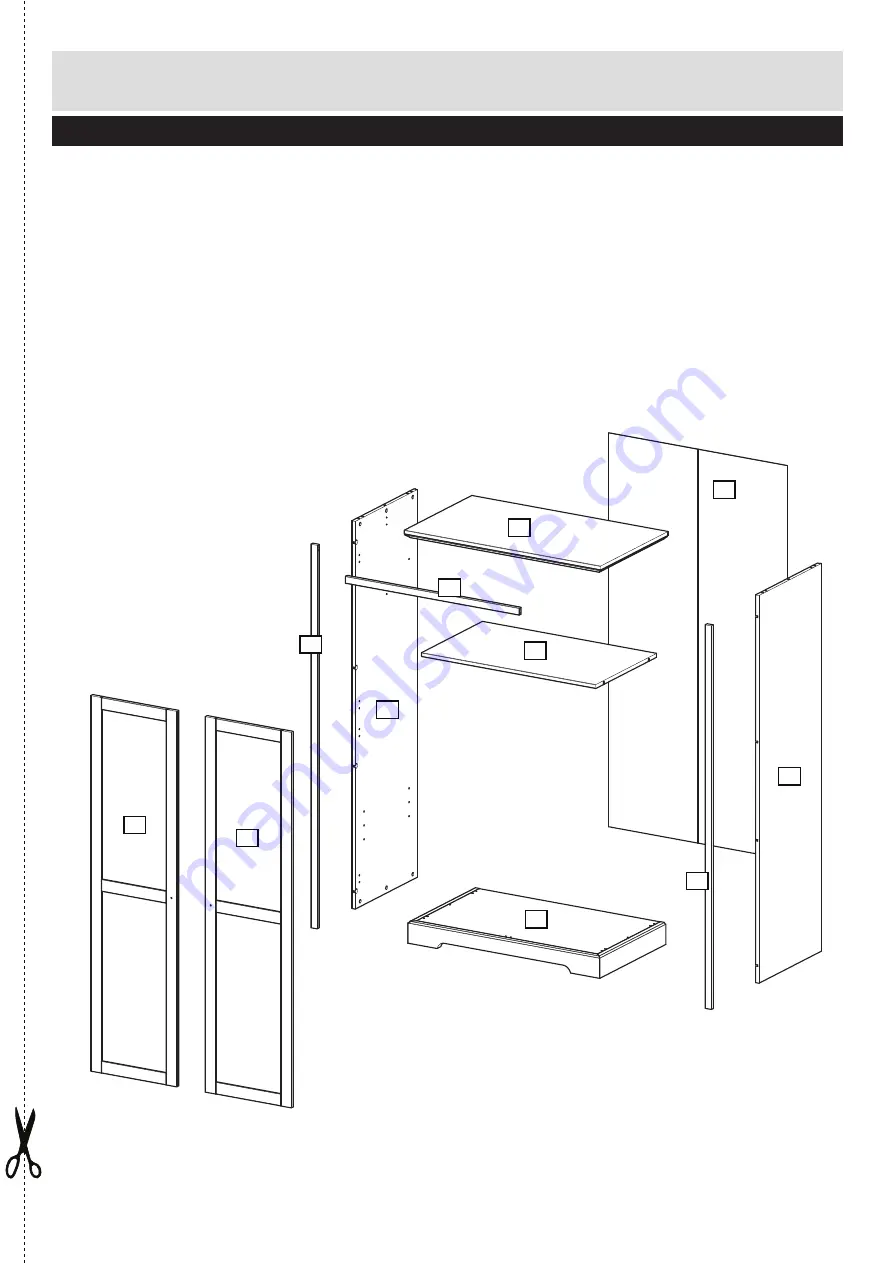
Please check you have all the panels listed below

1) Left end panel

x1

2) Right end panel 

x1

3) Back panel 

x1

4) Top panel

x1

5) Top frame


x1

6) Left frame

x1

7) Right frame

x1

8) Shelf 


x1

9) Bottom 


x1

10) Doors 


x2

1

5

4

2

3

7

8

10

10

9

6

3

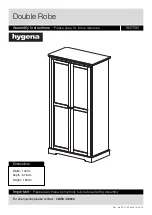
Summary of Contents for Double Robe 1947090

Page 1: ...be Assembly Instructions Please keep for future reference Important Please read these instructions fully before starting assembly Dimensions For all enquiries please contact 08456 400800 Width 100cm D...

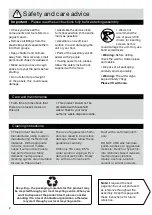
Page 2: ...ispose of all packaging carefully and responsibly Warning The unit weighs approximately 70kgs Please lift with care Recycling the packaging materials for this product may be recycled through your loca...

Page 3: ...check you have all the panels listed below 1 Left end panel x1 2 Right end panel x1 3 Back panel x1 4 Top panel x1 5 Top frame x1 6 Left frame x1 7 Right frame x1 8 Shelf x1 9 Bottom x1 10 Doors x2 1...

Page 4: ...mm Nail x 40 x 1 H Long locking nut x 12 0 0 20 30 40 50 60 70 80 90 00 0 20 30 40 50 0 2 3 4 5 6 Phillips screwdriver medium large Spirit level Flatblade screwdriver medium Small hammer Ruler tape me...

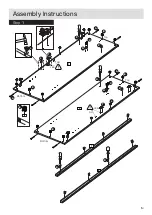
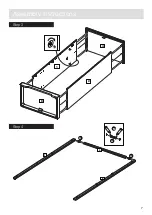
Page 5: ...Assembly Instructions Step 1 Top Top Bottom Bottom 1 2 5 E E E E A K K K A C C N N T T T E A K K K 6 7 L L L NO NO YES YES 5...

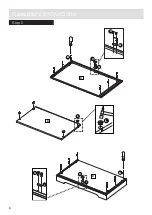
Page 6: ...Assembly Instructions Step 2 8 L L 9 I C B I C 4 B C Q C Q 6...

Page 7: ...Assembly Instructions Step 4 Step 3 1 2 5 4 9 E 6 7 A A A M 7...

Page 8: ...Assembly Instructions Step 5 Step 6 8 8 6 5 7 5 C O Q 8...

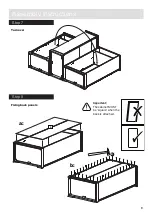
Page 9: ...Assembly Instructions Step 7 Step 8 Turn over Fixing back panels b a 3 D Important The cabinet MUST be square when the back is attached 9...

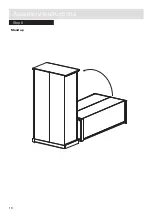
Page 10: ...Assembly Instructions Step 9 Stand up 10...

Page 11: ...lugs or screws do not become loose You can use one of the following types of wall plug if your walls are made of brick breeze block concrete stone or wood Important When drilling into walls always che...

Page 12: ...Assembly Instructions Step 10 Wall fixing H F C H WALL PLUG AND SCREW NOT INCLUDED Please see Guide to wall mounting 20 mm F C 12...

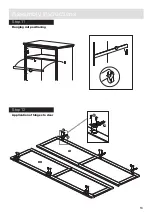
Page 13: ...Assembly Instructions Step 11 Hanging rail positioning Step 12 Application of hinges to door RH LH J J R C R C 13...

Page 14: ...Assembly Instructions Step 13 Hang door Step 14 Door adjustment A B C A B C G P CLICK PUSH a b c R T T T R R 14...

Page 15: ...mances Many domestic multi purpose cleaning agents are unsuitable for use on this product The use of aggressive chemicals can result in irreversible damage Please follow these guidelines carefully USE...

Page 16: ......

Reviews: