background image

2

 Assembly lnstructions

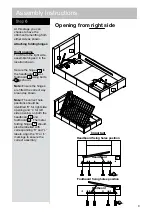
10

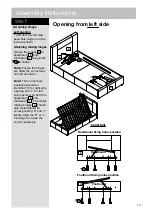
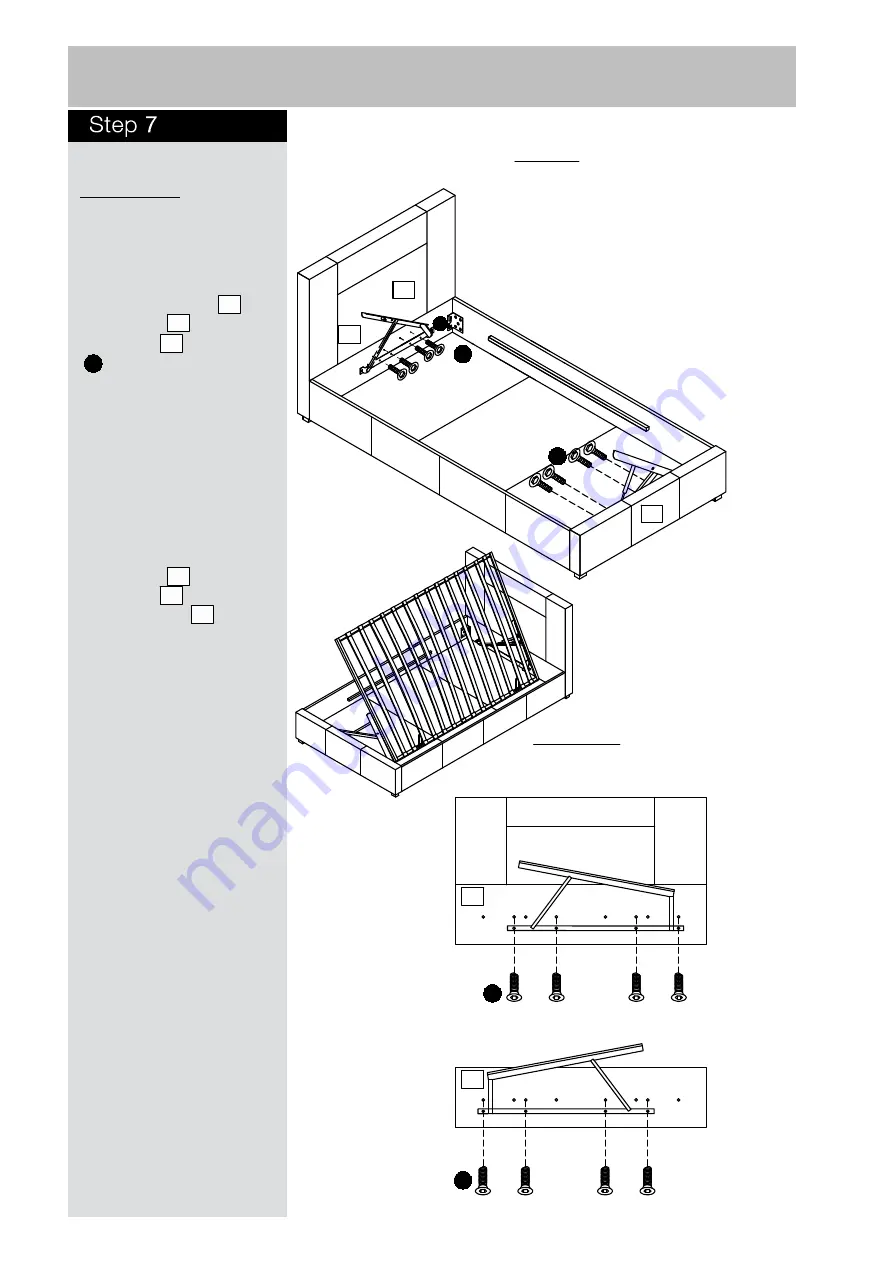
Left opening

To lift from the left side,

assemble hinges 4 in the

location shown .

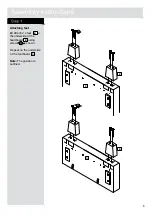
Attaching folding hinges

Secure the hinges      to
headboard       and

footboard       using bolts
     as shown.

Note: Ensure the hinges

are fitted the correct way
around as shown.

Note: The correct hole

positions should be

side opening, on both the

headboard       and

footboard       . The metal
folding hinges       should
also be labelled with

markings to ensure the

correct assembly.

4

2

B

B

Opening from left side

4

3

2

B

Attaching hinges

L

Headboard fixing holes position

Important

2

B

Headboard

L

3

B

Footboard

L

Footboard fixing holes position

2

3

4

Summary of Contents for Harcourt 389/5810

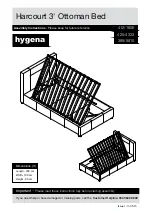
Page 1: ...th 100 cm Height 85 cm Dimensions 3 Issue 1 11 05 15 hygena Important Please read these instructions fully before starting assembly If you need help or have damaged or missing parts call the Customer...

Page 2: ...wdrivers and Allen keys Dispose of all packaging carefully and responsibly Only clean using a damp cloth and mild detergent do no use bleach or abrasive cleaners From time to time check that there are...

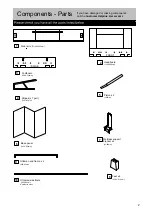
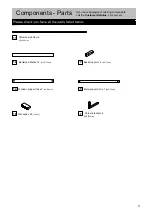
Page 3: ...et x 4 62 33 41 6mm 3 Footboard 1000 300mm 7 9 Components Parts 2 lf you have damaged or missing components call the Customer Helpline 0345 6400 800 1 Side rail x 2 1930 300mm 2 Headboard 1000 800mm 6...

Page 4: ...ooden support rail x 2 937 60mm 14 13 Metal support rail x 1 940 20mm 15 Slat caps x 28 5 5mm 16 17 Components Parts 3 lf you have damaged or missing components call the Customer Helpline 0345 6400 80...

Page 5: ...95 100 105 110 115 120 125 130 135 140 145 150 155 160 165 170 Tools required 0 0 5 10 15 20 25 30 35 40 45 50 55 60 65 70 75 80 85 90 95 100 105 110 115 120 125 130 135 140 145 150 1 2 3 4 5 6 Ruler...

Page 6: ...Attaching feet a Attach 2 x feet to the underside of the headboard using screws as shown Repeat on the underside of the footboard Note The position is outlined 8 2 3 C 3 8 C Assembly Instructions C 2...

Page 7: ...crews as shown Note The positions should be outlined 13 2 3 C 3 2 A A Assembly Instructions b Loosely fit bolts into headboard and footboard as shown A 2 3 a 3 2 C C 13 13 Carefully place headboard an...

Page 8: ...standing position Hang the metal brackets on the end of the side rails over the bolts in the headboard Note Do not fully tighten bolts at this stage Finger tighten only Repeat to assemble footboard 2...

Page 9: ...ined b Attach the wooden support rails in beween side rails using screws C Attach the metal support rail in between side rails using screws Finally fully tighten all fixing points from previous step 3...

Page 10: ...oth the headboard and footboard The metal folding hinges should also be labelled with markings to ensure the correct assembly 4 2 B B B At this stage you can choose to have the ottoman frame lifting f...

Page 11: ...the hinges are fitted the correct way around as shown Note The correct hole positions should be side opening on both the headboard and footboard The metal folding hinges should also be labelled with...

Page 12: ...Locate pistons onto hinges as shown Note Ensure the smaller tube is facing down as shown Secure the pistons using nuts at both ends Note Use spanner to tighten nut Assembling pistons 4 B 3 2 R 5 4 D...

Page 13: ...er as shown Note Ensure the extra holes in side frame are correctly located on the inside of the frame after assembly Note Secure the assembly using fixings and as shown Important Do not fully tighten...

Page 14: ...s complete fully tighten all screws around the ottoman frame 4 B With help carefully turn the frame over Note The frame is heavy lift with care Assemble mattress support brackets to side frame using s...

Page 15: ...into the ottoman side frames and by locating slat caps into the holes 16 12 12 10 16 If you need help or have damaged or missing parts call the Customer Helpline 0345 6400 800 Home Retail Group 489 4...

Reviews: