3-25 ENGINE
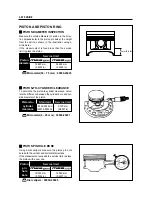
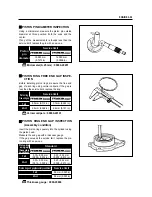
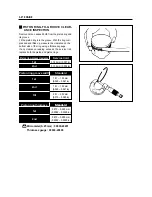
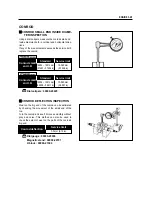
PISTON AND PISTON RING
▣
▣
PISTON DIAMETER INSPECTION
Measure the outside diameter of piston in the direc-
tion perpendicular to the piston pin axis at the height
from the skirt as shown in the illustration using a
micrometer.
If the measurement is found less than the service
limit, replace the piston.
▣
▣
PISTON-TO-CYLINDER CLEARANCE
To determine the piston-to-cylinder clearance, calcu-
late the difference between the cylinder bore and out-
side diameter of the piston.
▣
▣
PISTON PIN HOLE BORE
Using a dial calipers, measure the piston pin hole
bore both the vertical and horizontal directions.
If the measurement exceeds the service limit, replace
the piston with a new one.
15 mm (0.6 in)
Piston-to-
cylinder
clearance
Standard
Service limit
0.050~0.060 mm
(0.0020~0.0024 in)
19.030 mm
(0.7492 in)
15.030 mm
(0.5917 in)
0.120 mm
(0.0047 in)
Micrometer(50 ~ 75 mm) : 09900-20203
Micrometer(0 ~ 25 mm) : 09900-20201
Dial calipers : 09900-20605
Piston
diameter
Service limit
Piston
pin
hole
bore
Service limit
72.880 mm
(2.8693 in)
56.880 mm
(2.2394 in)
Summary of Contents for MS3 125
Page 6: ...NOTE Difference between photographs and actual motorcycles depends on the markets ...
Page 134: ...5 1 FUEL SYSTEM AND THROTTLE BODY FUEL SYSTEM ...
Page 139: ...FUEL SYSTEM AND THROTTLE BODY 5 6 THROTTLE BODY ...
Page 249: ...9 31 SERVICING INFORMATION WIRE AND CABLE ROUTING ...
Page 250: ...SERVICING INFORMATION 9 32 ...
Page 251: ...9 33 SERVICING INFORMATION ...
Page 252: ...SERVICING INFORMATION 9 34 ...
Page 253: ...9 35 SERVICING INFORMATION WIRING DIAGRAM ...
Page 254: ...SERVICING INFORMATION 9 36 ...
Page 257: ...Prepared by 1st Ed DEC 2007 Manual No 99000HP8810 Printed in Korea ...


