3-27 ENGINE
Service limit
0.180 mm (0.007 in)
0.150 mm (0.006 in)
Piston ring-groove clearance
1st
2nd
▣
▣
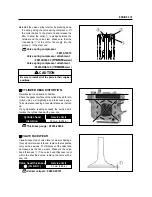
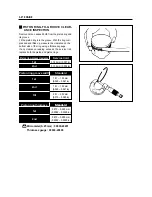
PISTON RING-TO-GROOVE CLEAR-
ANCE INSPECTION
Remove carbon deposit both from the piston ring and
its groove.
Fit the piston ring into the groove. With the ring com-
pressed and lifted up, measure the clearance on the
bottom side of the ring using a thickness gauge.
If any clearance reading exceeds the service limt,
replace both the piston and piston rings.
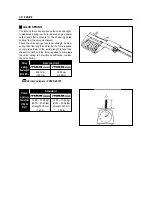
Standard
Standard
Piston ring thickness
Standard
Piston ring groove width
Oil
2nd
1st
2.01 ~ 2.03 mm
(0.079 ~ 0.080 in)
1.01 ~ 1.03 mm
(0.040 ~ 0.041 in)
1.01 ~ 1.03 mm
(0.040 ~ 0.041 in)
2nd
1st
0.970 ~ 0.990 mm
(0.0382 ~ 0.0390 in)
0.970 ~ 0.990 mm
(0.0382 ~ 0.0390 in)
Micrometer(0~25 mm) : 09900-20201
Thickness gauge : 09900-20806
Summary of Contents for MS3 125
Page 6: ...NOTE Difference between photographs and actual motorcycles depends on the markets ...
Page 134: ...5 1 FUEL SYSTEM AND THROTTLE BODY FUEL SYSTEM ...
Page 139: ...FUEL SYSTEM AND THROTTLE BODY 5 6 THROTTLE BODY ...
Page 249: ...9 31 SERVICING INFORMATION WIRE AND CABLE ROUTING ...
Page 250: ...SERVICING INFORMATION 9 32 ...
Page 251: ...9 33 SERVICING INFORMATION ...
Page 252: ...SERVICING INFORMATION 9 34 ...
Page 253: ...9 35 SERVICING INFORMATION WIRING DIAGRAM ...
Page 254: ...SERVICING INFORMATION 9 36 ...
Page 257: ...Prepared by 1st Ed DEC 2007 Manual No 99000HP8810 Printed in Korea ...


