NH-2700 6. Installation
6- 3
6.2 System Installation
Unpacking
1) Unpack the machine on top of the palette.
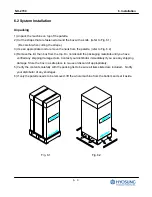
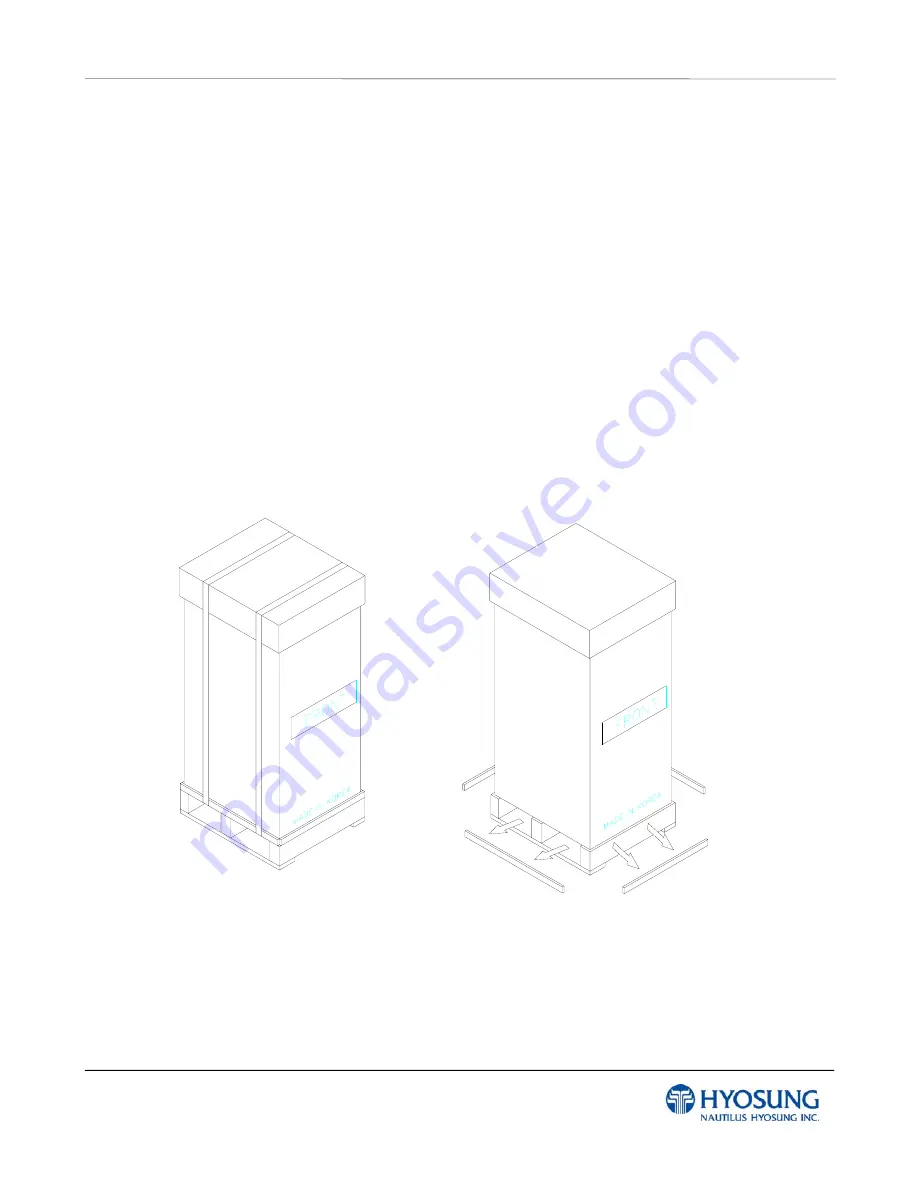
2) Cut the straps that are fastened around the box with a knife. (refer to Fig. 6.1)
(Be careful when cutting the straps.)
3) Use an appropriate tool to remove the nails from the palette. (refer to Fig. 6.2)
4) Remove the lid, then box from the top. Do not discard the packaging materials until you have
verified any shipping damage claim. Contact your distributor immediately if you see any shipping
damage. Store the box in a safe place to re-use or discard of appropriately.
5) Verify the contents carefully with the packing list to be sure all items listed are included. Notify
your distributor of any shortages.
6) If only the palette needs to be removed, lift the whole machine from the bottom and set it aside.
Fig. 6.1
Fig. 6.2
Summary of Contents for NH-2700
Page 1: ...NH 2700 Front Load Operator Manual Copyright 2010 Nautilus Hyosung Inc All right reserved...
Page 5: ...NH 2700 1 Introduction 1 1 Chapter 1 Introduction...
Page 9: ...NH 2700 2 Precautions for Safety 1 2 Chapter 2 Precautions for Safety...
Page 13: ...NH 2700 3 Hardware Specifications 3 1 Chapter 3 Hardware Specifications...
Page 24: ...NH 2700 4 Operating Instructions 4 1 Chapter 4 Operating Instructions...
Page 34: ...NH 2700 4 Operating Instructions 4 11 Fig 4 12 Changing Battery 2...
Page 58: ...NH 2700 4 Operating Instructions 4 35 NOTE THE BASIC MECHANISM OF RECEIPT PRINTER...
Page 61: ...NH 2700 5 Operator Function 5 1 Chapter 5 Operator Function...
Page 136: ...NH 2700 5 Operator Function 5 76 Touch Type...
Page 204: ...NH 2700 6 Installation 6 1 Chapter 6 Installation...
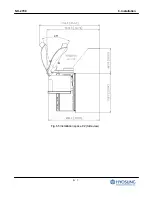
Page 210: ...NH 2700 6 Installation 6 7 Fig 6 5 Installation space 2 Side view 45...
Page 212: ...NH 2700 7 Appendix 7 1 Chapter 7 Appendix...
Page 248: ...NH 2700 7 Appendix 7 37 2 Select SYSTEM SETUP menu 3 Select SYSTEM CONTROL menu...
Page 324: ...NH 2700 7 Appendix 7 113 2 Press ADVERTISEMENT button 3 Press TRANSACTION ADVERTISEMENT button...
Page 334: ...NH 2700 7 Appendix 7 123 2 Press OPTIONAL FUNCTION 2 button 3 Press SCREEN SERVICES button...


