
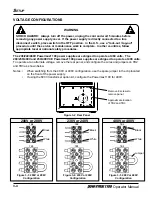

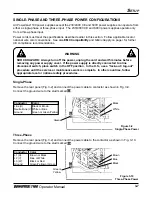
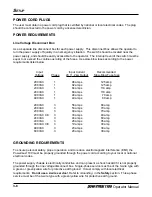


4-4
O
PERATION
Operator Manual
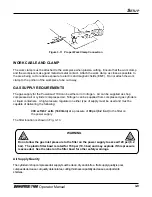
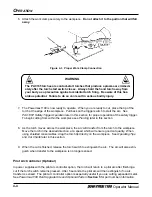
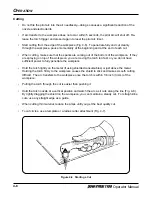
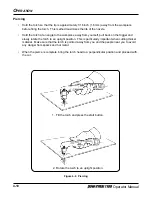
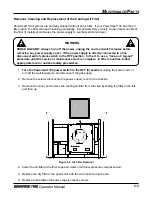
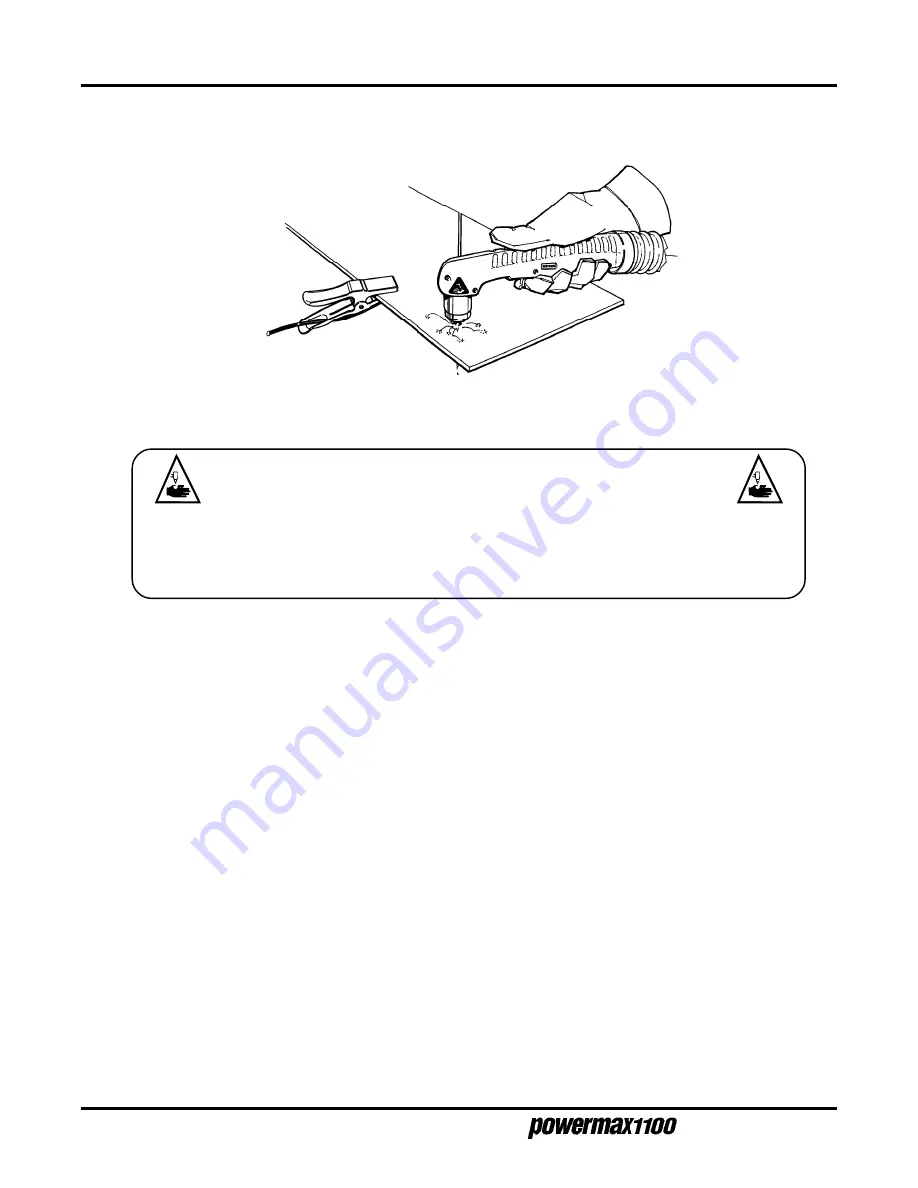
6. Attach the work clamp securely to the workpiece. Do not attach it to the portion that will fall
away.
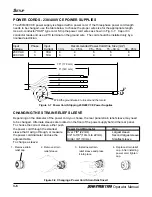
Figure 4-3 Proper Work Clamp Connection
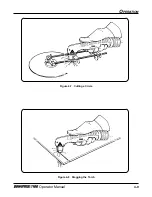
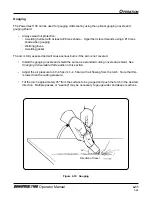
7. The Powermax1100 is now ready to operate. When you are ready to cut, place the tip of the
torch at the edge of the workpiece. Pull back on the trigger switch to start the arc. See
PAC135T Safety Trigger Operation later in this section for proper operation of the safety trigger.
To begin cutting from within the workpiece see
Piercing later in this section.
8. As the torch moves across the workpiece, the arc will transfer from the torch to the workpiece.
Move the torch in the desired direction, at a speed which will ensure good cut quality. When
using shielded consumables, drag the torch tip directly on the workpiece. See
Operating Tips
and
Cut Charts later in this section.
9. When the cut is finished, release the torch switch to extinguish the arc. The arc will also extin-
guish when transfer to the workpiece is no longer sensed.
Pilot Arc Controller (Optional)
In power supplies with the pilot arc controller option, the torch will return to a pilot arc after finishing a
cut if the torch switch remains pressed. After 5 seconds, the pilot arc will then extinguish if no arc
transfer is sensed. The pilot arc controller option is especially useful if you are cutting expanded metal.
See
Powermax1100 Field Upgrade Kits and Optional Parts in Section 5 for part number information.
WARNING
The PAC135 torches are contact-start torches that produce a plasma arc immedi-
ately after the torch start switch closes. Always hold the hand torch away from
your body as a precaution against accidental torch firing. Be aware of this haz-
ardous potential. Failure to do so can result in serious bodily injury.


