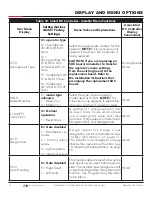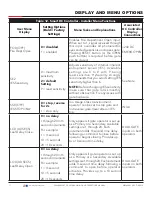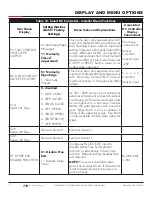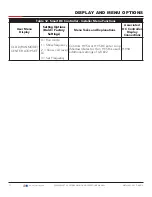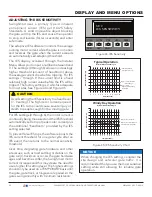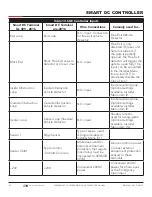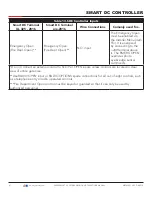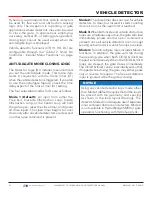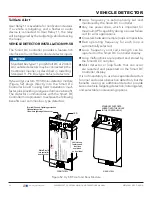
Examples of conditions which affect IES sensitivity
include:
Gate design
- For long and/or solid gates in windy
environments, large variations in motor current
may occur. In these types of scenarios, you may
want to use a higher (less sensitive) IES setting.
Gate condition
- If the gate environment is near
salty sea air, rusty hinges might impede gate travel
over time. Additionally, gates that are hit and bent
may have very stiff areas during travel that cause a
large variation in motor current. For these issues,
you may want to use a higher (less sensitive) IES
setting until repairs are made.
Gate maintenance
- Gate hinges will deteriorate
and begin to fail over time. In poorly maintained
gate areas, the chance for false IES trips is higher.
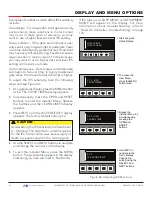
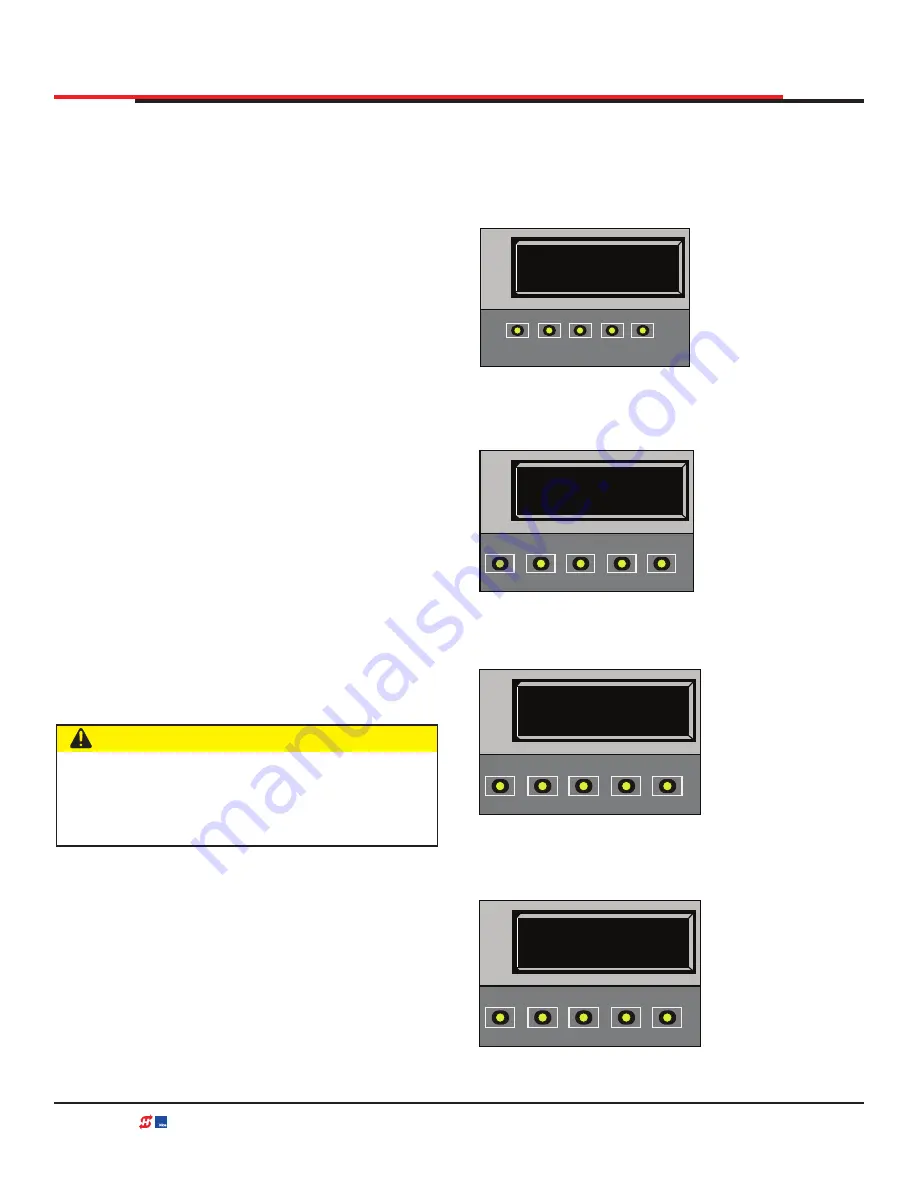
To adjust the IES sensitivity, take the following
1.
At a gate status display, press the MENU button
twice. The CLOSE TIMER display appears.
2.
Simultaneously, press the OPEN and RESET
buttons to enter the Installer Menu. Release
the buttons and the LEARN LIMITS display
appears.
3.
Press NEXT until the IES SENSITIVITY display
appears. The factory default setting is 2.
4.
Use the SELECT and NEXT buttons to navigate
and change the number on the display.
5.
To exit the Installer Menu, press the MENU
button. The gate status appears in the display
indicating you have returned to Run Mode.
CAUTION
Avoid setting the IES sensitivity to a fixed level
(7 - 9 setting). The high motor current required
for the IES to trip could cause severe injury or
death to people caught in the moving gate.
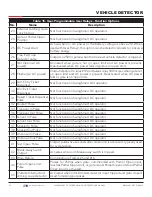
If IES trips occur, SAFE MODE or ENTRAPMENT
MODE will appear on the display. For more
information about troubleshooting,
refer to
"Smart DC Controller - Troubleshooting" on page
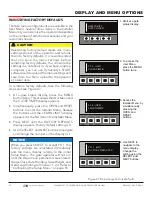
Figure 46. Adjusting IES Sensitivity
CT 0 (OFF)
CLOSE TIMER
OPEN
CLOSE
STOP
MENU
RESET
PREV
NEXT
SELECT
HYSECURITY
GATE CLOSED
OPEN
CLOSE
STOP
MENU
RESET
PREV
NEXT
SELECT
1. Start at a gate
status display.
2. To access the
User Menu,
press the MENU
button twice.
3. Access the
Installer Menu, by
simultaneously,
pressing the
OPEN and
RESET
buttons.
4. Use NEXT to
navigate to the
menu display.
Change the
setting using the
SELECT and
NEXT buttons.
LL 0 (OFF)
LEARN LIMIT
OPEN
CLOSE
STOP
MENU
RESET
PREV
NEXT
SELECT
SE 2
IES SENSITIVITY
OPEN
CLOSE
STOP
MENU
RESET
PREV
NEXT
SELECT
DISPLAY AND MENU OPTIONS
81
| www.hysecurity.com
SWINGSMART DC PROGRAMMING AND OPERATIONS MANUAL
MX3640-01 REV. D ©2018


