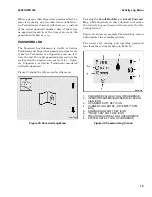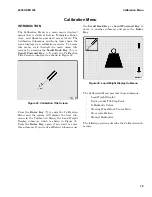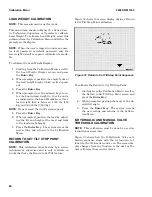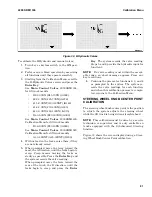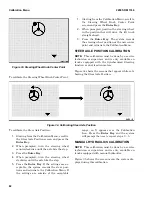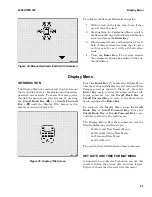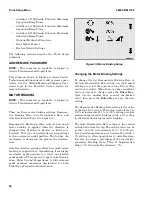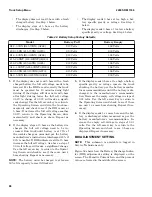
Figure 35. Manual Hydraulic End Point Calibration
To calibrate the Manual Hydraulic end point:
1.
With no load on the forks, raise them, if they
are not already raised.
2.
Starting from the Calibration Menu, scroll to
the Manual Hydraulic End Point Calibration
screen and press the Enter Key.
3.
When prompted, move all hydraulic levers to
both of their extreme locations; that is, move
each lever as far as it will go in both direc-
tions.
4.
Press the Enter Key. The system records
the extreme locations and returns to the Cal-
ibration Menu.
Display Menu
INTRODUCTION
The Display Menu is a main menu (top-level menu)
that is visible at Service Technician and Supervisor
password access levels. To access this menu, cycle
through the main menu title screens by pressing
the Scroll Back Key (
◂
—) or Scroll Forward
Key (—
▸
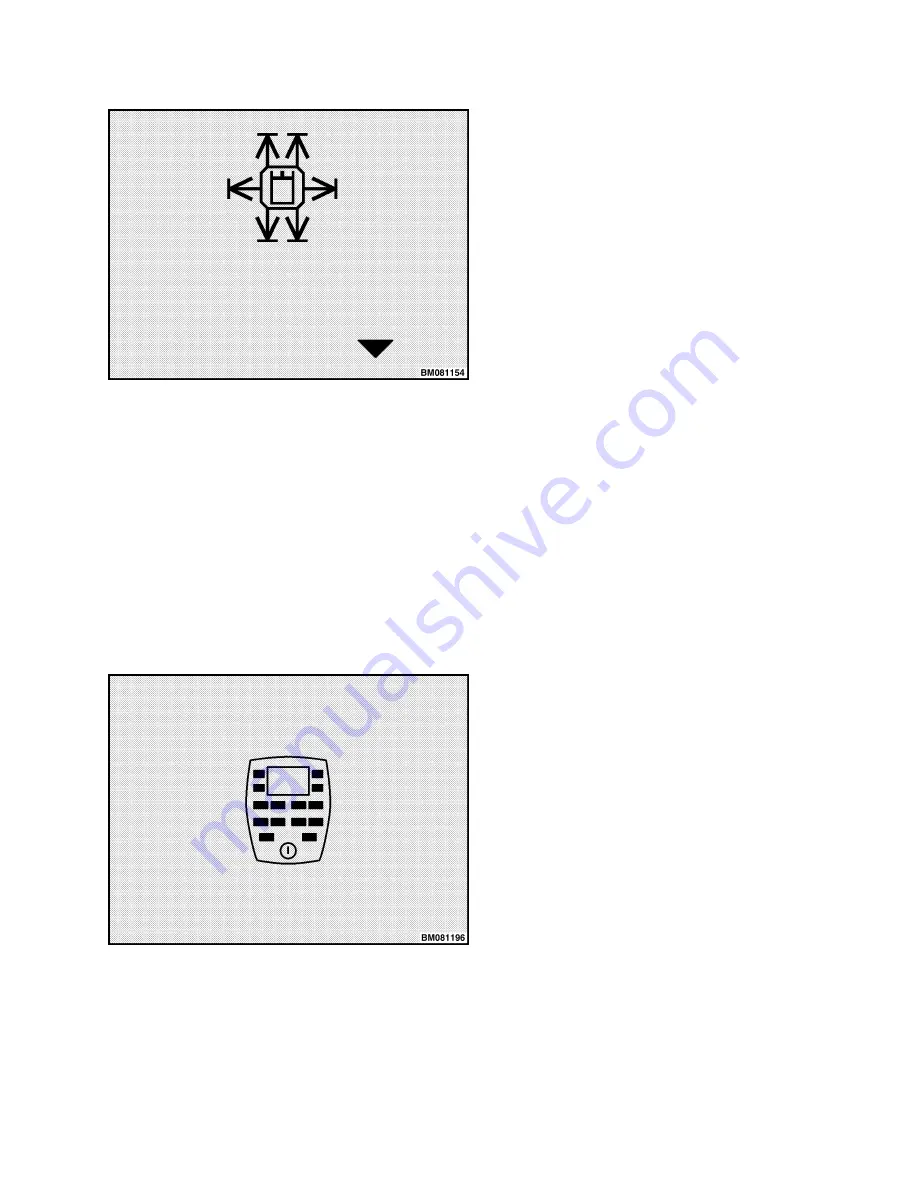
) until the Display Title Screen is dis-
played, as shown in Figure 36.
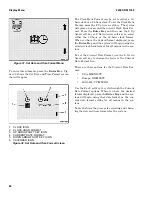
Figure 36. Display Title Screen
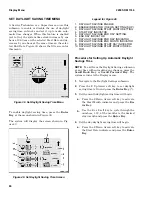
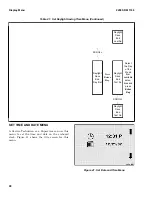
Press the Enter Key (*) to enter the Display Menu
and the system will display the Set Date and Time
Format screen as shown in Figure 37. Press the
Enter Key again to enter this submenu. For a dif-
ferent submenu, use the Scroll Back Key or
Scroll Forward Key to move to the desired sub-
menu and press the Enter Key.
To return to the Display Menu, press the Scroll
Back Key or Scroll Forward Key. Press the
Scroll Back Key or Scroll Forward Key a sec-
ond time to return to the main menu.
The Display Menu offers these submenus (see the
Display Submenus and Icons topic):
• Set Date and Time Format Menu
• Set Daylight Saving Time Menu
• Set Time and Date Menu
• Set Units Menu
The sections that follow describe these submenus.
SET DATE AND TIME FORMAT MENU
A Supervisor or a Service Technician can use this
menu to define the system date and time format.
Figure 37 shows the title screen for this menu.
2200 SRM 1336
Display Menu
83
Summary of Contents for A1.3-1.5XNT
Page 6: ... THE QUALITY KEEPERS HYSTER APPROVED PARTS ...
Page 9: ...Figure 3 Technician Flowchart Sheet 1 of 4 2200 SRM 1336 Menu Flowchart 3 ...
Page 10: ...Figure 3 Technician Flowchart Sheet 2 of 4 Menu Flowchart 2200 SRM 1336 4 ...
Page 11: ...Figure 3 Technician Flowchart Sheet 3 of 4 2200 SRM 1336 Menu Flowchart 5 ...
Page 12: ...Figure 3 Technician Flowchart Sheet 4 of 4 Menu Flowchart 2200 SRM 1336 6 ...
Page 123: ......
Page 124: ...TECHNICAL PUBLICATIONS 2200 SRM 1336 2 14 8 13 4 13 12 12 3 12 12 11 ...


