background image

S706/5 

INSTALLATION INSTRUCTIONS  


MOUNTING  


1. Remove  front  display  lid  from  RWD  box  and  disconnect  ribbon  cable. 

Place the lid somewhere clean and safe.  


2. Screw  the  RWD  box  to  a  suitable  wall  or  vertical  surface  using  the 

mounting lugs provided. 


3. Self-adhesive product labels are supplied and can be fixed alongside the 

corresponding channel LED indicator on the front of the RWD unit.  


POWER SUPPLY  


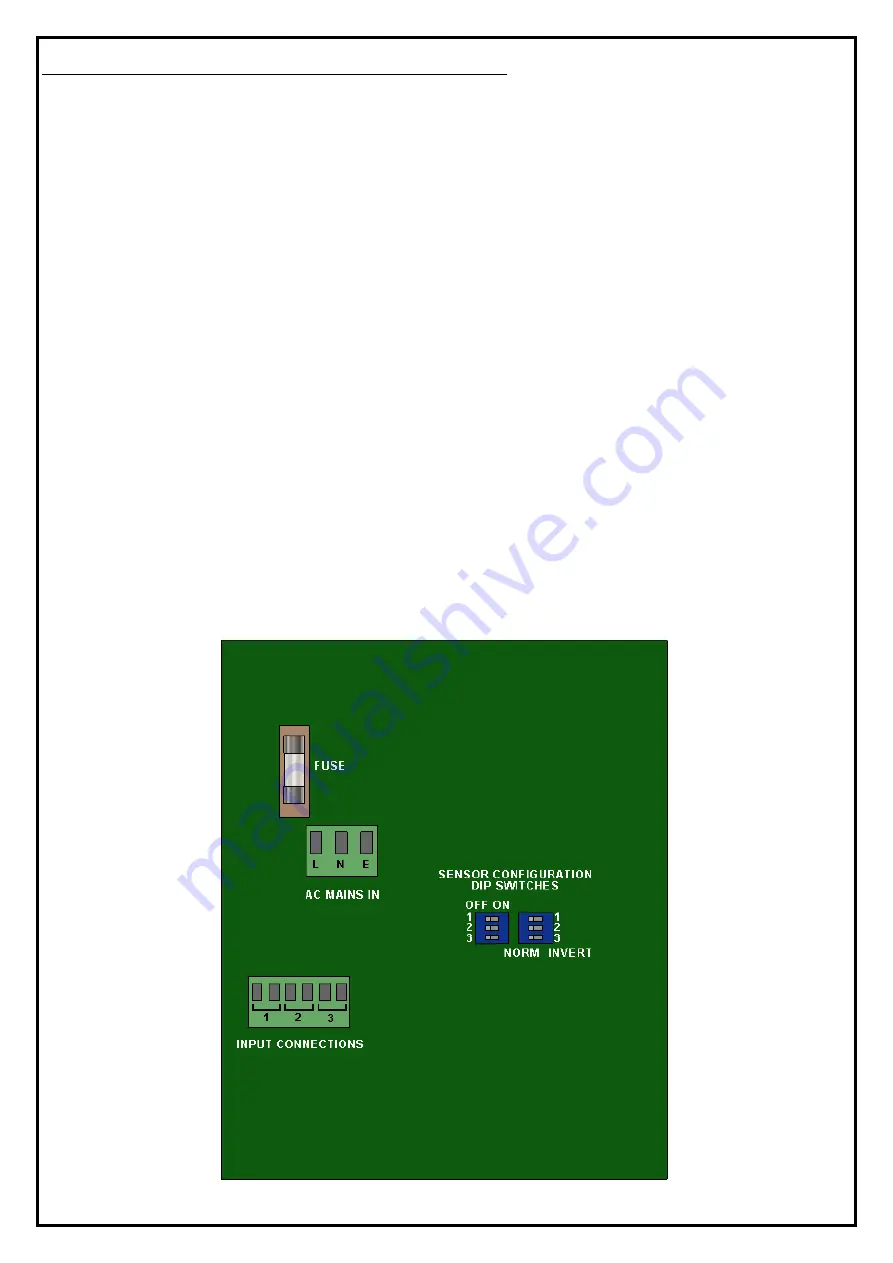
4. The  RWD  is  designed  to  have  a  continual  230V  AC  supply  fused  at  a 

rating of 6 amps max.  See Connections diagram.


CONNECTIONS DIAGRAM 


Summary of Contents for RWD

Page 1: ...ead carefully before commencing installation Registered Office HYTEK GB LIMITED Delta House Green Street Elsenham Bishop s Stortford CM22 6DS UK Registered in England No 1915382 Tel 44 0 1279 815 600 Fax 44 0 1279 812 978 email info hytekgb com Web www hytekgb com ...

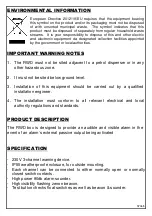
Page 2: ...a petrol dispenser or in any other hazardous zone 2 It must not be sited below ground level 3 Installation of this equipment should be carried out by a qualified installation engineer 4 The installation must conform to all relevant electrical and local authority regulations and standards PRODUCT DESCRIPTION The RWD box is designed to provide an audible and visible alarm in the event of an alarm s ...

Page 3: ...WD box to a suitable wall or vertical surface using the mounting lugs provided 3 Self adhesive product labels are supplied and can be fixed alongside the corresponding channel LED indicator on the front of the RWD unit POWER SUPPLY 4 The RWD is designed to have a continual 230V AC supply fused at a rating of 6 amps max See Connections diagram CONNECTIONS DIAGRAM ...

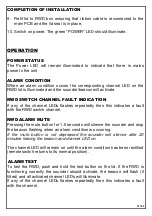
Page 4: ...ram 7 After connecting the desired amount of pairs of switch contacts activate the corresponding channels by setting the appropriate channel activation dipswitch to ON position See Dip switch settings diagram NB If a channel activation dipswitch is in the OFF position and a switch connected to the corresponding terminals is operated the RWD alarm will not function 8 Set the switch setting dipswitc...

Page 5: ...hen this indicates a fault with the RWD switch channel RWD ALARM MUTE Pressing the mute button for 1 5 seconds will silence the sounder and stop the beacon flashing when an alarm condition is occurring If the mute button is not depressed the sounder will silence after 20 minutes leaving the beacon and channel LED on The channel LED will remain on until the alarm condition has been rectified remote...

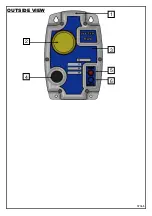
Page 6: ...ts MAINS 2 TA BEACON RWD amber beacon 3 RWD LAB2 Display lid label 4 TA SOUND RWD sounder 5 TC AT RWD test button 6 TC AS RWDmute button 7 TA GLND Cable gland PG7 8 TA BOX2 RWD box base only 9 TA3A PCBMAINS RWD PCB 230Vac 10 BLANK 12 7 12 7mm hole blank 11 TA LABP Product label 9 labels per sheet 12 TA3 PCBDISP RWD display PCB not shown ...

Page 7: ...S706 5 2 4 5 6 1 3 OUTSIDE VIEW ...

Page 8: ...chinery Directive 2012 19 EU Waste Electrical Electronic Equipment Regulations 2011 65 EU Restriction of Hazardous Substances Directive RoHS2 Declaration Number EU036 8 On behalf of the above named company I declare under our sole responsibility that on the date the equipment accompanied by this declaration is placed on the market the equipment conforms with all technical and regulatory requiremen...

Reviews: