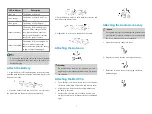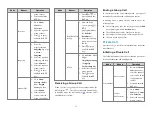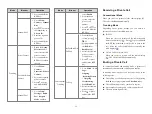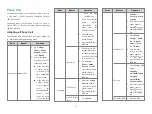
Product Overview
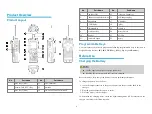
Product Layout
No.
Part Name
No.
Part Name
1
Side Key 1 (SK1)
12
LED Indicator
2
Push-to-Talk (PTT) Key
13
Antenna
3
Side Key 2 (SK2)
14
On-Off/Volume Control Knob
No.
Part Name
No.
Part Name
4
Top Key (TK)
15
Accessory Connector
5
Channel/Group Selector Knob 16
Back/Subgroup Key
6
Microphone
17
P2/End Key
7
LCD Display
18
Up Key
8
OK/Menu Key
19
Down Key
9
P1/Answer Key
20
Battery Latch
10
Speaker
21
Belt Clip
11
Numeric Keypad
22
Battery
Programmable Keys
You can request your dealer to program the following programmable keys as shortcuts to
assignable radio features:
SK1
,
SK2
,
TK
,
P1
key,
P2
key,
Up
key, and
Down
key.
Before Use
Charging the Battery
l
Use the approved charger to charge the battery.
l
Read the
Safety Information Booklet
before charging.
Before initial use, fully charge the battery to ensure optimum performance.
To charge the battery, do as follows:
1. Insert the output connector of the power adapter into the port on the back of the
charger.
2. Plug the power adapter into a power outlet.
3. Place the battery into the charger.
To determine the charging status, check the light-emitting diode (LED) indicator on the
charger according to the following table:
6


