19
DIGITAL SIGNAGE
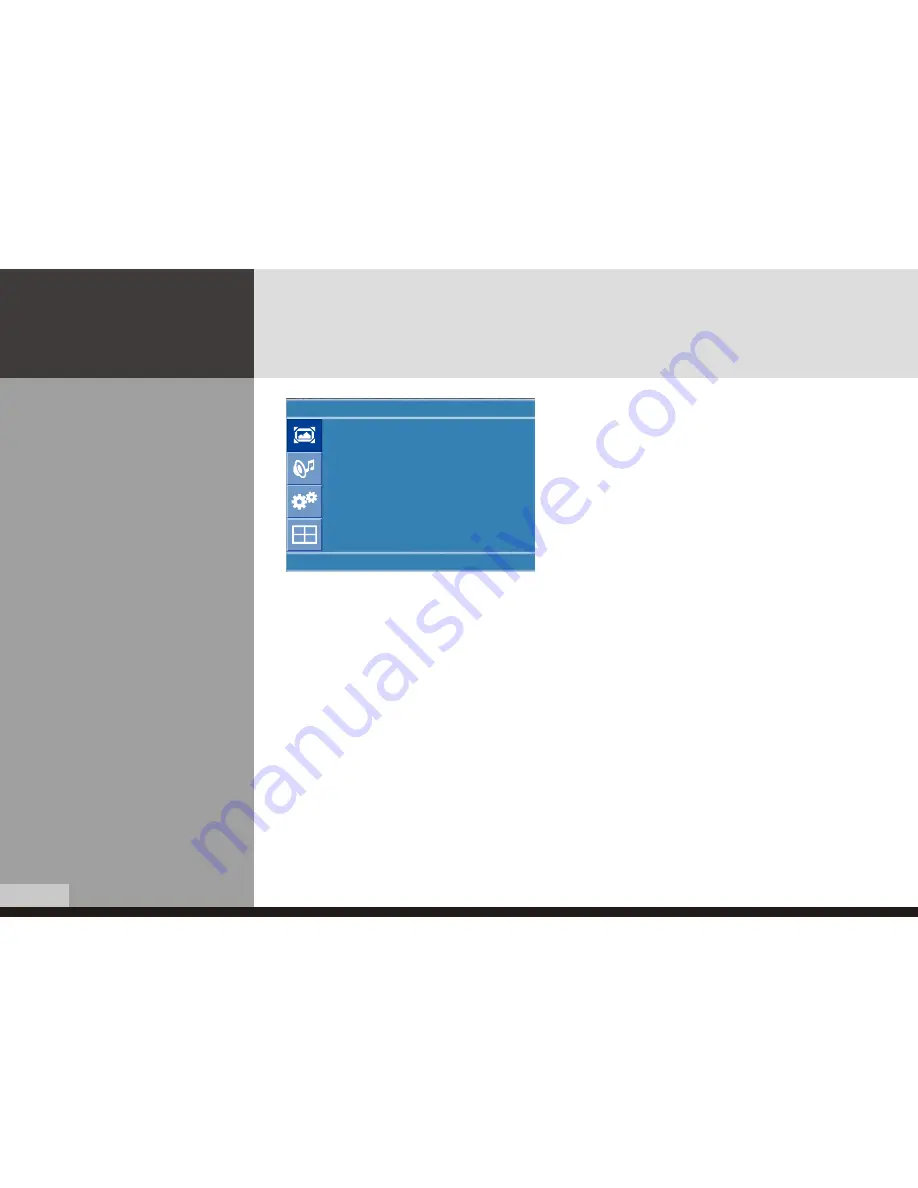
How to set image adjustment
in PC mode
(Supported only in PC mode)
1. Press Menu button.
Menu items appear on the screen.
2. Press
↲
button to select "Picture" Icon.
"Picture Mode" is highlighted.
3. Press
▲ / ▼
buttons to move to PC and press
▶
or
↲
buttons to select to "PC"
"Auto Adjust" is high lighted.
4. Press
↲
button to execute the "Auto Adjust"
5. Select the required option by pressing the
◀ / ▶
or
↲
button, then press
◀ / ▶
button to adjust
6. Press EXIT button to escape OSD MENU or press MENU button to return to the previous menu.
- Auto Adjust : Horizontal/vertical positions are automatically adjusted.
- Phase : To eliminate the shake of the picture.
- H-Position : To adjust the horizontal position of the picture.
- V-Position : To adjust the vertical position of the picture.
- Frequency : To eliminate the shake of picture.
- Resolution : Selecting resolution is allowed to only set to 1024x768, 1280x768, 1360x768, 1366x768.
Select corresponsive resolution with specified resolution of image.
Picture
Auto Adjust
Phase
:
52
H-Posilion
:
16
V-Posilion
:
24
Fiequency
:
-78
Resolution
:
U
Move
Enter
Menu


