background image

8

Operation

SUBTITLE
Click the SUB-T button to select subtitle 

language, if this choice is supported by the 
current channel.

TV/RADIO
Press TV/R button to switch between TV 

and radio.

PREV/NEXT
When playing a media file, press these 

buttons to select previous/next file.

STOP
When playing a media file, press this button 

to stop playback.

USB
Press this button to enter the USB setup 

interface.

OSD operation

1. Press MENU button to enter the setting 

menu displayed on the screen.

2. Press LEFT/RIGHT cursor buttons on the 

RC to select setting page.

3. Press OK button on the RC to go to the 

parameter list.

4. Press UP/DOWN cursor buttons on the 

RC to select a parameter to adjust.

5. Press LEFT/RIGHT cursor buttons on the 

RC to adjust the selected parameter.

6. Press MENU button to return to the 

previous menu page. Press EXIT button on the 
RC to quit the menu.

  Some menu items may be in grey color, 

in this case they are not adjustable. Pictures 
of OSD menu are for reference only; they may 
differ from the real screens.

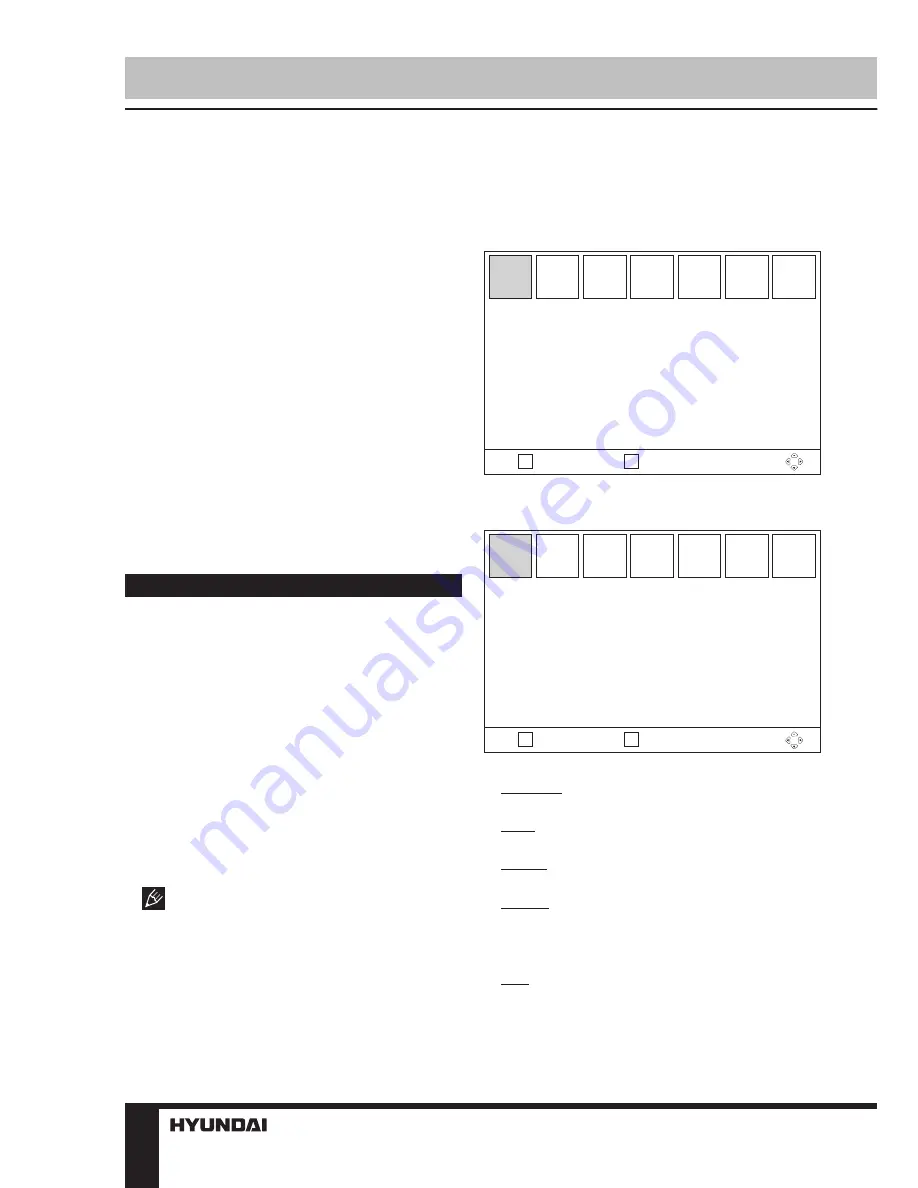
Main menu

Press the MENU button on the RC to browse 

the main menu.

Media Player

EXIT

ОК

Return

Confirm

Media Player

PVR
Video
Music
Image

•  

PVR:


Rename: Press RED button to rename the 

chosen item.

Lock: Press GREEN button to lock the 

chosen item.

Delete: Press YELLOW button to delete the 

chosen item.

Switch: Press numeric button 5 to switch 

between submenus of Media Player

•  

Video:

Edit: Press BLUE button to edit the chosen 

item. In this submenu, press RED button to 
rename, press GREEN button to copy, press 
YELLOW button to delete and press BLUE 

EXIT

ОК

Return

Confirm

Main menu

Media Player
Edit Channel
Installation
System Setup
Tools

Summary of Contents for H-DVB03T2

Page 1: ...MULTIMEDIA PLAYER WITH DVB T2 RECEIVER Instruction manual H DVB03T2 DVB T2...

Page 2: ...e of contents Before you start Important safeguards Utilization of the product Connection Connection Operation Control elements Front panel Rear panel Remote controller Changing the battery General op...

Page 3: ...the unit power cord and antenna cable during a thunderstorm Before you turn on the device please check the reliability of its connection to the power supply and other devices This unit can not receiv...

Page 4: ...Coaxial output Connect the coaxial digital audio output to the input of an amplifier to transmit the audio signal to the amplifier using a special coaxial cable not included Stereo audio output Conne...

Page 5: ...2 Power Standby indicator 3 IR sensor 4 Display 5 CH button 6 CH button 7 Power Standby button Rear panel 8 RF out 9 RF in 10 Digital coaxial output 11 HDMI port 12 AV RCA output 13 Component output Y...

Page 6: ...ttery compartment cover on the back of the RC 2 Insert two AAA batteries into the battery compartment making sure that the correct polarity is observed 3 Install the cover back The RC should be pointe...

Page 7: ...channel if this choice is supported by the current channel CH CH Press these buttons to select the previous or next channel Navigation Press these buttons to navigate through the various menus OK Pres...

Page 8: ...C to adjust the selected parameter 6 Press MENU button to return to the previous menu page Press EXIT button on the RC to quit the menu Some menu items may be in grey color in this case they are not a...

Page 9: ...y press YELLOW button to delete and press BLUE button to open a new folder Switch Press numeric button 5 to switch between submenus of Media Player Sort Press numeric button 6 to sort channels Setup P...

Page 10: ...e channels in the same order as in the signal stream in LCN off mode the system will list the channels in an ascending order according to the channel numbers Press OK to toggle the LCN mode on or off...

Page 11: ...s OSD Setting OSD Timeout 1 10 seconds OSD Transparency Off 10 20 30 40 Favorite Press OK button to edit favorite channels MultiView Setting 3x3 pictures 4 1 pictures PVR Storage Information View the...

Page 12: ...rior notice and hence differ from the menu represented in this Manual USB information USB file systems supported NTFS FAT FAT32 2 0 USB version is supported For correct and satisfactory operation lice...

Page 13: ...antenna Turn to the service provider No image Wrong signal source is selected on your TV Select the correct input signal source No sound The audio cable is poorly connected or not connected The sound...

Page 14: ...2 MPEG4 MP1 2 MP3 WMA AC3 LPCM ADPCM AAC 3GP 3gp H264 MPEG4 AMR NB AAC LC Specifications Frequency range 174 230 MHz VHF 470 862 MHz UHF Digital radio PVR Time Shift Russian and English OSD EPG Signal...

Page 15: ...15 USB 15 16 16 16 17 17 18 18 18 18 19 19 20 21 21 22 22 23 25 25 26 27 27 27 28 28...

Page 16: ...16 1...

Page 17: ...17 DVB T RF IN DVB T T2 RF OUT RF OUT HDMI HDMI HDMI HDMI RCA CVBS RCA...

Page 18: ...18 1 USB 2 3 4 5 CH 6 CH 7 POWER 8 RF out 9 10 11 HDMI 12 RCA 13 YPbPr 14 1 2 3 4 5 6 7 8 9 10 11 12 13 14...

Page 19: ...R 5 6 SUB T 7 TEXT 8 AUDIO 9 PREV 10 REW 11 USB 12 REC 13 MUTE 14 LAST 15 EXIT 16 OK 17 INFO 18 FAVOR 19 EPG 20 NEXT 21 FF 22 PLAY PAUSE 23 STOP 1 2 AAA 1 5V 3 c 8 30 1 2 3 4 5 6 7 8 9 10 11 12 13 14...

Page 20: ...20 STANDBY STANDBY STANDBY INFO EPG EPG Electronic Program Guide EPG AUDIO AUDIO CH CH VOL VOL REWIND FAST FORWARD REW FF PAUSE PLAY MUTE TEXT LAST...

Page 21: ...21 PVR USB REC USB STOP SUBTITLE SUB T TV RADIO GOTO PREV NEXT STOP USB USB 1 MENU 2 3 OK 4 5 6 MENU EXIT MENU EXIT...

Page 22: ...22 EXIT PVR PVR 5 5 6 8 1 2 3 4 5 6 7 5 6 7 MultiView 8...

Page 23: ...23 EXIT CH OK CH OK EXIT DVBT DVBT LCN DVBT VHF UHF 6 7 8 OK EXIT DVBT FTA OK EXIT LCN LCN...

Page 24: ...24 LCN EXIT Auto 4 3 PS 4 3 LB 16 9 PAL DK PAL BG PAL L RF 21 69 CVBS YPbPr 0 100 0 10 GMT GMT UTC 00 00 00 30 ON OFF 1 GMT GMT 2 GMT 3 GMT 8 PS 0000 10 12 14 16 18...

Page 25: ...10 20 30 40 MultiView 3x3 4 1 TMS Timeshift 30 1 5 10 30 Timeshift PS USB Time shift PAUSE PLAY REW FF 5 x2 x4 x8 x16 x32 INFO RF out EXIT USB USB 0000 USB All Code Main Code Radioback Defaultdb abs...

Page 26: ...26 USB USB USB 2 0 NTFS FAT FAT32 USB 2 USB 1 1 2 0 USB 500 USB USB USB USB BIN...

Page 27: ...27 Standby 1 1 2 1 3 2 4 RCA 1 5 1 6 1 7 1...

Page 28: ...DPCM AAC MP4 mp4 H264 MPEG1 2 MPEG4 MP1 2 MP3 WMA AC3 LPCM ADPCM AAC MOV mov H264 MPEG1 2 MPEG4 MP1 2 MP3 WMA AC3 LPCM ADPCM AAC ASF asf H264 MPEG1 2 MPEG4 MP1 2 MP3 WMA AC3 LPCM ADPCM AAC FLV flv H26...

Page 29: ...II 200 600 C 00 450 C 155 x 38 x 98 8 10 H DVB03T2_IM_01...

Reviews: