background image

2

3

Table of contents

Before you start

If you want to dispose this product, do not mix it with general household waste. There is 

a separate collection system for used electronic products in accordance with legislation 
that requires proper treatment, recovery and recycling.

Please contact your local authorities for the correct method of disposal. By doing so, you 

will ensure that your disposed product undergoes the necessary treatment, recovery and 
recycling and thus prevent potential negative effects on the environment and human health.

Utilization of the product

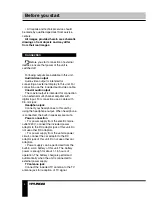
Important safeguards


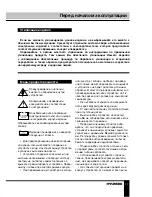
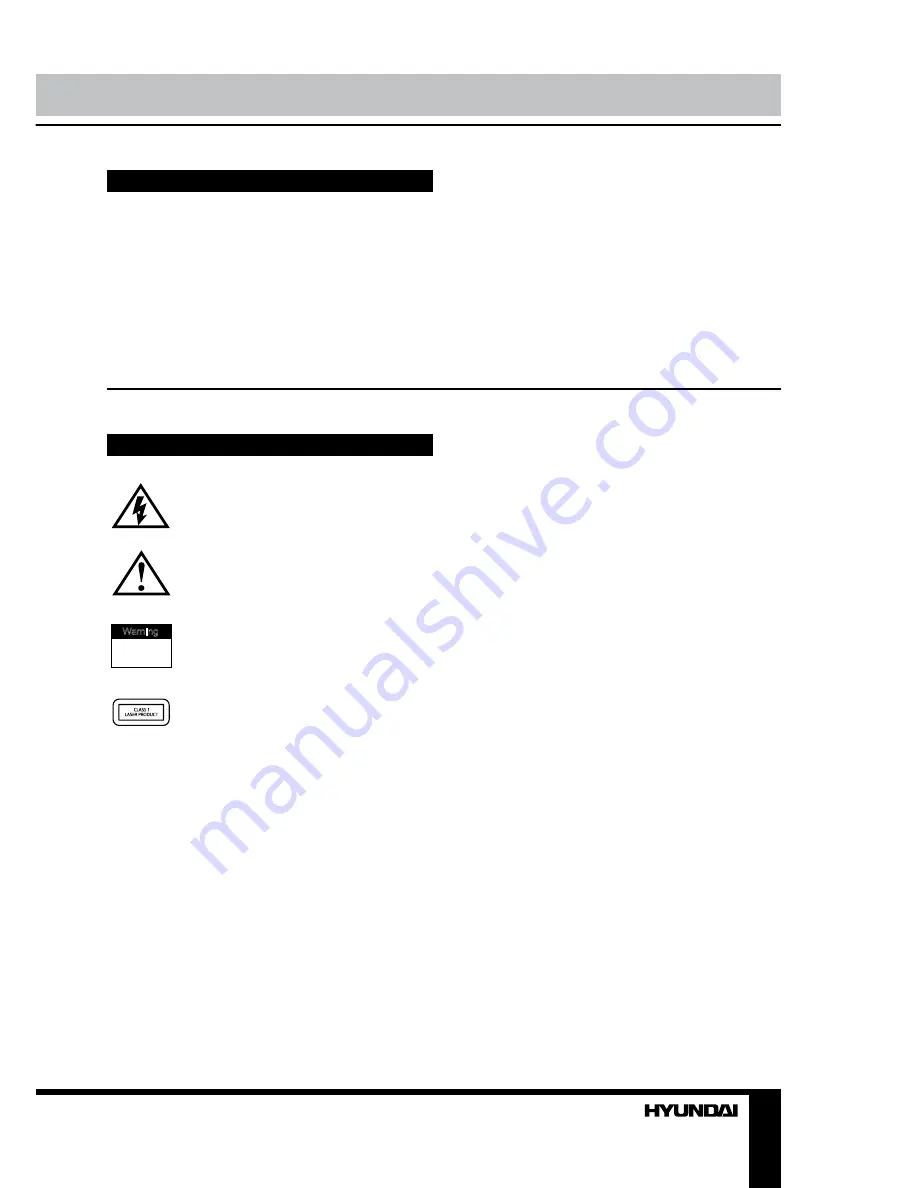
Alerts the user to the presence  


of dangerous voltage within the  


product’s enclosure.


Alerts the user to the presence  


of important operating  


instructions.


To reduce the risk of electric shock


or fire, do not open the cover. Refer 


servicing to qualified service 


personnel.


This mark indicates this unit belongs 


to class 1 laser product.

•  To prevent the risk of fire or electric shock, 

don’t allow water to come into contact with 

the device and don’t use the device in high 

humidity conditions.

•  The device is equipped with high voltage 

components and a laser system, hence you 

shall not open the device and repair it by 

yourself. The laser beam is dangerous to eyes 

when the housing is removed. Don’t look at it.

•  When the device is moved from cold 

premises to the warm room or vice versa, 

condensate may form on the laser head and 

the device may not operate properly. In this 

case please turn the device on for 1-2 hours 

without disc before playback to heat it to a 

proper operation temperature.

•  Don’t try to manually open or close the 

disc tray to load discs.

•  Disconnect the receiver only when there is 

no disc therein.

•  If you are not going to use the device for a 

long time disconnect it from the wall outlet.

•  Before turning the device on, please make 

sure that you have connected it properly, 
adjust the volume of speakers and amplifiers 
of your radio system to the minimum. Adjust 
the volume as necessary only after normal 
playback has started to avoid damage of your 
audio system.

•  Use supply sources of rated voltage, 

otherwise the unit may not function or may be 
damaged.

•  Place the unit on a horizontal surface. 

Keep the unit ventilated. Don’t block the heat 
hole. Overheat may cause malfunction.

•  Do not place any objects on the player’s 

cover, this may make it function improperly 
(incorrect playback).

•  Please place the device in a dry and 

well-aired area. Do not place it near heating 
units or expose it to direct sunlight, mechanical 
vibration, humidity or excessive dust.

•  If using power plug and appliance coupler 

as a cutting-connecting device, it should be 
operated easily.

•  Never use liquid detergents, abrasives or 

organic compounds (alcohol, gasoline, etc) to 
clean the unit body.

Warning

RISK OF ELECTRIC SHOCK

DO NOT OPEN

Summary of Contents for H-LCDVD904

Page 1: ...www sotmarket ru Hyundai H LCDVD904 8 800 775 98 98...

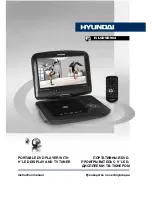
Page 2: ...DVD 9 LED PORTABLE DVD PLAYER WITH 9 LED DISPLAY AND TV TUNER Instruction manual H LCDVD904...

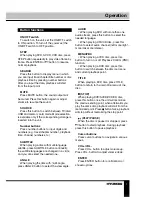
Page 3: ...nel Remote controller Changing the battery Button functions ON OFF switch STEP SEARCH MUTE SOURCE Number buttons SUBTITLE ANGLE AUDIO MENU PBC TITLE STOP PLAY PAUSE Cursor buttons VOL VOL ENTER SLOW S...

Page 4: ...is moved from cold premises to the warm room or vice versa condensate may form on the laser head and the device may not operate properly In this case please turn the device on for 1 2 hours without di...

Page 5: ...input For connection use a cable with 3 5 mm jack Headphone jack Connect your headphones to this unit by using the headphone output When headphone is connected the built in speakers are mute Power con...

Page 6: ...button 6 button 7 button 8 button 9 SOURCE button 10 VOL button 11 VOL button 12 CH button 13 button button 14 button button CH button 15 OPEN button 16 MENU button 17 button 18 ENTER button 19 SETUP...

Page 7: ...button 19 AUDIO button 20 MENU PBC button 21 button 22 button 23 MODE button 24 button 25 VOL button 26 VOL button 27 button 28 button Changing the battery Remove the battery compartment cover on the...

Page 8: ...a circle and you can select the needed one ANGLE When playing the disc with multi angle press ANGLE button to select the view angle AUDIO When playing DVD with more than one audio stream press this bu...

Page 9: ...PLAY item Press ENTER button to start program playback Press PROGRAM button to cancel programming For MP3 disc this function is not available DISPLAY Press DISPLAY button to display various info on th...

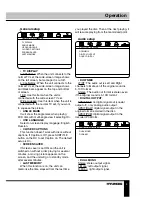
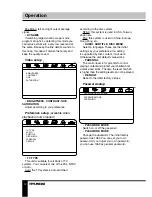
Page 10: ...ton on the RC to set Caption on The default setup is On SCREEN SAVER If Screen saver is set ON and the unit is switched on without a disc playing for several minutes a moving picture appears on the sc...

Page 11: ...uto the TV system is auto switched according to the disc system NTSC this system is used in USA Taiwan Japan etc PAL this system is used in China Europe Hong Kong etc AUDIO SUBTITLE DISC MENU Select a...

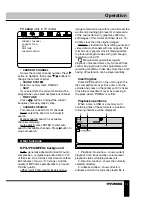
Page 12: ...nfo window shows current playback time track number volume level playback status stop play pause etc 2 Directory window shows the currently selected directory 3 Address window shows directory address...

Page 13: ...ER button to go to the other menu page ZOOM Change zoom mode Zoom in picture Zoom out picture Cursor buttons Move zoom center Select EXIT MENU item and press ENTER button to exit Depending on file vol...

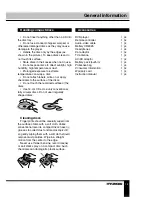
Page 14: ...Use 12 cm CDs Use only conventional fully circular discs Do not use irregularly shaped discs Cleaning discs Fingerprints should be carefully wiped from the surface of disc with a soft cloth Unlike con...

Page 15: ...erted Insert the disc Disc inserted incorrectly Install the disc with the label side facing up Condensate on the unit laser head Switch the unit on without disc for an hour Remote control does not ope...

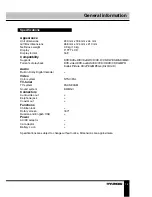
Page 16: ...MC Formats of playback DVD video DVD audio SVCD VCD HDCD CDDA MP3 Kodak Picture CD JPEG MPEG4 DivX XviD Audio Built in Dolby Digital decoder Video Color system NTSC PAL TV tuner TV system PAL SECAM So...

Page 17: ...ON OFF STEP SEARCH MUTE SOURCE SUBTITLE ANGLE AUDIO MENU PBC TITLE STOP VOL VOL ENTER SLOW SETUP ZOOM REPEAT PROGRAM 16 17 17 17 18 19 19 19 19 20 20 21 21 21 21 21 21 21 21 21 21 21 21 21 22 22 22 22...

Page 18: ...17 1 1 2 Warning RISK OF ELECTRIC SHOCK DO NOT OPEN...

Page 19: ...18 3 5 220 1 5 2...

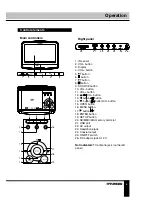
Page 20: ...CH CH 7 8 9 10 11 12 13 14 15 16 17 18 19 CH CH 20 21 22 23 24 25 26 1 2 VOL 3 4 VOL 5 6 7 8 9 SOURCE 10 VOL 11 VOL 12 CH 13 14 CH 15 OPEN 16 MENU 17 18 ENTER 19 SETUP 20 SD MMC MS 21 USB 22 23 24 25...

Page 21: ...27 26 25 24 23 22 21 20 19 18 17 16 1 SEARCH 2 STEP 3 4 ANGLE 5 SUBTITLE 6 7 TITLE 8 9 ENTER 10 SETUP 11 12 REPEAT 13 SLOW 14 PROGRAM 15 ZOOM 16 MUTE 17 SOURCE 18 DISPLAY 19 AUDIO 20 MENU PBC 21 22 2...

Page 22: ...OFF ON OFF ON OFF STEP DVD SVCD VCD STEP ENTER SEARCH MUTE MUTE MUTE SOURCE USB SUBTITLE DVD SUBTITLE ANGLE DVD ANGLE AUDIO DVD CD VCD MENU PBC VCD PBC Playback Control DVD TITLE DVD TITLE DVD SVCD V...

Page 23: ...VOL VOL ENTER ENTER SLOW SLOW 1 2 1 4 1 8 1 16 SETUP SETUP ZOOM DVD VCD ZOOM 2x 3x 4x 1 2 1 3 1 4 REPEAT REPEAT DVD REPEAT SVCD VCD CD PROGRAM PROGRAM 10 ENTER 20 ENTER PROGRAM DISPLAY DISPLAY DVD SV...

Page 24: ...23 DVD SVCD VCD CD 2X 4X 8X 16X 32X 1 SETUP SETUP 2 3 4 5 ENTER 6 OSD 4 3 PS 4 3 LB 16 9 Wide squeeze OSD SUBTITLE...

Page 25: ...24 DOLBY DIGITAL LT RT SPDIF OFF SPDIF RAW SPDIF PCM DOLBY DIGITAL...

Page 26: ...25 PAL NTSC PAL NTSC 1369 1369 DK BG I...

Page 27: ...26 ENTER MP3 JPEG MPEG4 MP3 12 MP3 CD 600 170 MP3 CD JPEG Joint Photographic Expert Group 15 20 MPEG4 AVI AVI 2 OPEN PRESS USB 1 3 2 1 3 2 ENTER ENTER...

Page 28: ...27 JPEG 12 SLIDE SHOW ENTER MENU ENTER Program 90 90 ENTER ZOOM ENTER USB SD MMC USB USB SOURCE USB SD MMC SOURCE USB SD MMC USB 32 FAT32 1800...

Page 29: ...28 12 DVD 1 1 CR2025 1 1 1 1 1 1 1 1 1 1 1...

Page 30: ...29 1 2 1 2...

Page 31: ...x 210 0 9 1 3 9 16 9 DVD DVD R DVD RW CD CD R CD RW USB SD MMC DVD video DVD audio SVCD VCD HDCD CDDA MP3 Kodak Picture CD JPEG MPEG4 DivX XviD Dolby Digital PAL SECAM DK BG I PAL NTSC 1800 Li Ion 201...

Page 32: ......

Page 33: ...2 Hyundai H LCDVD904...

Reviews: