background image

20

21

Управление устройством

Управление устройством

Монитор ПК

Выберите режим VGA. Телевизор 

оснащен входным VGA-разъемом для под-
ключения ПК. Подсоедините ПК через этот 
разъем, чтобы использовать телевизор в 
качестве монитора ПК.

Экранное меню

Нажмите кнопку MENU на ПДУ, чтобы 

войти в меню настроек, отображаемое на 
экране. Нажимайте кнопки 

/

чтобы выбрать страницу настроек. На-

жмите кнопку   для перехода к выбранной 
странице. Нажимайте кнопки 

/

, чтобы выбрать нужный параметр, затем с 

помощью кнопок  /  выберите настрой-
ку или отрегулируйте параметр. Нажмите 
кнопку OK, чтобы подтвердить выбор.

После выполнения настройки нажмите 

кнопку MENU, чтобы перейти на предыду-
щий уровень меню, или кнопку EXIT, чтобы 
выйти из меню.

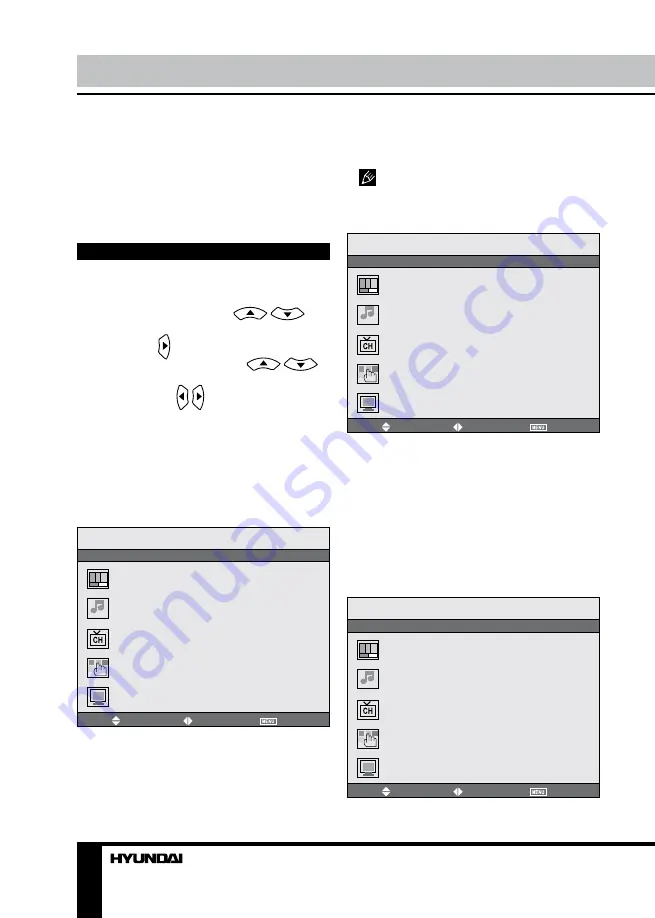
Настройка изображения

Перемест

Выбрать

Выход

Режим изображения
Яркость
Контрастность
Насыщенность
Четкость
Оттенок
Формат

Изображение

•  

Режим изображения

: Пользователь/

Нормальный/Яркий/Мягкий.

•  

Яркость, Контрастность, 


Насыщенность, Четкость

•  

Оттенок

: эта опция доступна только в 

режиме NTSC.

• 

 Формат:

 выберите формат изображе-

ния 16:9/4:3.

  В режиме источника PC можно регу-

лировать только яркость и контрастность.

Настройка звука

Перемест

Выбрать

Выход

Режим звука
Громкость
Тембр ВЧ
Тембр НЧ
Баланс

Звук

•  

Режим звука

: Пользователь/

Нормальный/Новости/Кино.

•  

Громкость

•  

Тембр ВЧ: 

отрегулируйте высокие 

частоты

•  

Тембр НЧ: 

отрегулируйте низкие 

частоты

•  

Баланс

: отрегулируйте баланс между 

правым и левым аудиоканалами.

Настройка канала

Перемест

Выбрать

Выход

Автонастройка
Ручная настройка
Точная настройка
Пропуск
Система звука
Обмен каналов

Канал

Summary of Contents for H-LED2202-F

Page 1: ...LCD LED TV Instruction manual H LED2202 F...

Page 2: ...nal sources Teletext operations PC screen OSD operation Picture setting Sound setting TV Setting Function setting PC setup General information Troubleshooting Causes of interference Specifications 2 T...

Page 3: ...il Unplug the power cord from the AC outlet also unplug the signal cables from the input ports when the unit is unused for long periods of time When unplugging the plug always hold the wide slot do no...

Page 4: ...e left and right of the TV Please place all the signal cords behind of rear panel Do not overexert or touch the panel when you convey the product Do not transfer the LCD TV up or down display directio...

Page 5: ...t When using the LCD as a computer screen connect the PC to the VGA jack from the monitor by the relevant cable Connection This unit has PC audio in jack Connect this jack to PC main unit with related...

Page 6: ...ns 4 INPUT button 5 POWER button 6 IR sensor 7 Power indicator Back panel 1 TVRF antenna socket 2 Stereo audio input 3 Composite video input 4 Component YPbPr input 5 Power socket 6 HDMI input 7 VGA i...

Page 7: ...ery 1 Remove the battery compartment cover on the back of the RC 2 Insert the batteries into the battery compartment making sure that the correct polarity is observed 3 Install the cover back Use two...

Page 8: ...M ASPECT button repeatedly to select a screen display size from the available list Available aspects may differ for different signal sources AV signal sources Press INPUT button on the RC then press c...

Page 9: ...tint of color when your system is in NTSC Scale select 16 9 4 3 picture mode In PC mode only brightness and contrast are adjustable Sound setting Move Select Exit Sound mode Volume Bass Treble Balance...

Page 10: ...ct On Off Selecting On means the screen background colour could be in blue if there is no or weak signal only in TV mode TTX language select the area of teletext language Color temperature Cool Warm N...

Page 11: ...d No audio signal or the signal cord is im properly not connected Connect the audio signal cord properly Set the sound system properly The RC does not work Batteries are improperly installed or exhaus...

Page 12: ...ter Quantity of channels 199 Teletext 10 pages Power supply DC adapter 100 240 V 50 60 Hz 12 V 5 A Power consumption 60 W Unit dimensions 548 x 160 x 395 mm Net Gross weight 4 4 kg 6 kg The LCD panel...

Page 13: ...13 13 14 14 14 15 16 16 16 16 17 17 17 17 18 18 19 19 19 20 20 20 20 20 21 21 22 22 22 23 24...

Page 14: ...14 KPA 060F...

Page 15: ...15 20 50 LCD 10 18 2...

Page 16: ...16 75 300 75 DVD VDCR CAMCORDER PC L R RCA SCART SCART VGA Y Pb Pr HDMI HDMI 75...

Page 17: ...17 1 2 3 4 YPbPr 5 6 HDMI 7 VGA 8 9 SCART 10 1 MENU 2 CH CH 3 VOL VOL 4 INPUT 5 POWER 6 7 1 2 3 4 5 6 7 1 2 3 4 5 6 7 8 9 10...

Page 18: ...MUTE 7 EXIT 8 OK 9 CANCEL 10 TV TXT 11 SIZE 12 HOLD 13 14 15 INPUT 16 17 DISPLAY 18 SLEEP 19 CH CH 20 MENU 21 REVEAL 22 NICAM A2 23 SUBPAGE 24 INDEX 25 26 1 2 AAA 1 5V 3 8 30 1 2 3 4 5 6 7 8 9 21 10 2...

Page 19: ...POWER POWER VOL VOL SLEEP INPUT TV 1 1 CH CH 0 9 1 199 0 9 PICTURE 4 SOUND 4 MUTE DISPLAY ZOOM ASPECT INPUT CH CH TV AV YPbPr SCART VGA HDMI TV TEXT TEXT HOLD INDEX 100 SIZE REVEAL CANCEL SUBPAGE 000...

Page 20: ...20 VGA VGA MENU OK MENU EXIT NTSC 16 9 4 3 PC...

Page 21: ...21 1 1 MENU 1 2 TV VGA...

Page 22: ...22 VGA...

Page 23: ...23 1 1 2 1 3 1 4 1 5 1 5 2 6 1 7 1 8 1 9 1...

Page 24: ...24 21 6 55 300 2 1000 1 5 1920 x 1080 16 9 PAL SECAM DK I BG NICAM 2 3 RCA SCART HDMI VGA YUV 199 10 100 240 50 60 5 12 60 548 x 160 x 395 4 4 6...

Page 25: ......

Reviews: