EN
EN - 39
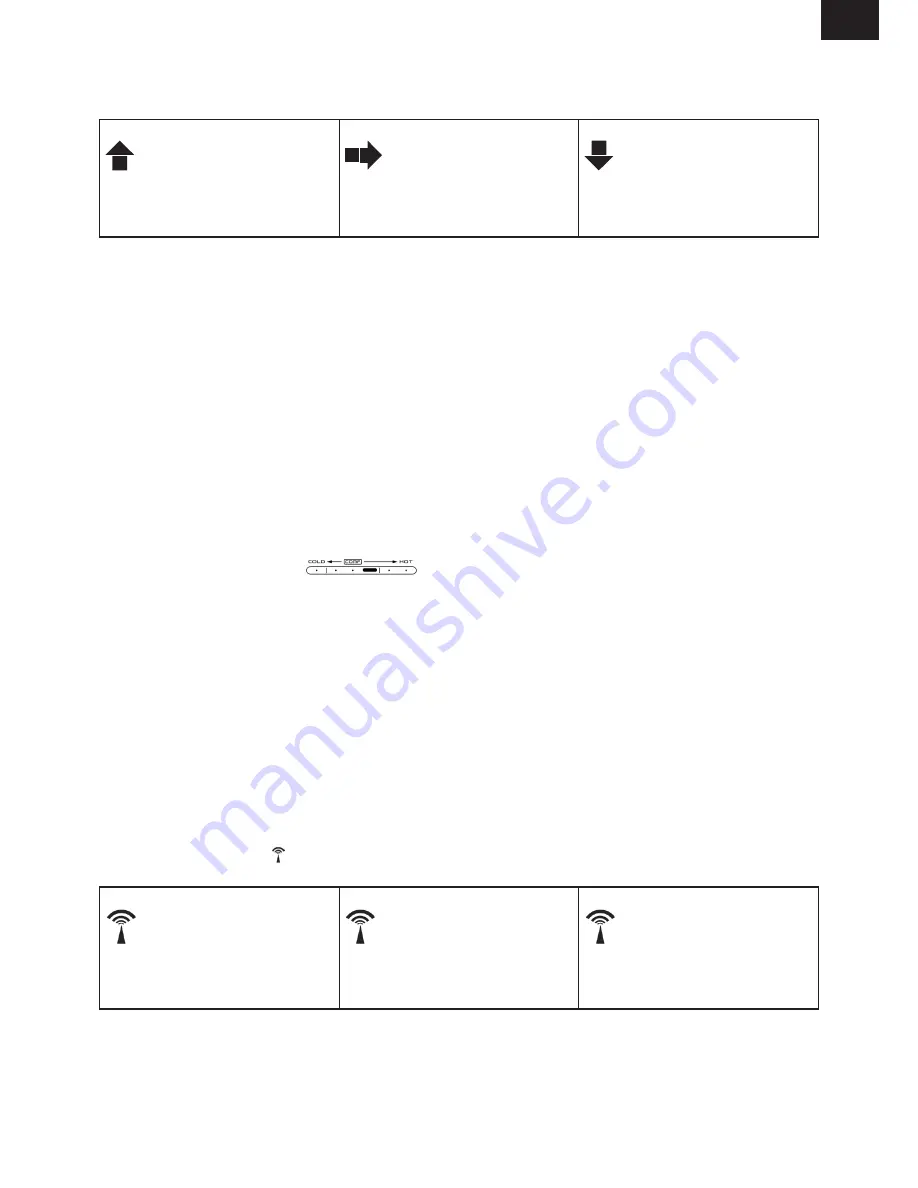
(2) Outdoor Temperature Trend
• The trend pointer (A2) displayed on the LCD indicates the trend of the outdoor temperature.
Indicating the outdoor temp.
is rising
Indicating the outdoor temp.
is steady
Indicating the outdoor temp.
is falling
(3)Celsius / Fahrenheit
• Press “°C/°F” button (B5) to select Indoor/Outdoor Temperature in Celsius mode
or Fahrenheit mode.
• If the temperature is out of the measurable range, LL.L (beyond the minimum temperature)
or HH.H (beyond the maximum temperature) will be shown on the LCD.
(4) Maximum / Minimum Temperature & Indoor Humidity Recording Function:
• Press “MAX/MIN” button (B2) to show the maximum recorded Indoor/Outdoor Temperature
and Indoor Humidity. “
MAX
” is shown on the LCD
• Press “MAX/MIN” button (B2) again to show the minimum recorded Indoor/Outdoor Temperature
and Indoor Humidity. “
MIN
” is shown on the LCD.
• Hold “MAX/MIN” button (B2) for 3 seconds to clear the recorded maximum and minimum
reading.
(5) Comfort Indicator Bar
(A6) for the display of pleasant/unpleasant climate.
(6) The use of 1.5m cord Temperature Probe:
• Insert the probe plug (D6) to the jack on the right hand side of the Thermo Sensor Unit.
• Put the metal casing outside and leave the Thermo Sensor Unit in indoor area to avoid
freezing up the battery when the outdoor temperature is below -20 °C.
• Always use the temperature probe to sense the temperature when the temperature is be
-
tween the following range: -50 °C ~ 0°C and +50 °C ~ + 70 °C
8. TIME AND ALARM SETTING
8.1 Radio Controlled Clock:
• After batteries inserted and main unit finishes receiving the transmissions from outdoor
thermo sensor, the clock automatically starts to scan the DCF time signal.
Radio Control Icon “ ” flashes on the LCD.
flashes,
Indicating now is receiving
DCF signal
turns on,
Indicating signal received
successfully
disappear,
Indicating signal reception
failed


