- 3 -
Identifying parts and controls
1.The LED light indicates the state of working. During operation, the LED Light is bright
green. When dormant, the LED Light is orange.
2.The power button is used to identify the state of power. You can use the power
button to control on & off.
3.The function keys are used for adjusting all settings. When you need some adjustment,
you can achieve the goals by pressing any of the function menus. Details for all the
function menus are subsequently described.
Working with OSD Group
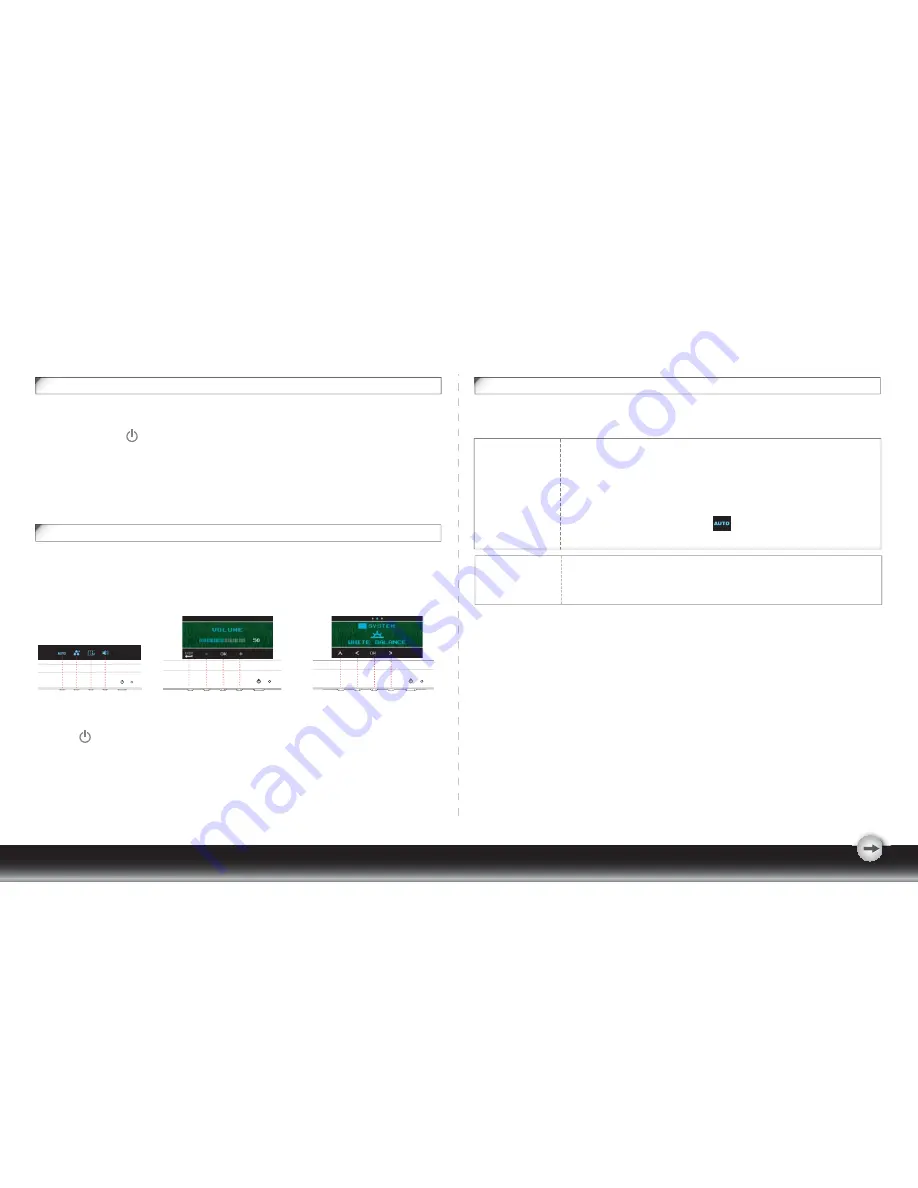
You will find that the OSD is very easy to use. You can identify the function of a button
through the corresponding icon displayed on the pop-up window of OSD. Now there are 3
pictures, which show that a button represents different functions in different levels of the
architecture.
Customizing your Monitor
Important:
Important:
The On Screen Display (OSD) system provides a full range of customizable tools to
optimize your display.
Although you could perform comprehensive customization, we
strongly recommend that you use the “AUTO ADJUSTMENT”
function.
It can utilize the default values to thoroughly optimize the
performance of the display. Activate the OSD munu.
Select the first button on the left to activate the “ATUO
ADJUSTMENT” function.
In addition, we have also prepared other relatively simple methods to
change the display modes. There are 4 modes, which include:
GENERAL, MOVIE, PICTURE, GAME.
First Level
Third Level
Second Level
1. Press button to start.
2. Press any of the rest 4 buttons to activate the OSD menu.
3. Press the corresponding function icon button on the pop-up window of the OSD.


