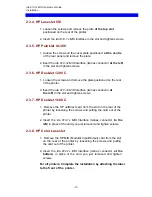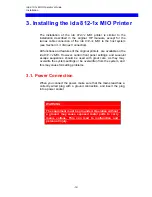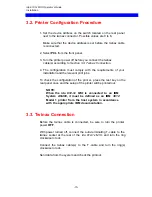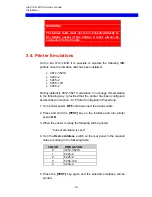
ida 812-1x MIO Operator’s Guide
Installation
-10-
2. Installing the ida 812-1x MIO Interface
Before you start the installation, make sure that the kit is complete. It
should contain the following items:
•
ida 812-1x MIO interface
•
Auto-terminating T-cable
•
"ida 812-1x MIO, Operator's Guide";
Document No. D60222 (electronic format)
•
"ida 812-1x MIO, Quick Guide";
Document No. D10222 (hardcopy format)
CAUTION:
The interface can be damaged by static discharge. To
prevent this damage, the interface comes wrapped in
an antistatic bag.
When you remove the interface from the bag and
when you install it, hold the interface by the edges
only. Do not touch the components or connections.
Do not throw away the antistatic bag. If the interface is
removed from the printer later, it should be kept in the
antistatic bag.
2.1. DIP Switch Language Selection
The
ida 812-1x MIO
interface holds a DIP switch bank for language
selection. The DIP switches must be set
before
the interface is
installed and the setting
must
match the setting used by the system.

