i-Stor LAN User Guide
Page 15 / Chapter 3 - Web Configuration
Users and Groups
In this menu, the admin can manage the users and groups for the i-Stor LAN. Start by
adding your users first, then create the groups and assign the members to their groups.
Note: If there is no hard drive installed or the HDD is not yet formatted, this menu is not
available.
User Management
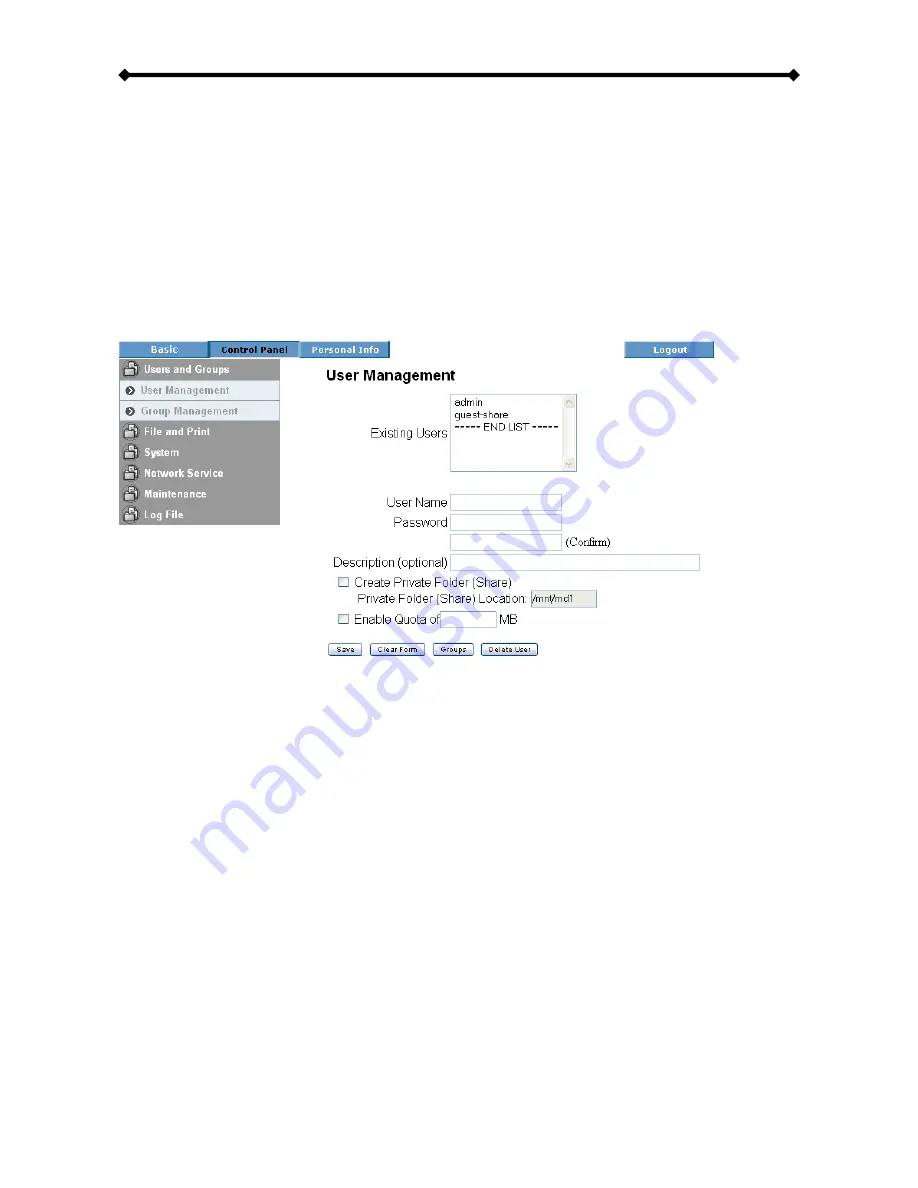
In this section you can see all existing users for the i-Stor LAN and manage them by
adding or removing them from the list.
•
Existing Users: Lists the current users of the i-Stor LAN.
•
Adding Users: To add a new user, clear the form by pressing the “Clear Form” button,
then fill out a user name and password. The description is optional but will help you to
manage multiple users, so we recommend filling out a short description. If required, you
can create a private folder for that user and set a limit for the capacity. Once done,
press the “Save” button to create the new user. If you would like to add this user to an
existing group, select the user from the existing users list and press the “Groups” button
for further settings.
•
Modifying Users: Select the user from the existing users list and modify the settings.
Once done, press the “Save” button to apply the new settings.
•
Removing Users: To remove a user, select it from the existing users list and then
press the “Delete User” button.


