i2O
|
www.i2owater.com
|
info@i2owater.com
|
+44 (0) 2380 111 420
Page 11
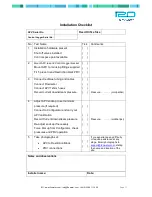
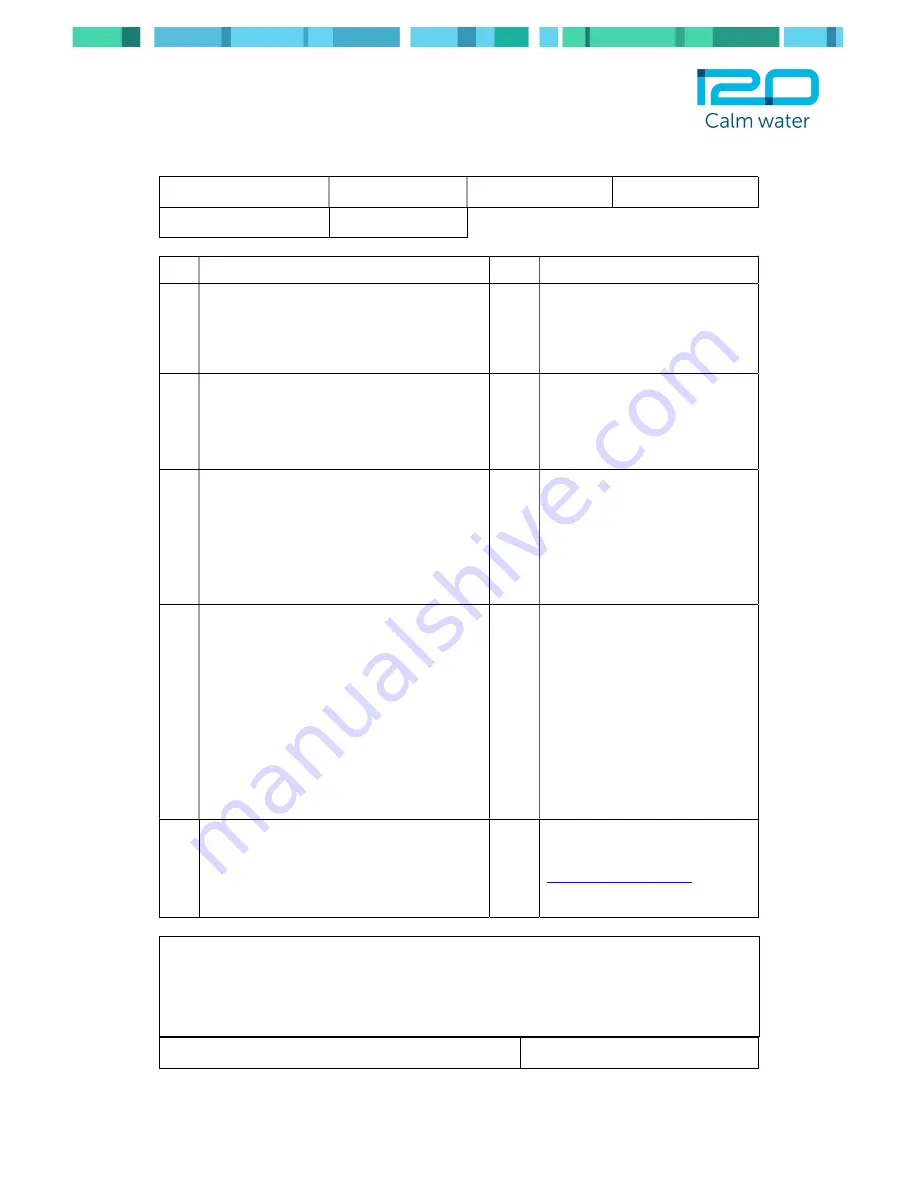
Installation Checklist
No. Test Name
Tick Comments
1
Installation hardware present
Shut off valves installed
Control space point available
( )
( )
( )
2
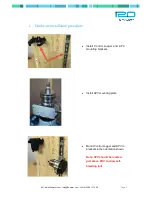
Mount APV rail and Control Logger bracket
Mount APV to rail using fittings supplied
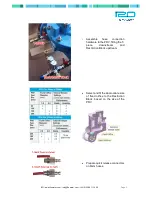
Fit T-piece to and Restriction block PRV
( )
( )
( )
3
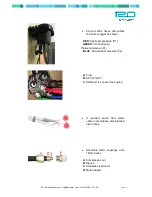
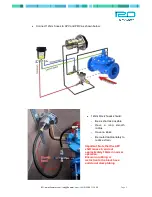
Connect red/blue tubing and cables
Connect Flowmeter
Connect APV 12mm hoses
Record current downstream pressure
( )
( )
( )
( )
Pressure: ………….(mH/psi/bar)
4
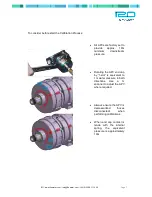
Adjust APV endcap to set minimum
pressure (if required)
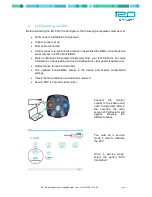
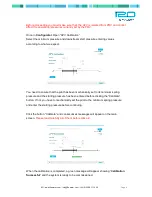
Connect to Configurator and carry out
APV calibration
Record Current downstream pressure
Re-adjust endcap if necessary
Force Dial up from Configurator, check
pressures and PRV operation
( )
( )
( )
( )
( )
Pressure: …..…..... (mH/bar/psi)
5
Take photographs of:
APV to Restriction Block
PRV connections
( )
( )
If you experience any difficulty
or require assistance at any
stage. Email photographs to
support@i2owater.com
, stating
the name and location of the
site.
Installer name:
Date:
APV Serial No.
Fixed Orifice Size
Control Logger Serial No.
Notes and observations


