38
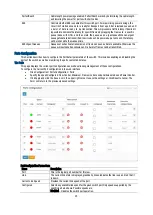
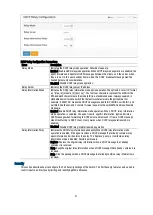
Trap Security Engine ID
Indicates the SNMP trap security engine ID. SNMPv3 sends traps and informs using USM
for authentication and privacy. A unique engine ID for these traps and informs is needed.
When "Trap Probe Security Engine ID" is enabled, the ID will be probed automatically.
Otherwise, the ID specified in this field is used. The string must contain an even number (in
hexadecimal format) with number of digits between 10 and 64, but all-zeros and all-'F's
are not allowed.
Trap Security Name
Indicates the SNMP trap security name. SNMPv3 traps and informs using USM for
authentication and privacy. A unique security name is needed when traps and informs are
enabled
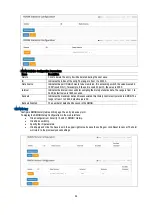
SNMP Communities
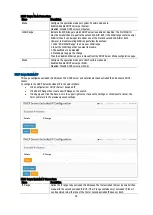
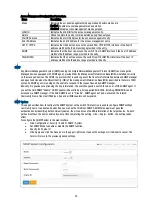
This page is used to configure SNMPv3 communities. The Community and User Name are unique. To create a new
community account, please click <Add new Entry> button, and enter the account information then check <Save>. Max
Group Number is 4.
To configure the SNMP Communities in the web interface:
Click Configuration / Security / Switch / SNMP / Communities
Click Add New Community.
Specify the SNMP Communities parameters.
Click Apply and click the Save icon in the upper right corner to save the settings or click Reset to cancel. The
Form will return to the previously saved settings
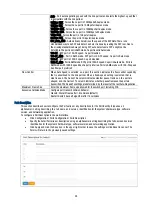
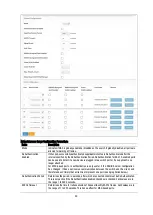
SNMP TRAP Configuration Parameters:
Items
Description
Delete
Check to delete the entry. It will be deleted during the next save.
Community
Indicates the community access string to permit access to SNMPv3 agent. The allowed
string length is 1 to 32, and the allowed content is ASCII characters. The community string
will be treated as security name and map a SNMPv1 or SNMPv2c community string.
Source IP
Indicates the SNMP access source address. A particular range of source addresses can be
used to restrict source subnet when combined with source mask.
Source Mask
Indicates the SNMP access source address mask.
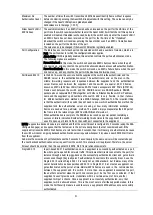
SNMP Users
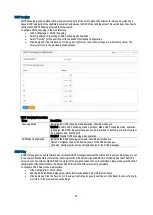
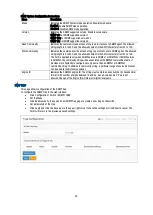
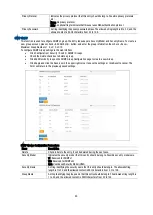
This page is used to configure the SNMPv3 user. The Entry index key is User Name. To create a new User Name account,
please check <Add New Entry> button, and enter the user information then check <Save>. Max Group Number: 10.
To Configure the SNMP Users in in the web interface:
Click Configuration / Security / Switch / SMNP / Users
Check the Delete check box to delete user
Click Add new Entry to open the User configuration page and create new SNMPv3 User.
Click Apply and click the Save icon in the upper right corner to save the settings or click Reset to cancel. The
Form will return to the previously saved settings.


