41
SNMP VIEWS
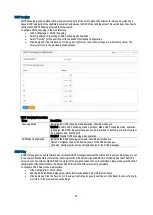
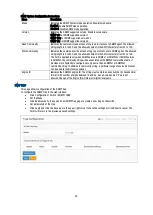
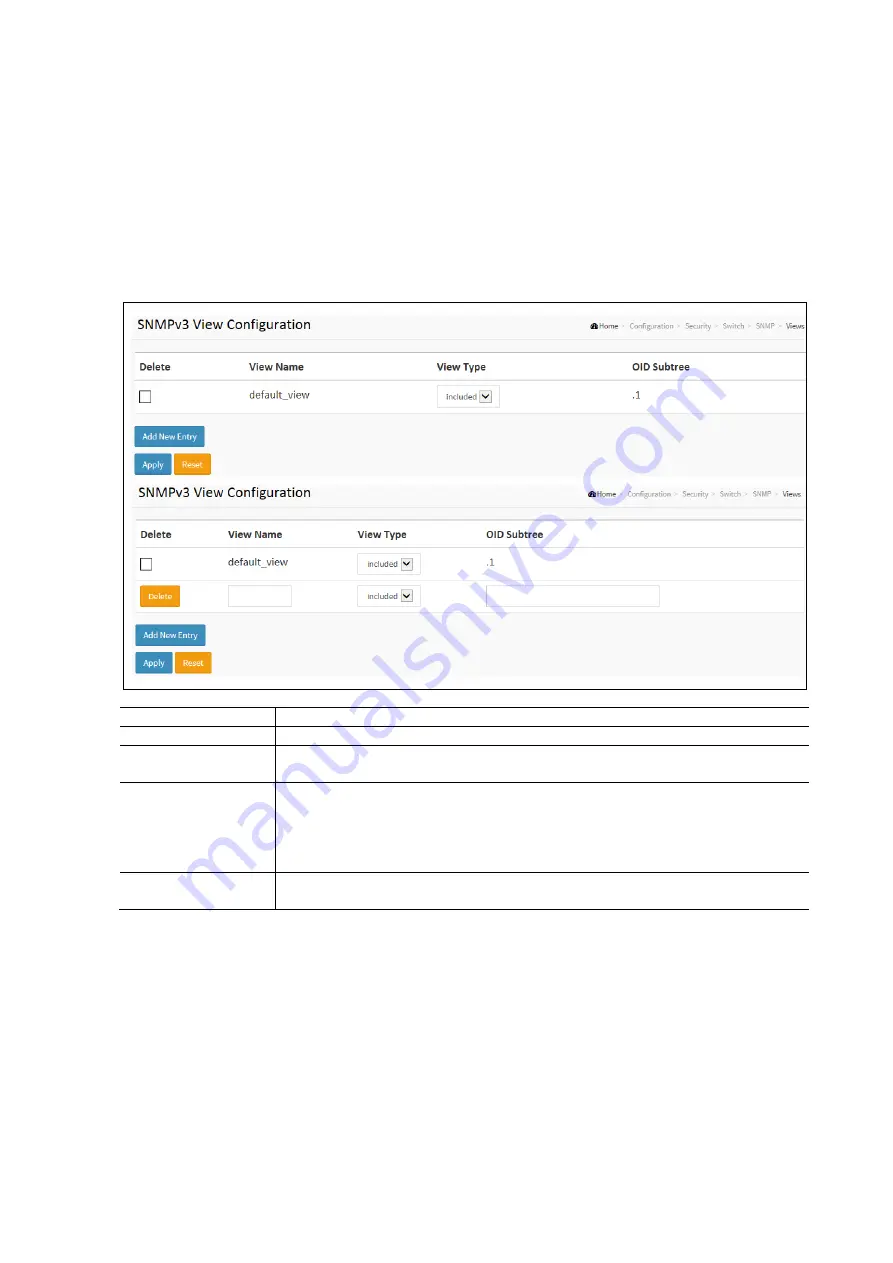
The page is used to configure SNMPv3 view. The Entry index keys are OID Subtree and View Name. To create a new view
account, please click <Add new Entry> button, and enter the view information then check <Apply>. The max group number
is 28.
To configure an SNMP View in the web interface:
Click Configuration / Security / Switch / SNMP / Views
Check the Delete check box to delete the associated view.
Click Add New Entry to add a new view.
Specify the SNMP View Parameters.
Click Apply and click the Save icon in the upper right corner to save the settings or click Reset to cancel. The
Form will return to the previously saved settings.
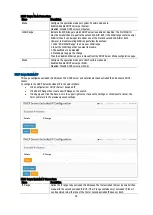
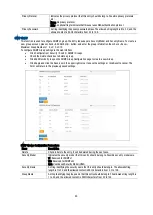
SNMP Groups Configuration Parameters:
Items
Description
Delete
Check to delete the entry. It will be deleted during the next save.
View name
A string identifying the view name that this entry should belong to. The allowed string length
is 1 to 32, and the allowed content is ASCII characters from 33 to 126.
View Type
Indicates the view type that this entry should belong to. Possible view types are:
Included: An optional flag to indicate that this view subtree should be included.
Excluded: An optional flag to indicate that this view subtree should be excluded.
In general, if a view entry's view type is 'excluded', there should be another view entry existing
with view type as 'included' and its OID subtree should overstep the 'excluded' view entry.
OID Subtree
The OID defining the root of the subtree to add to the named view. The allowed OID length is 1
to 128. The allowed string content is digital number or asterisk (*).
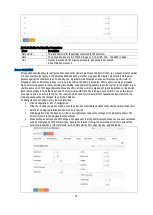
SNMP Access
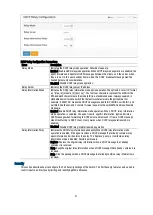
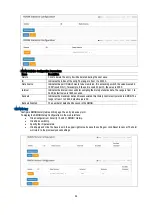
This function is used to configure SNMPv3 Access. The Entry index keys are Group Name, Security Model, and Security
level. To create a new access account, please click <Add new access> button, and enter the access information then
check <Apply>. Max Group Number: 14.
To configure SNMP groups in the web interface:
Click Configuration / Security / Switch / SNMP / Access
Click Add New Entry
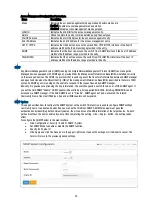
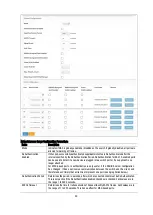
Specify the SNMP Access parameters.
Click Apply and click the Save icon in the upper right corner to save the settings or click Reset to cancel. The
Form will return to the previously saved settings.


