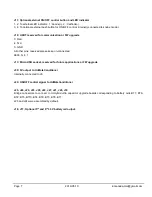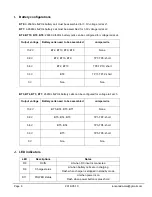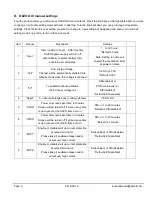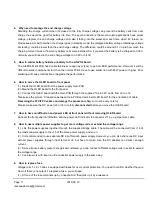
Page 4 2019-05-10 iancanada.mail@gmail.com
F. Getting start
Caution:
Never revise the polarity of the batteries. Never make battery tabs touching to any pad other than those
need to be connected to.
1. Solder the knob encoder to the S1 position.
2. Make sure all battery cells are at same voltage level (within 5%) or being fully charged before installation.
3. Solder two 26650 LifePO4 battery cells (with tabs) or battery holders to BT6 and BT17 position.
4. Solder 26650 LifePO4 battery cells or battery holders to BT1,BT2,BT3,BT4,BT5,BT8,BT9 and BT10, or
configure battery cells accord to the required voltages. Jumper wires may also be required. Please refer to
battery configuration section for details.
5. Connect a 12-19V standard AC-DC adapter (with rated current higher than 3.5A) to J5 or J6. OLED screen
will be turned on. DC-IN LED will be lit. CHARGE LED will be also lit or flashing according to the charging
status.
6. Press and hold the knob button for more than 2 seconds, power supply will be turned on. Voltage rails will be
applied to J1, J2, J3, J4, J7 and J8.
7. Press and hold the knob button for more than 2 seconds again, power supply will be turned off.
G. Block diagram

