7
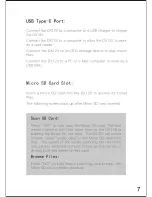
USB Type-C Port
:
Connect the DX120 to a computer to allow the DX120 to work
as a card reader.
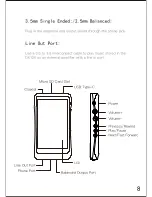
Micro SD Card Slot:
The following screen pops up after Micro SD card inserted.
Scan SD Card:
Browse Files:
Connect the DX120 to a computer or a USB charger to charge
the DX120.
Connect the DX120 to an OTG storage device to play music
files.
Connect the DX120 to a PC or a Mac computer to work as a
USB DAC.
Insert a Micro SD card into the DX120 to access its stored
files.
Press “YES” to fully scan the Micro SD card. The first
media scanning will take more time as the DX120 is
building the library for this card. The DX120 will create
a folder called “.audio_data” in the Micro SD card after
that. The speed of the media scanning the next time
this card is inserted is much faster as the library is
already built and stored on this card.
Press “NO” to skip media scanning, and browse the
Micro SD card in folder structure.


