background image

QUICK START GUIDE


2022-1.0 


IBEX EQUIPMENT CO 


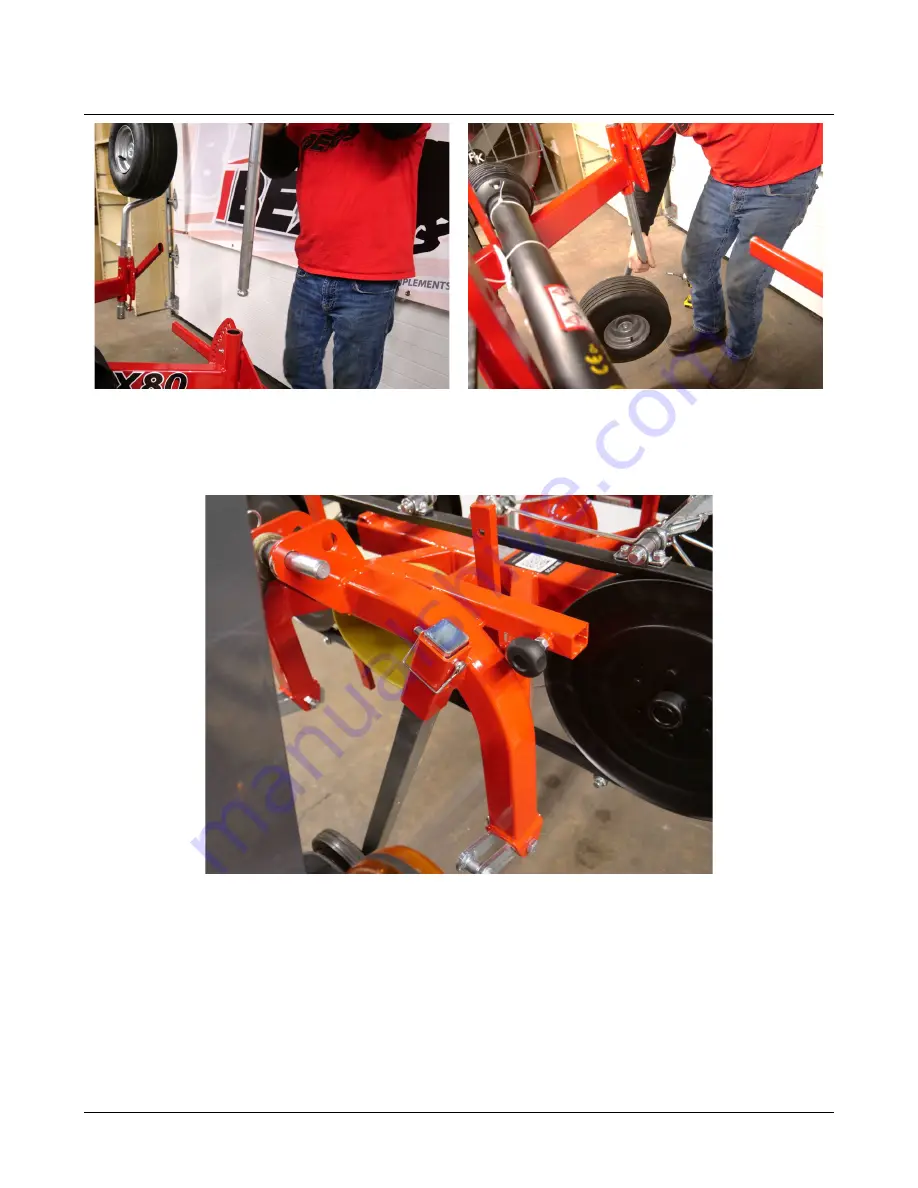
Figure 13 


Figure 14 


Install the support stand with the wheel in the front three point hitch side of the 

rake. Secure it with the provided lynch pin (Figure 15). 


Figure 15 


These next steps can be done either while the rake is connected to the tractor, 

or you can take the rake off of the tractor and finish the assembly with the rake 

on its own wheels and supported by the support stand (recommended). 


Locate the bag of hardware that came in the parts box. Install the side guard 

panels using the provided bolts and nylon lock nuts as shown in (Figure 16). Use 

a small amount of thread locker on these bolts. 

Summary of Contents for TS100

Page 1: ...QUICK START GUIDE 2022 1 0 IBEX EQUIPMENT CO TS100 Belt Rake IMPORTANT READ BEFORE FIRST USE...

Page 2: ...are of the smaller TX80 Belt Rake but the steps are the same Inspect your rake upon arrival Check all sides for any damage that may have occurred during shipping If you see any damage take pictures a...

Page 3: ...3 Figure 2 Figure 3 Remove the hay stop guard arm and side guard panels Figure 4 Figure 5 These are secured to the pallet via wood screws and washers Then place them to the side Figure 4 Figure 5 Remo...

Page 4: ...h from the top to relieve pressure on the frame This will make it easier for the next step Figure 8 Figure 8 Now that the belt rake is no longer secured to the pallet insert a block of wood to support...

Page 5: ...IDE 2022 1 0 IBEX EQUIPMENT CO Figure 9 Back your tractor up to the three point hitch of the rake and hook up to the three point hitch of your tractor to allow for further assembly of the wheels Figur...

Page 6: ...reinstalled right side up Lift the rake up with the 3 point hitch far enough to allow for the wheels to be reinstalled after they are removed Figure 11 Shortening the top link can help tilt the rake f...

Page 7: ...it on the top of the wheel after being installed right side up Apply a drop of the provided thread locker onto the set screw threads before reinstalling into the retaining cap Make sure the set screw...

Page 8: ...xt steps can be done either while the rake is connected to the tractor or you can take the rake off of the tractor and finish the assembly with the rake on its own wheels and supported by the support...

Page 9: ...GUIDE 2022 1 0 IBEX EQUIPMENT CO Figure 16 Install the tines as seen in Figure 17 making sure the tines fit into the grooves on the tine holders Use a little dab of thread locker on these bolts as wel...

Page 10: ...g bracket on the belt rake s frame and tighten down the retaining bolt Then install the hardware for the hay stop guard being sure to add a little bit of thread locker to each screw Figure 18 Figure 1...

Reviews: