MANUAL - WAVE6
5
www.ibiza-light.com
AUX IN MODE:
Connect an audio lead from the AUX output of your audio device to the AUX input on the unit. Press MODE
button until AUX is displayed. When a device is plugged into the AUX socket, it will disconnect all other audio
devices. In AUX mode, all functions can be controlled by the external device.
USB MODE:
1. After start-up, press MODE to select “USB” and insert the USB device. The unit will automatically read and
play the music in the USB device.
2.
Press “
▶ǁ
” key shortly to pause or play the track.
3.
Shortly press “
” key to skip to the previous track.
4.
Shortly press “
” key to skip to the next track.
USB CHARGING FUNCTION
If you don't use the USB input to play files from a USB media, you can connect your smartphone to this input to
charge your battery. The socket supplies an output voltage of 5V𝌃 1A.
MICROSD MODE:
1. After startup, press MODE to select “MicroSD” and insert the MicroSD card. The unit will automatically read
and play the music in the MicroSD card.
2.
Press “
▶ǁ
” key shortly to pause or play the music.
3.
Shortly press “
” key to skip to the previous track.
4.
Shortly press “
” key to skip to the next track.
CONNECTION OF A MICROPHONE
Connect the microphone to the MIC input and switch it on.
Note: If you are playing music from any other input, connecting the microphone will not mute the sound output.
KARAOKE FUNCTION
This feature is available with any input. Play a track through USB/MicroSD/Bluetooth/AUX, connect a microphone
and sing along. Adjust the volume, echo, bass and treble via the MENU button (14) and the VOLUME wheel (15).
BUILT-IN RECORDING FUNCTION OF MICROPHONE SOUND
Connect a microphone to the MIC input. Plug a USB stick/micro-SD card into the correct input. Press the MODE
key and select USB or micro-SD.
If you plug the USB stick/Micro-SD card into this speaker for the first time, the unit will create a folder called
RECORD. All recordings will be automatically saved in this folder.
When you are ready to record, press the REC key. The recording will start when the screen displays 00:01.
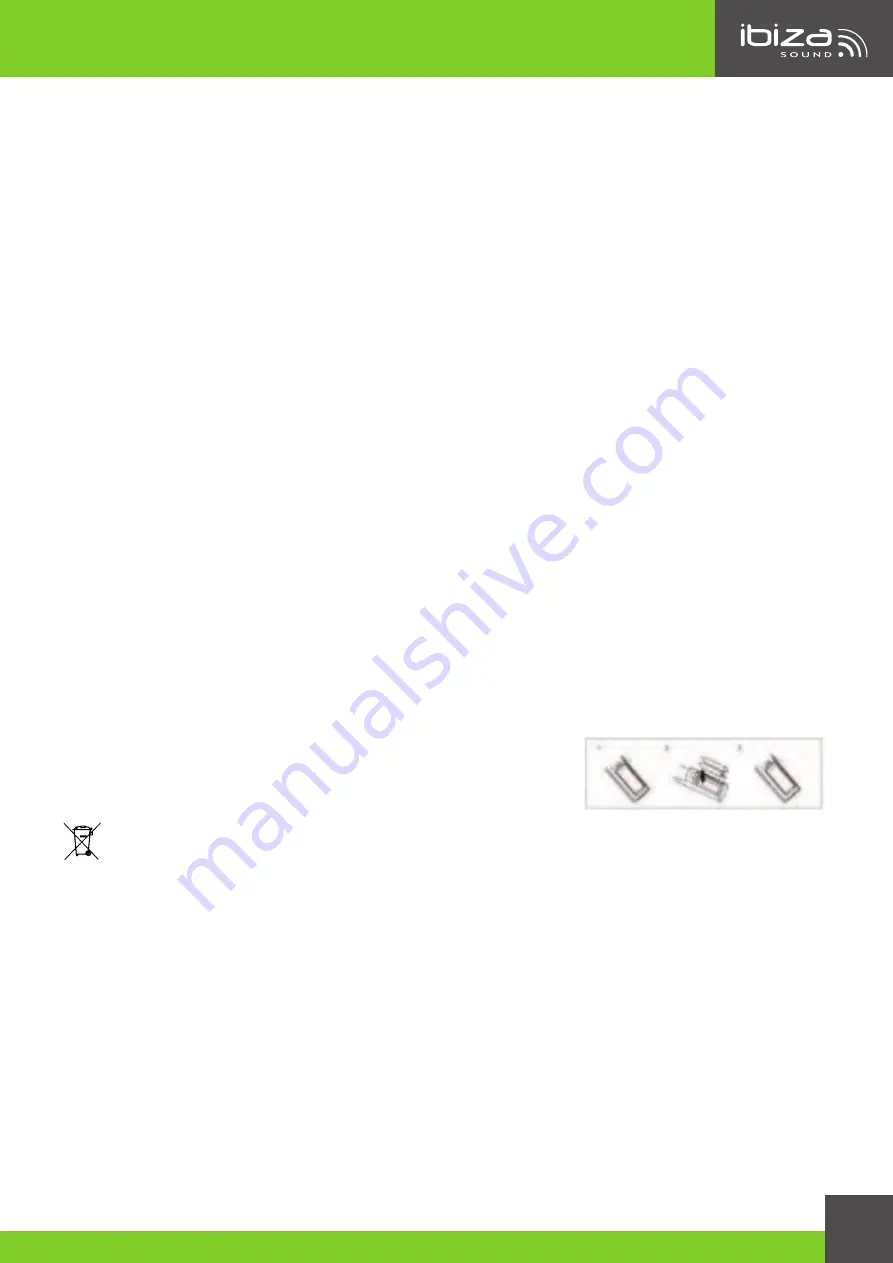
INSTALLING THE BATTERIES IN THE REMOTE CONTROL
Remove the battery cover from the back of the remote control as shown and
insert 2x AAA size batteries ensuring correct polarity
RECOMMENDATIONS FOR BATTERIES
This symbol indicates that used batteries should not be disposed of with household waste but deposited in separate
collection points for recycling.
WARNING
Danger of explosion if battery is incorrectly placed. Only replace by the same or equivalent type.
Keep new and old batteries out of the reach of children.
If the battery compartment doesn't close properly, stop using the product and keep it out of the reach of children.
DESCRIPTION OF THE REMOTE CONTROL
1.
MUTE: Mutes the sound output
2.
Mode button
3.
REC: Press to record your voice
4. REC PLAY: Press to play your record
5.
Increase the volume
6.
Select previous file
7.
Play/Pause
8. Select next file
9.
Reduce the volume
10.
Repeat one / repeat all
11. Equalizer: Cycles through the various music styles: Normal – Rock – Classic – Jazz – Pop
12. Number buttons for direct input of a file number. Press the number of the file to access it directly. For files
numbers above 9, press 1+ the unit. Ex. For file number 15, press 1 + 5. For file number 38, press 3+8

